Table of Contents
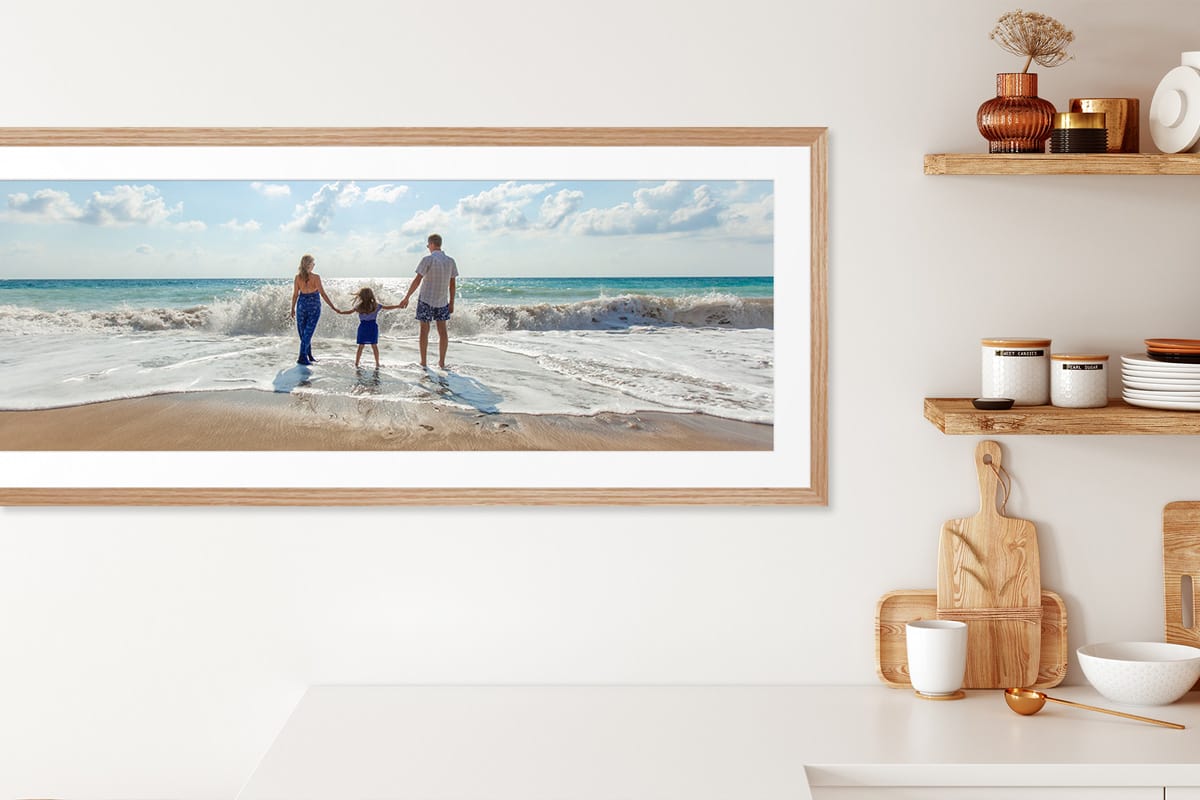
When you have a panorama photograph of a picturesque landscape or an extra wide photo of large group of people such as a team photo, then a panoramic photo frame can be the ideal choice to show and display these iconic images.

Panoramic photo frames are designed for photos which have a wide aspect ratio. These type of panorama photos can commonly be taken with mobile phones or even a sequence of photos that have been stitched together using special software or apps.
When you capture an extra wide panorama landscape photo, these can look amazing on your wall and can help you visualise that iconic, scenic image in its true magnificence and wonder.
So, let’s review some steps on how you can create a panoramic framed photo for your wall.
Printing Your Panorama Photo
The first step is to choose your photo size. Before you print your photo, have a look at the frame size options available first. You have a variety of choices or options, but generally 'bigger is better'. You also want to make sure that you can print your photo to fit the size you prefer. Panoramic photos can come in different sizes and ratios, so sometimes you may have to crop or cut some of your image, in order to allow it to fit into the frame size you choose.
When it comes to printing your photo, you can get panoramic photos professionally printed from many good retail stores across Australia such as Camera House, Digi Direct, Ted’s Camera’s and even Harvey Norman.
You want to choose a photo paper that is high quality, which is generally thicker grade than standard photo paper. Preferably 230gsm or thicker. A satin/luster is also the most popular finish as well. Unless you are getting your panoramic photo printed and custom framed by a professional photo lab, it is best to avoid choosing any high gloss finishes, as these can be very sensitive to handling, marring, and kinking, and make any slight imperfections under glass quite prominent.

Choosing Your Panoramic Picture Frame
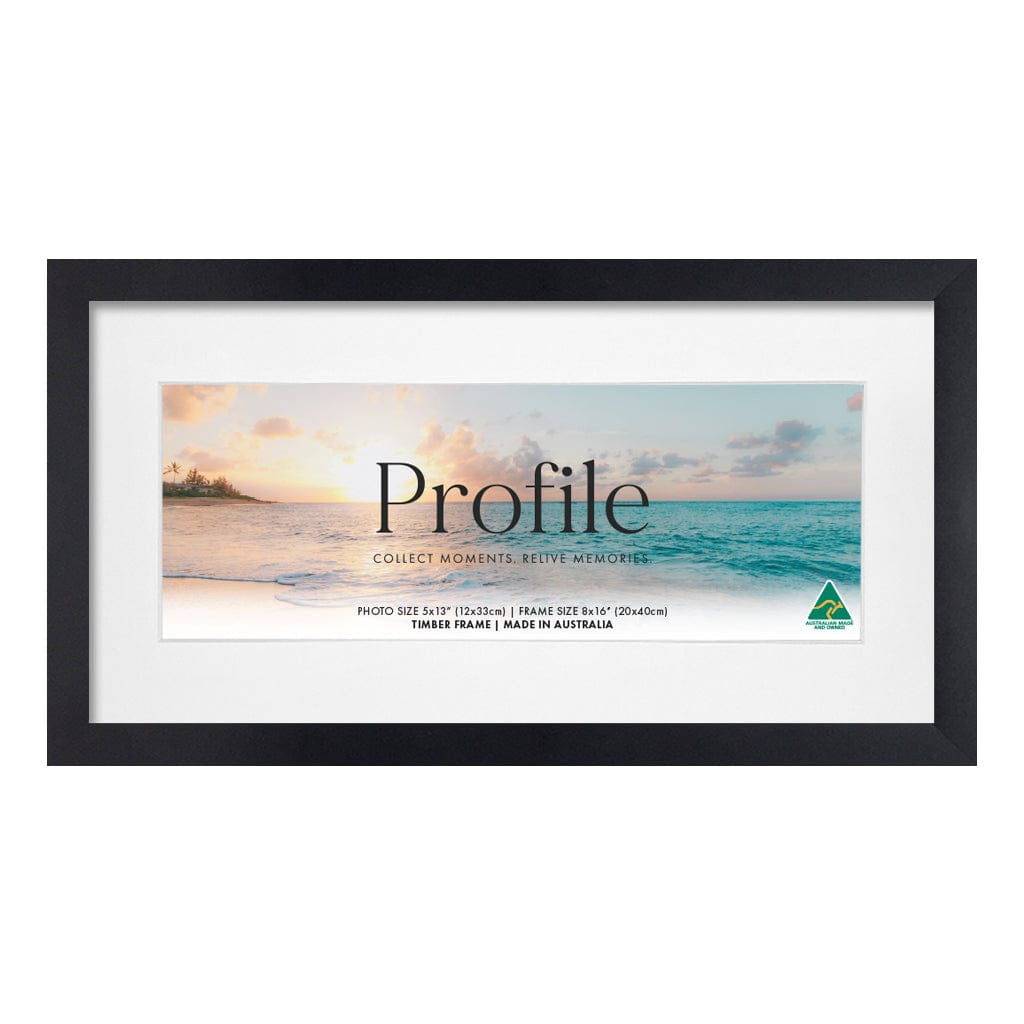
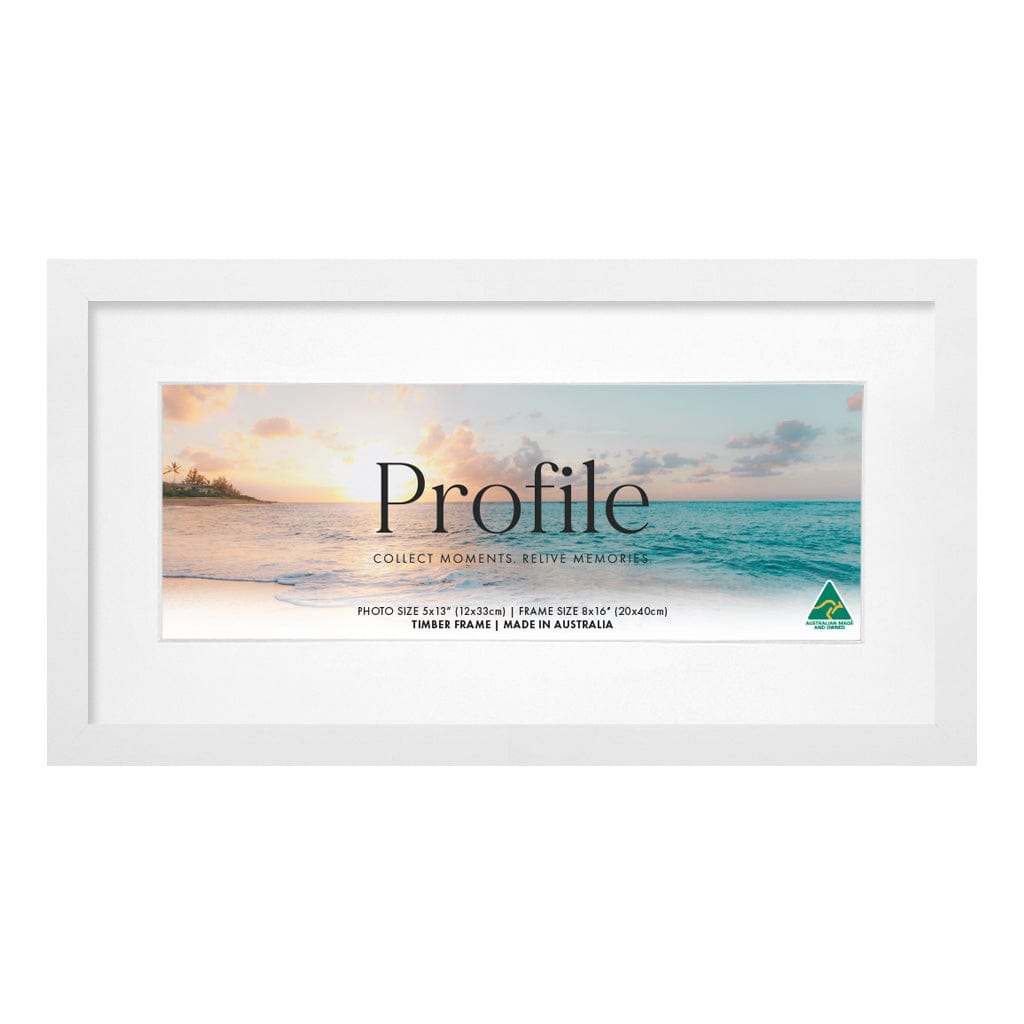
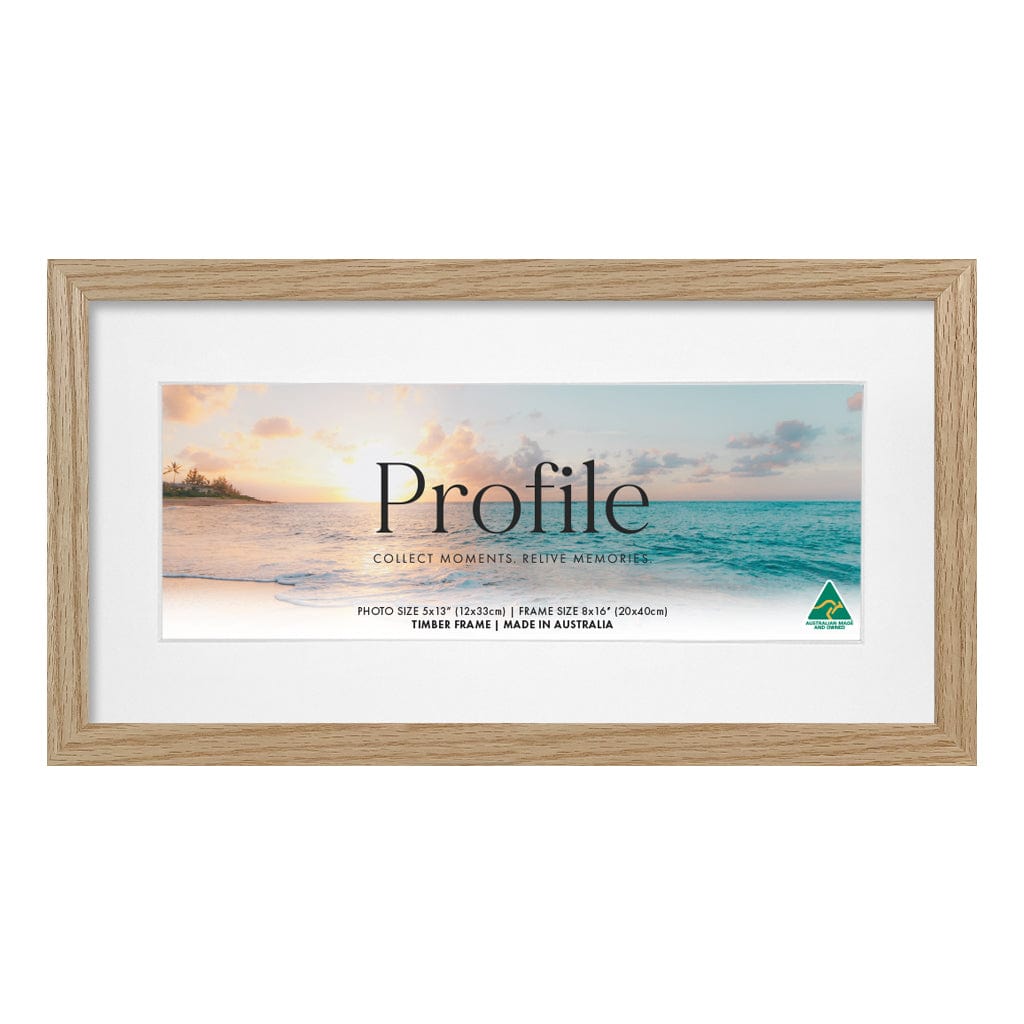
The first step to framing your panoramic photo is selecting the size. Sizes can vary from 8x16inches (20x40cm) up to 16x40inches (40x101cm) and in some cases, even bigger.
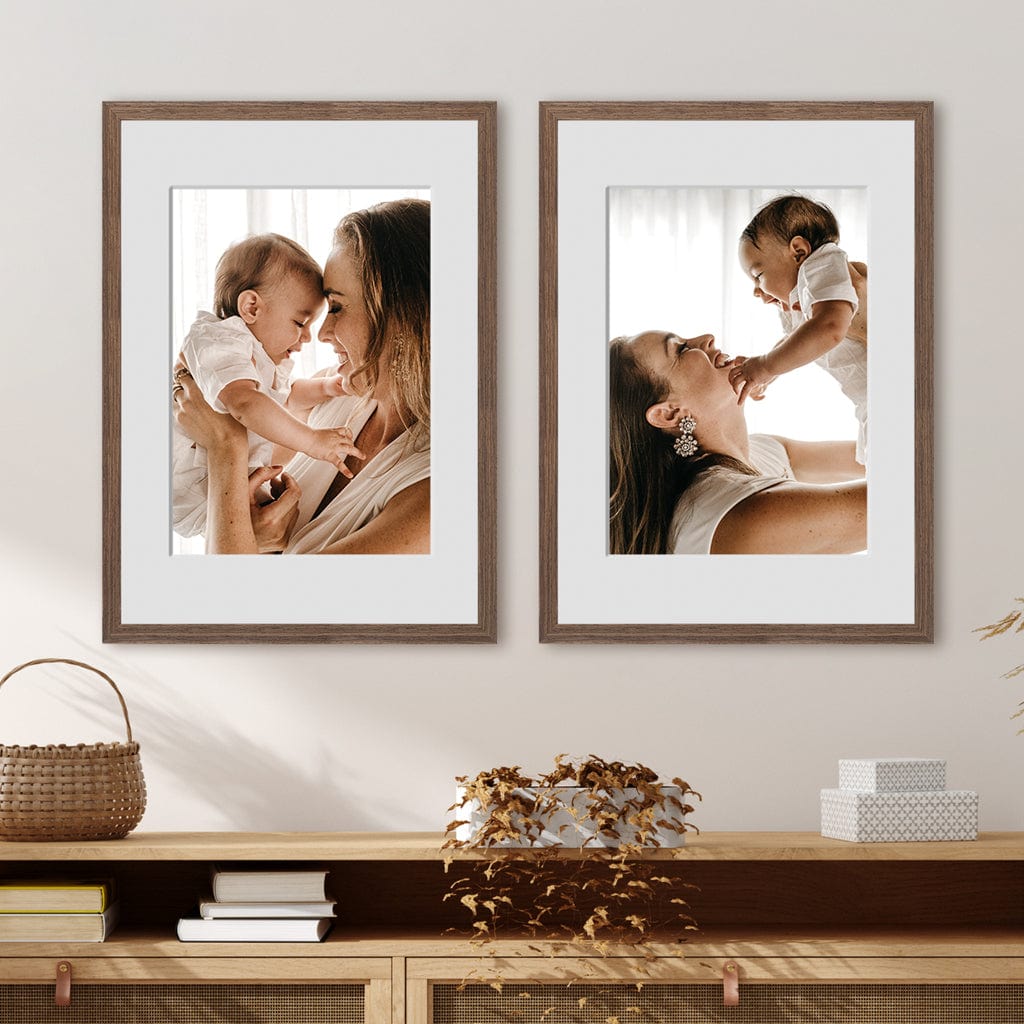
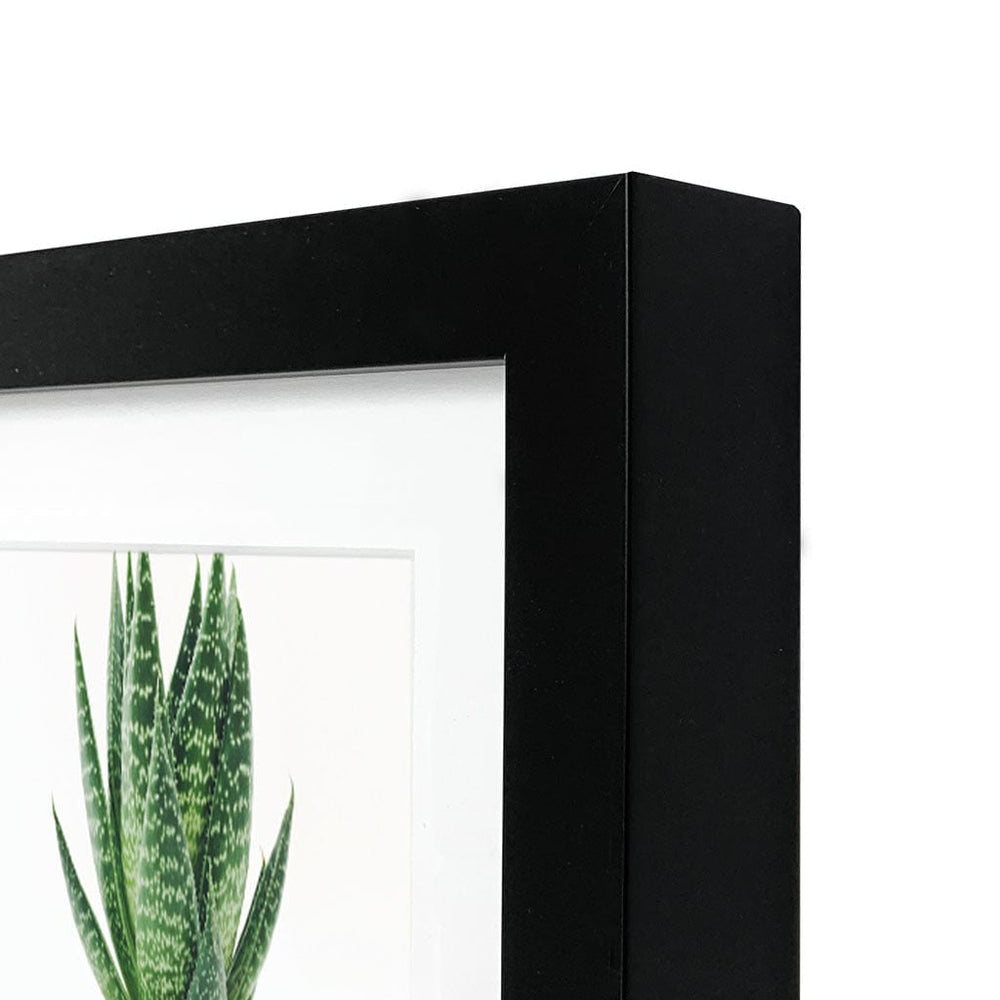
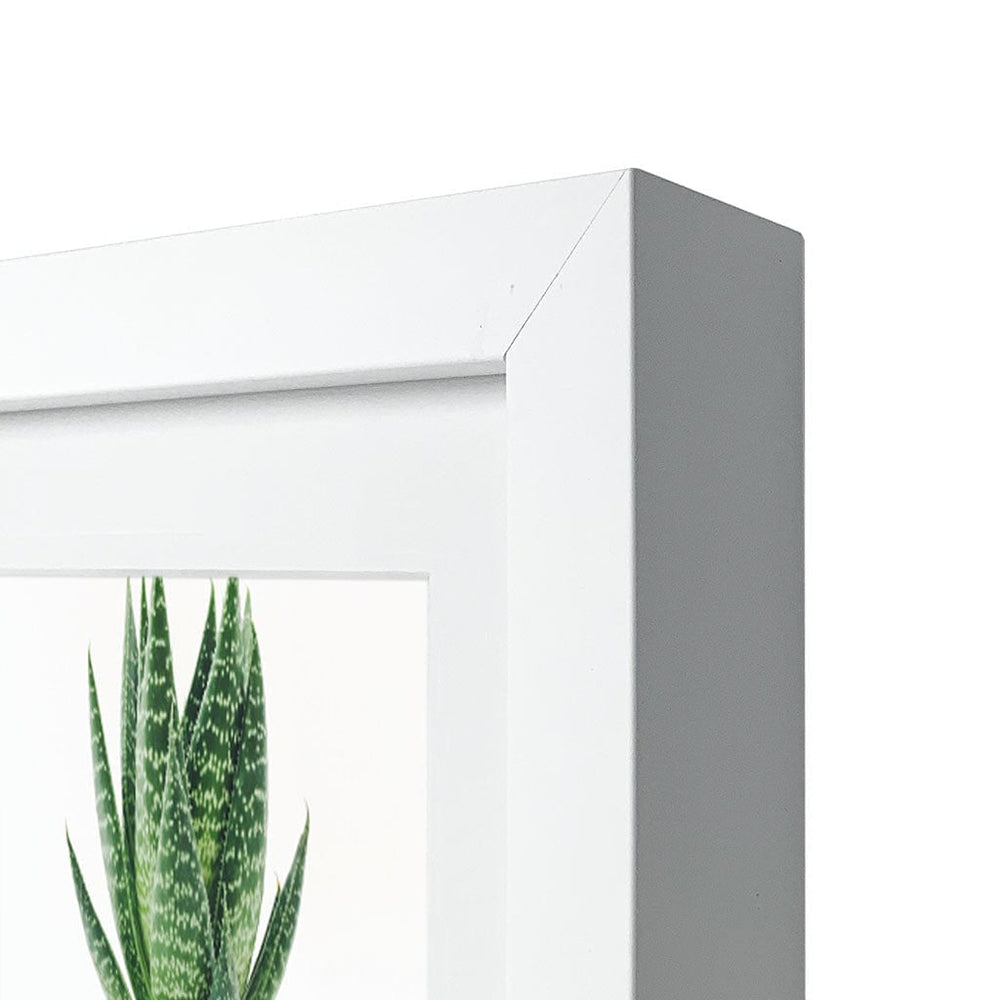
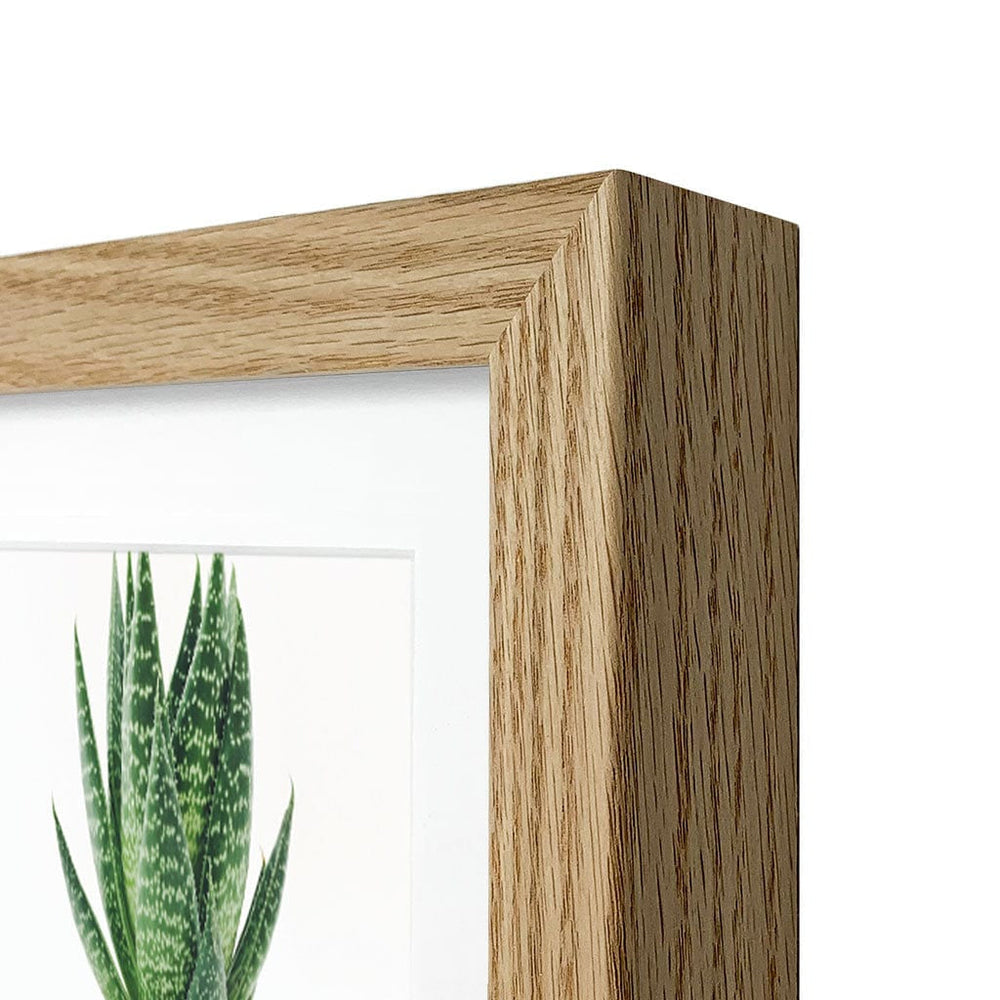
Where possible, it is also best to choose an extra wide panoramic picture frame which includes a mat board border, sometimes referred to as a ‘window mat’ or a ‘mount board’.
A mat board can provide a couple useful purposes inside a picture frame. Firstly, a mat board can provide visual distance between the edges of the panorama photo and the inside edges of the picture frame, to help provide an aesthetic balance and proportion for viewing the art or photo.
Secondly, a quality acid-free mat board will also help to protect your landscape photo by slightly lifting the glass away from any direct contact with the photo inside the picture frame. If a photo comes into direct contact of the glass, it could laminate itself (stick) to the glass creating damage over time.
The final step is to choose a colour for your panoramic photo frame. The best choice to make here, is to choose something that will complement both your style, as well as the subject and colour tone of wide format photo. The most popular options are usually black, white or natural timber, as all of these frame colours offer a universal ability to match most styles in décor and are classic and timeless for longevity.

Framing Your Panoramic Photo
When framing your panoramic photo into your own picture frame, it is important to understand that the photo should be able to move naturally and is not permanently adhered to the backing board. This will allow your panoramic photo to slightly expand and contract with changes in relative temperature of the room over time and help avoid severe cockling or buckling.
There are a several techniques to attach photos to a matboard. The safest is to just use tabs of framer’s tape evenly spaced every 20-30cm placed the top edge of the photo behind the matboard window and just allow your photo to suspend and hang down naturally inside the frame.
Don't apply tape all along the top edge, as this won't allow the print to expand and contract without rippling. We’ve created a helpful guide and video below to demonstrate one method on how you can do this yourself.
Choosing the Best Panoramic Photo Frame in Australia
Panoramic photos can be a great way to add a striking touch to your office or home décor. Profile offers a unique range of Australian made panoramic photo frames in a range of sizes and styles, created especially for your beautiful captured panoramic images.
Our range of panorama picture frames are proudly Australian made and come in a variety of colour options including white, black and timber. All are made using the finest quality of eco-sustainable materials and come with our famous Lifetime Guarantee.
Want to learn more? You may also like:
- How to Insert a Photo into a Matted Photo Frame
- What is a Matboard?
- How to Attach our Hanging Pack and Attach Wire String to the Back of Your Photo Frame
This article was written by Jared Davis - www.jareddavis.com.au
Jared Davis is one of only a few qualified Master Certified Picture Framers in Australia with over 30 years of custom framing experience.
Jared is published author, writer and an industry-recognised educator who teaches classes and workshops to professional picture framers all around the world.