Table of Contents
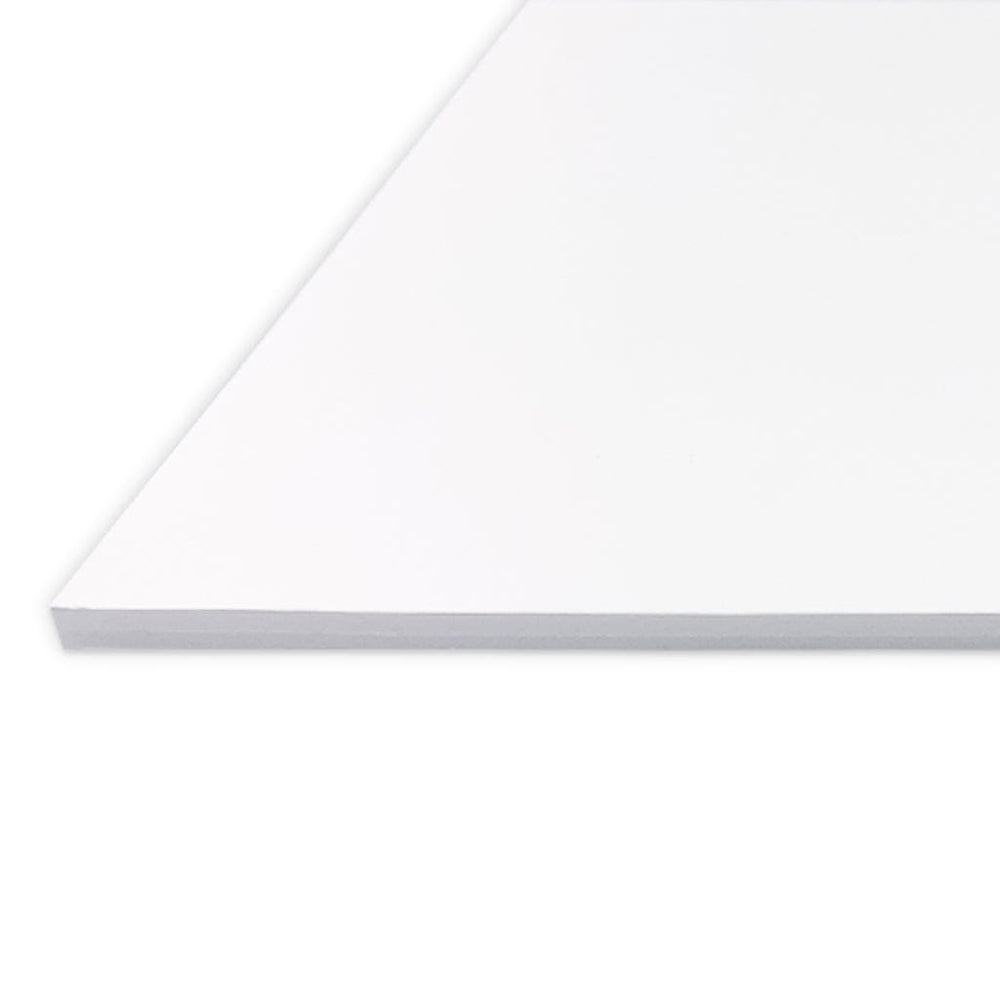
Foam board (also called foamcore) is a lightweight, rigid material used to mount prints, create displays, and support artwork inside picture frames.
With a smooth white surface and a firm inner core, it’s ideal for giving your projects a clean, professional finish - whether you’re framing a photo, preparing gallery work, or building a presentation board.
Foam core board was first manufactured by the US company, Monsanto, in 1957 and sold under the trademarked brand of Fome-Core®.
At Profile Australia, we offer 5mm white foam board cut to size, with options for both plain and self-adhesive backing - so you can get the perfect fit for your next framing or display project.

What is Foam Board Made of?
Foam board is made from three layers:
- A polystyrene or polyurethane foam core in the center
- Smooth white paper laminated to both sides
This sandwich-like structure makes foam board strong yet lightweight. The surface is firm enough for mounting photos or posters, while the core helps the board hold its shape without bending or warping.

What is Foam Board Used for?
Foam board is one of the most versatile mounting materials used across creative, professional, and educational settings. Common uses include:
- Backing for framed photos, prints, and certificates
- Mounting artwork for display, gifting, or sale
- Creating presentation boards for schools or offices
- Signage and display boards for retail or events
- DIY craft projects, modelling, or lightweight structures
If you're a photographer, artist, teacher, or home decorator - foam board is a reliable go-to.

Why is Foam Board so Popular?
Foam board strikes the perfect balance between practicality and presentation. Here’s why so many people choose it:
- Smooth white surface looks crisp and professional
- Rigid and supportive, without being heavy
- Easy to cut to size with a sharp utility knife
- Doesn’t warp or sag like cardboard
- Cost-effective for both hobby and commercial use
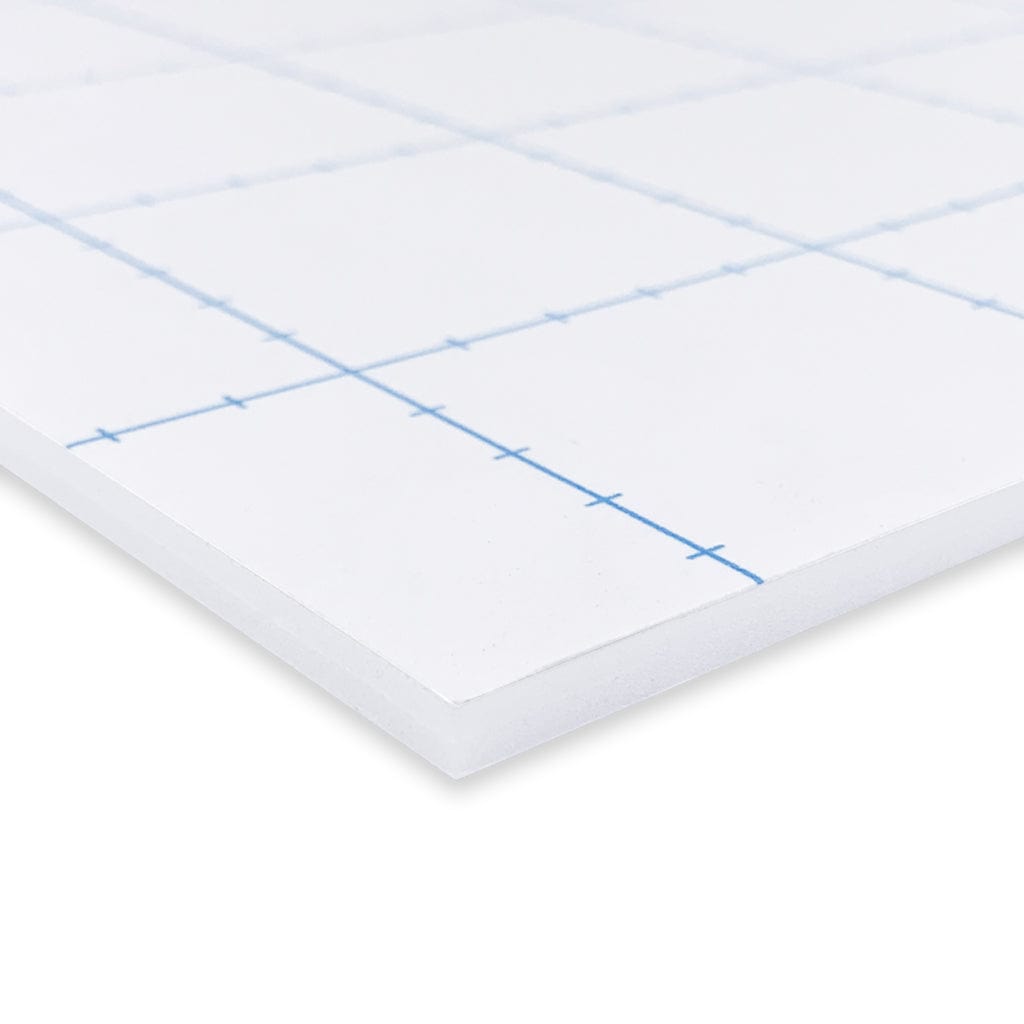
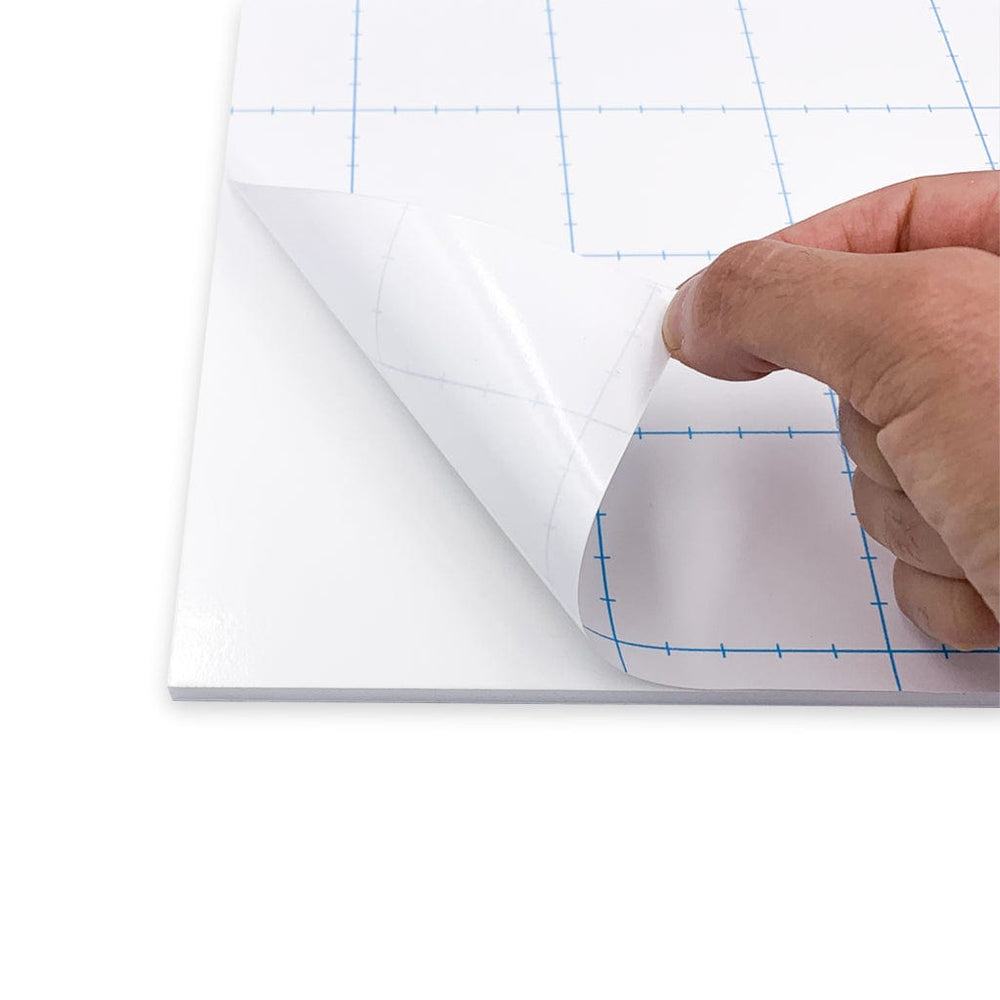
Plus, when you choose self-adhesive foam board, you don’t need any messy glue - just peel and stick your print in place.
Foam Board vs Other Mounting Materials
Foam board vs cardboard:
Foam board is stiffer, smoother, and holds its shape better than cardboard, which can become acidic and warp over time. Cardboard can also show imperfections through prints.
Foam board vs matboard backing:
Matboard is great for aesthetic borders and basic backing, but foam board offers extra strength and structure - especially for unframed displays.
Foam board vs MDF:
MDF (medium-density fibreboard) is heavier and more rigid than foam board, making it suitable for structural applications or permanent framing. However, MDF can become acidic, which may contribute to the deterioration of prints or paper over time. Foam board, by contrast, is lightweight, easier to cut, and available in acid-free options, making it a safer choice for protecting and displaying delicate or archival pieces.
Foam board vs corflute:
Corflute is better for outdoor signage or large panels. Foam board has a cleaner finish, making it more suitable for photography, art, and indoor use.

Choosing the Right Foam Board for Your Project
Not sure which type of foam board you need? Here’s a simple guide:
Use plain white foam board when:
- You want a clean, supportive backing for framed art
- You’ll be taping or hinging your artwork separately
- You need cut-to-size inserts for bulk framing jobs
Use self-adhesive foam board when:
- You want a fast, no-glue way to mount a photo or print
- You’re preparing a retail display or show kit
- You’re framing something temporarily for sale or presentation
Our 5mm foam board is ideal for most applications - it’s thick enough to support your print, but still easy to cut and handle.
Compare Foam Board Options at a Glance
| Type | Best For | Adhesive Surface | Acid-Free |
|---|---|---|---|
| White Foam Board (Non-Adhesive) | Framing backings, presentations, school projects | No – requires tape, glue, or corners | Yes |
| Self-Adhesive Foam Board | Photo mounting, show kits, quick display builds | Yes – peel-and-stick surface | Yes |
| Matboard | Decorative borders and window matting | No – used as a visual layer, not adhesive | Yes |
| MDF Backing Board | Heavier, rigid support for permanent framing | No – requires glue or photo corners | No – may be acidic over time |
Tips for Using Foam Board in Framing and Displays
- Mounting a photo: Use a clean roller or cloth to smooth the print onto the board. Start from one side and press gently to avoid air bubbles.
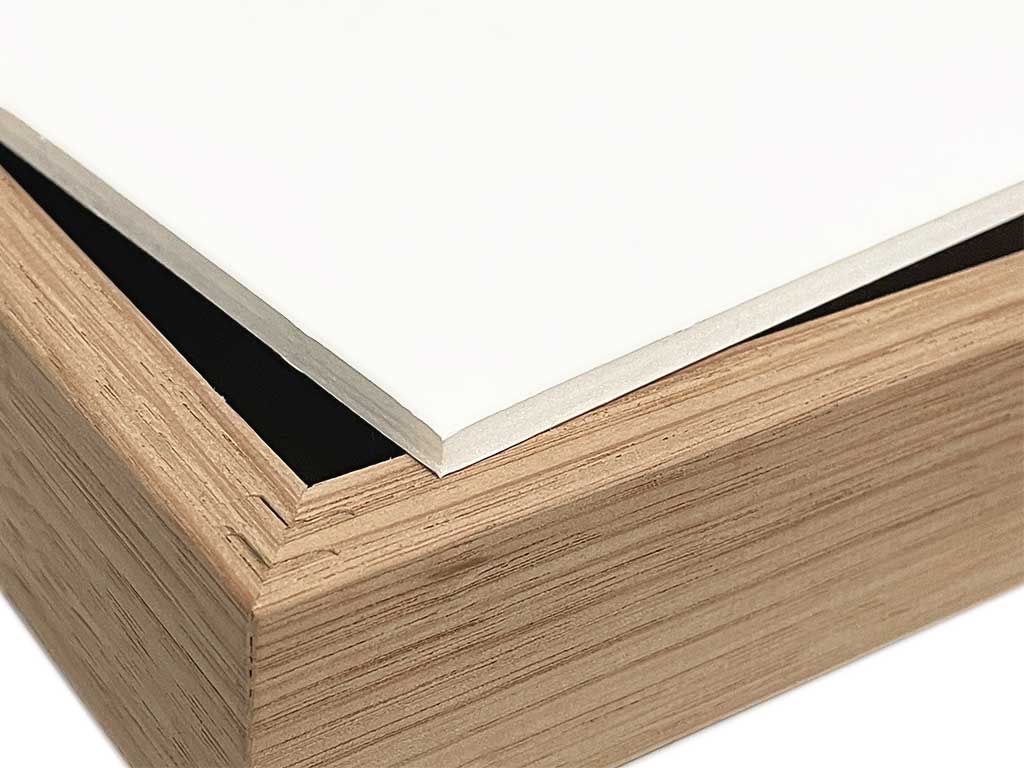
- Framing with foam board: Use it as a rigid backing layer behind your photo and matboard. It helps keep everything flat inside the frame.
- Cutting foam board: Use a sharp utility knife and metal ruler for clean edges. Always cut on a safe surface like a cutting mat.
- Let self-adhesive boards cure: After mounting your photo or print onto self-adhesive foam board, allow some curing time by keeping the mounted work flat for several hours. This helps prevent any warping before framing.
- Storage tips: Keep foam board flat in a cool, dry place to avoid warping. Avoid stacking heavy objects on top.
How to Mount a Print onto Self-Adhesive Foam Board
Mounting your artwork onto self-adhesive foam board is simple with the right technique. Here’s how to do it safely and cleanly:
- Start with the shortest side: Align and stick down just the first 2–3 cm of your print along the short edge of the board. This becomes your leading anchor.
- Peel back the adhesive gradually: Rather than removing the full backing sheet, peel away just a few centimetres of the release paper at a time. This gives you better control and helps avoid misalignment or air bubbles.
- Smooth as you go: Use a soft, clean cloth—like a microfiber cloth—to gently press the print onto the adhesive. Rub firmly side to side in small sections as you work across the board.
- For large prints: Roll your print loosely around a mailing tube. This lets you unroll and mount the image in manageable sections as you move across the board.
- Let it cure flat: Once mounted, keep the board flat and allow it to cure for a few hours before inserting it into your frame. This helps prevent warping and ensures a smooth, long-lasting result.

Shop Australia's Best Cut-to-Size Foam Boards
Whether you’re framing a gallery piece or building a clean presentation board, our white foam boards are made to order for your exact size requirements.
-
5mm White Foam Board – Cut to Size
A professional, acid-free mounting board perfect for backing prints, photos, and certificates. -
5mm Self-Adhesive Foam Board – Cut to Size
Save time with a peel-and-stick surface—ideal for retail kits and display boards.
Or browse the full Foam Board Collection to choose what suits your next project.