Table of Contents
If you are looking for help attaching a photo, print or artwork to a window mat, also called a mat board, photo mat or mount board, this guide will walk you through the safest and easiest method.
The goal is simple. You want the photo to sit neatly behind the mat board window, without taping it down so tightly that it cannot move naturally inside the frame.
You can either watch our helpful video below or continue reading for the full visual step-by-step guide.
Quick Answer: What is the Best Way to Attach a Photo to a Mat Board?
The best everyday method is to hinge the photo from the top edge only, using small tabs of acid-free paper hinging tape. This lets the print hang naturally behind the mat board window, instead of being taped down on all four sides.
This is important because paper-based photos, prints and artworks can expand and contract slightly with changes in temperature and humidity. If the whole print is stuck down too firmly, it may wrinkle, pucker or buckle over time.
For valuable, original or collectible artworks, it is always worth speaking with a professional picture framer or paper conservator before attaching anything to the artwork.
How to Attach a Photo or Print to a Mat Board
Getting Started
Items you'll require:
- Your mat board
- Your photo, print or artwork
- Clean gloves, not essential, but helpful for avoiding fingerprints
- Some self-adhesive, acid-free paper tape
- A clean, flat work surface
Step 1 - Create a Clean Workspace
Before you begin, make sure your workspace is clean, dry and clear of clutter. This helps avoid scratches, dust marks or fingerprints on your photo, mat board or picture frame.
A soft cloth or clean towel on the table can help protect the frame and glass if you are assembling everything at the same time.

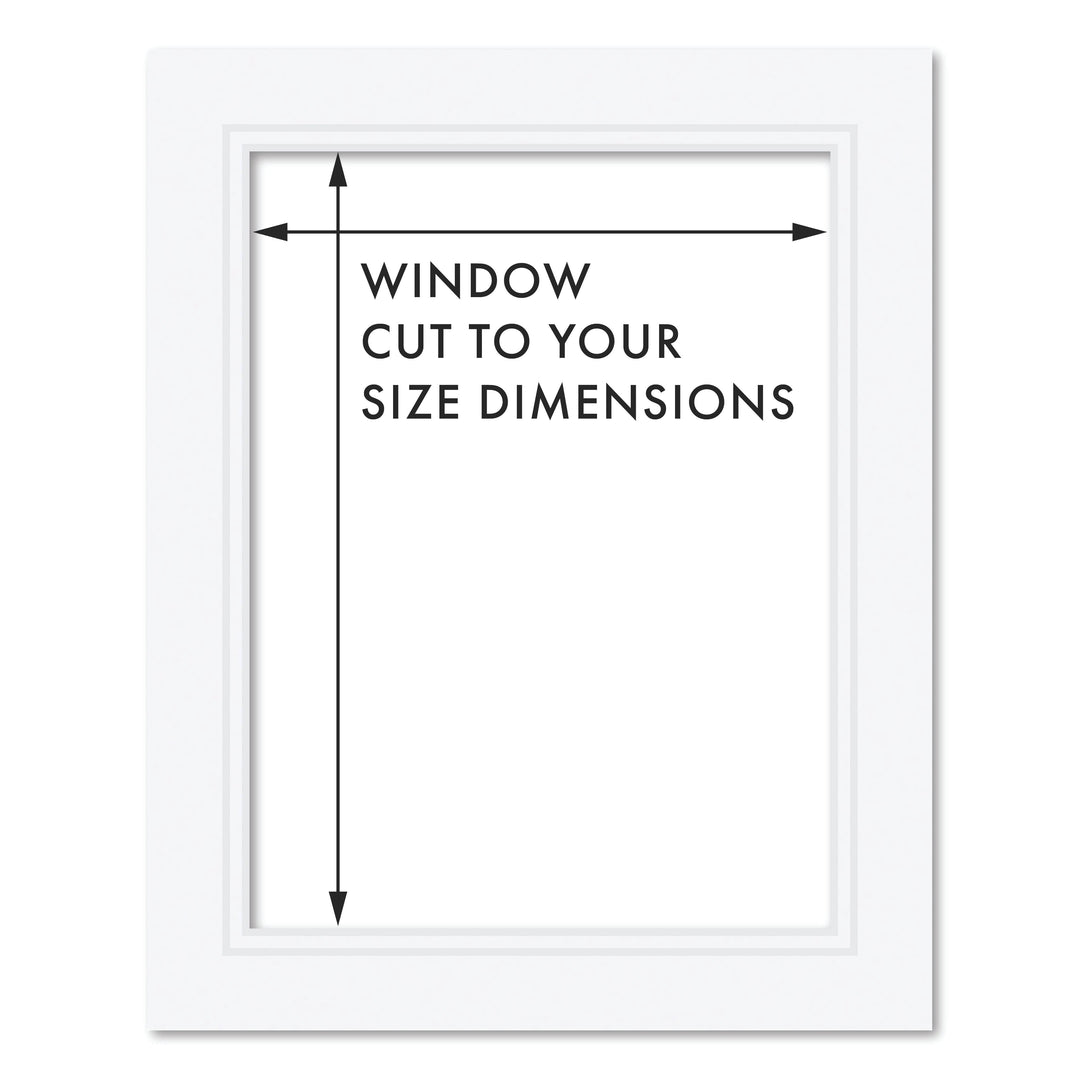
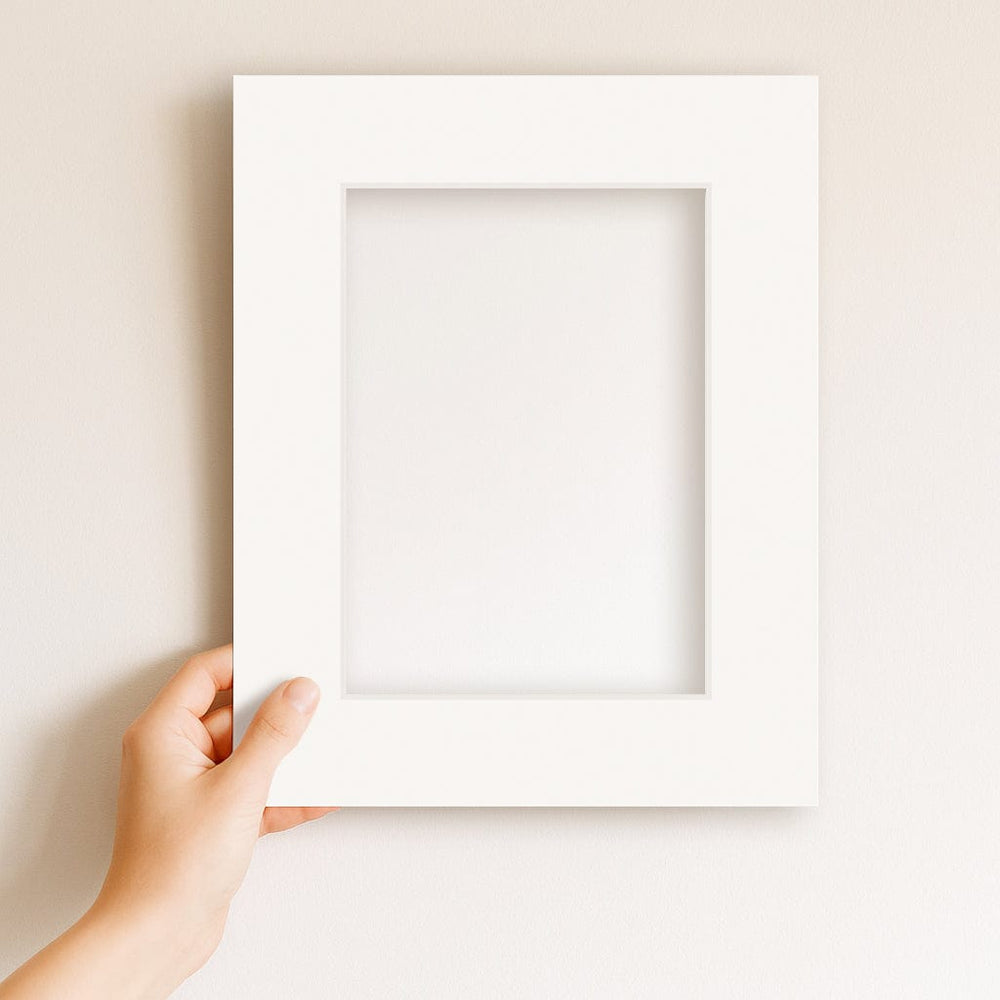
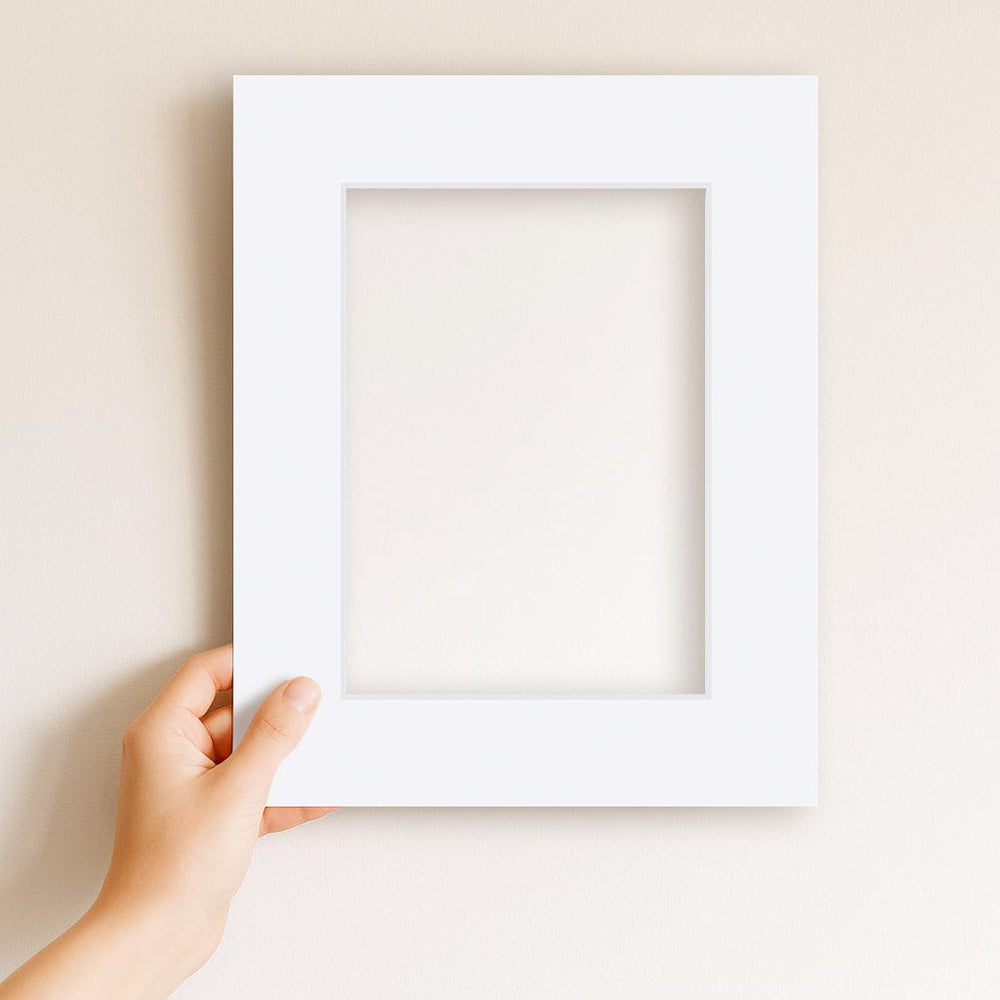
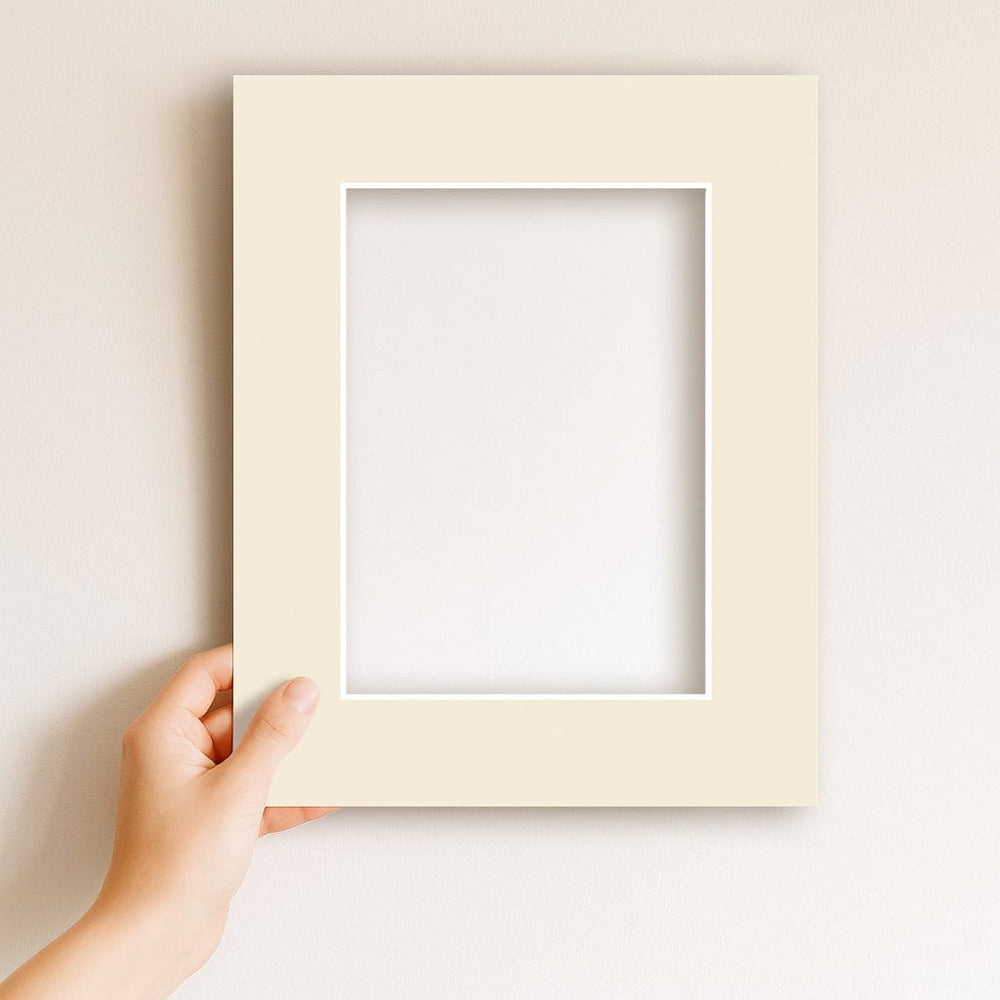
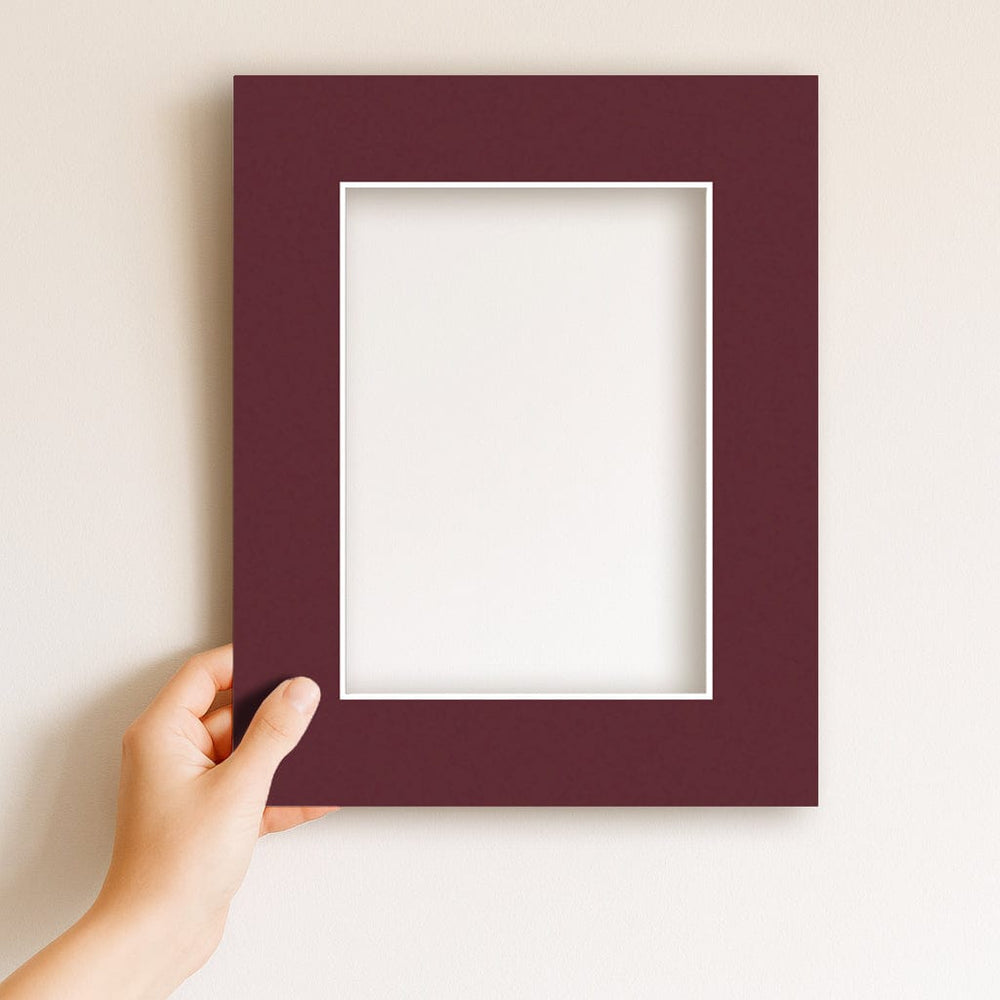
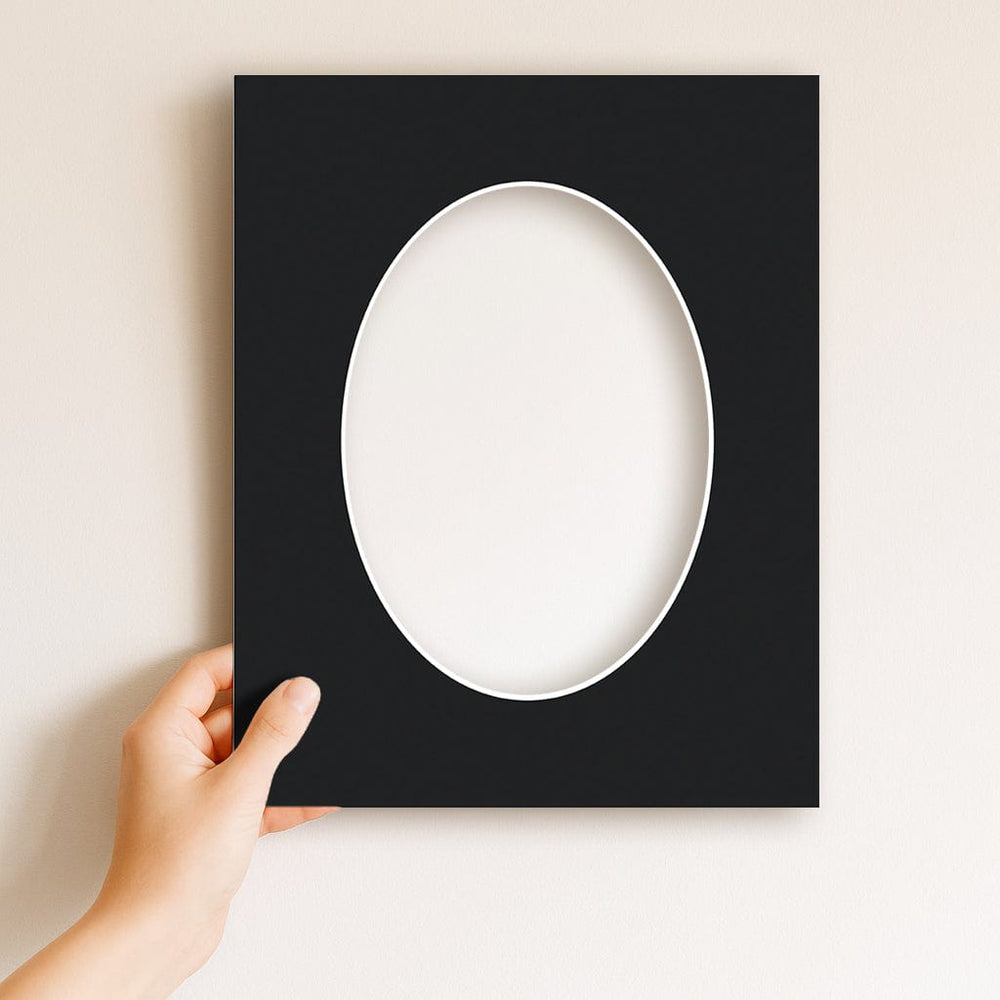
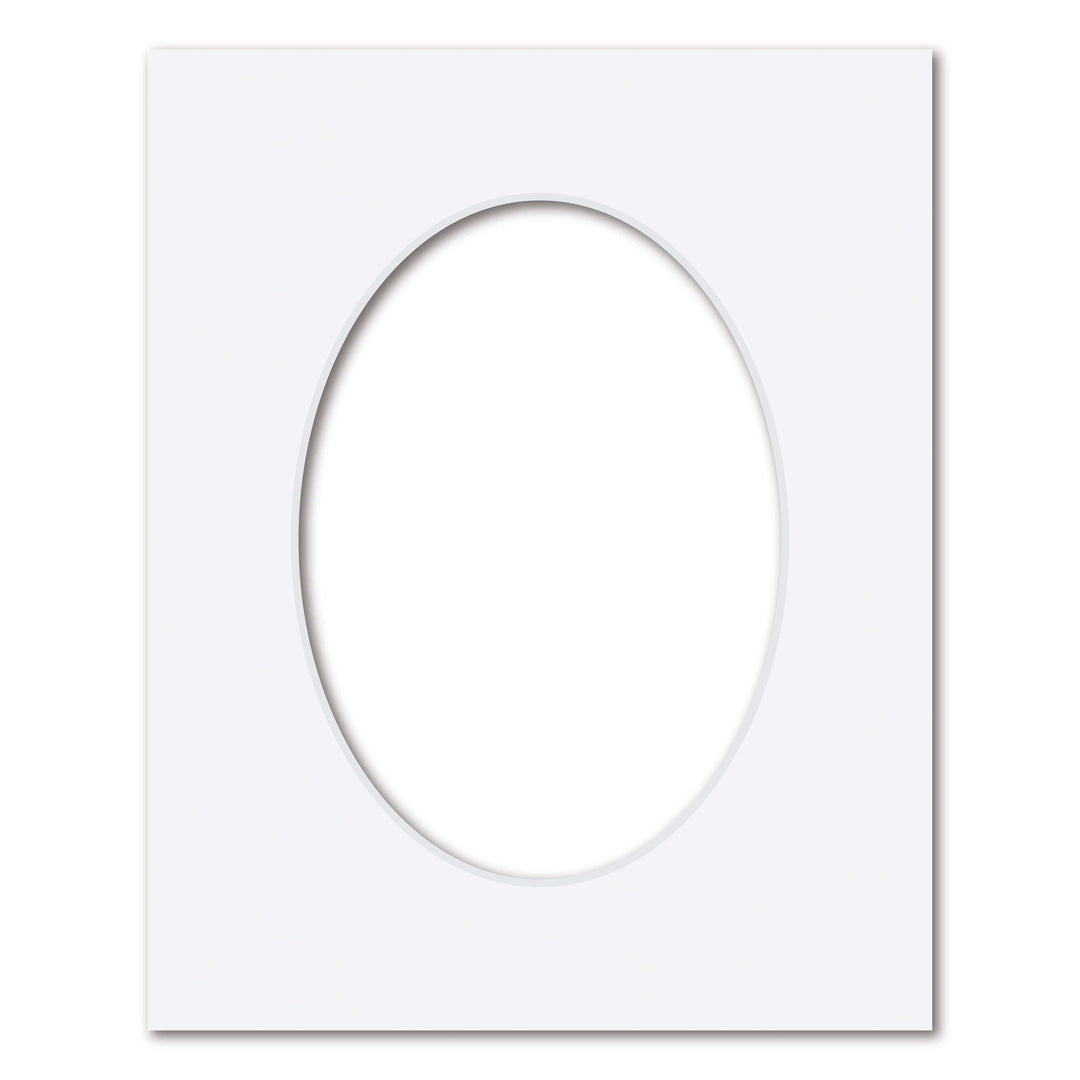
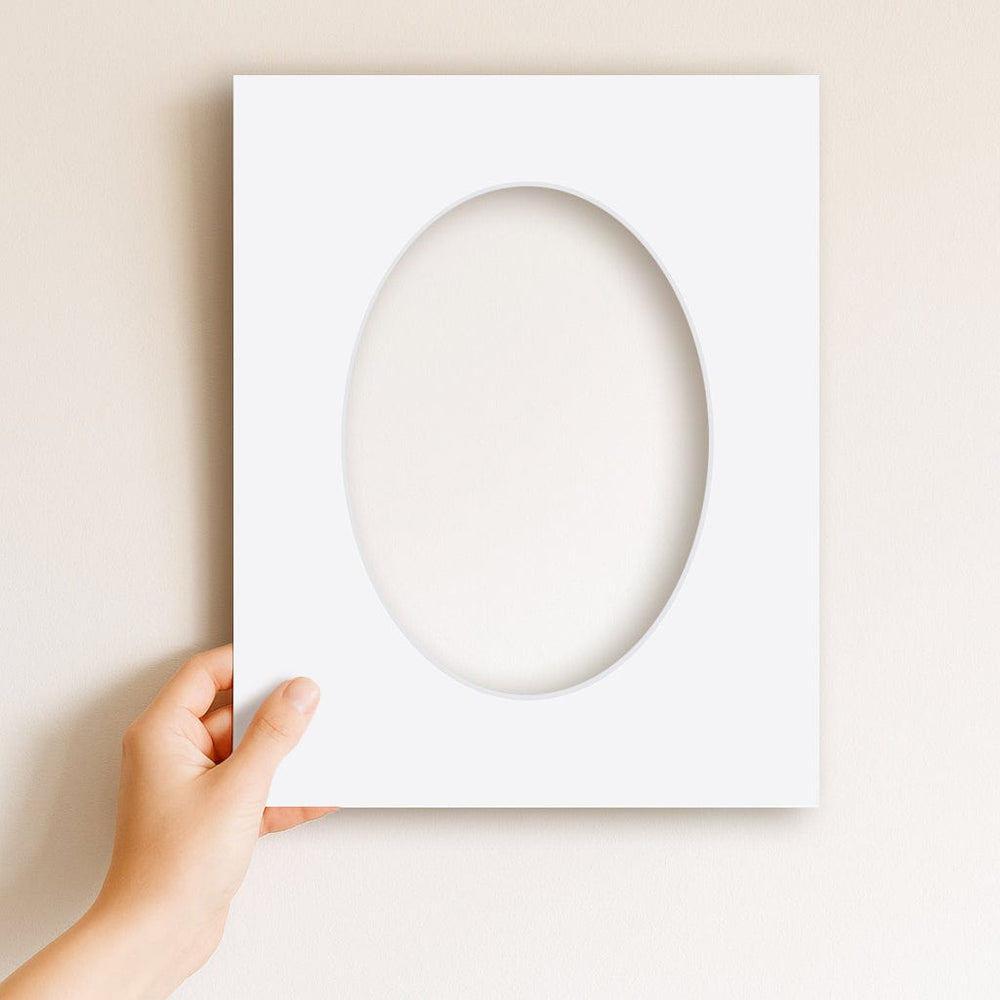
Step 2 - Position Your Mat Board
Place your photo or print face-up on a flat surface. Hold the mat board over the image to check the positioning and confirm that the print sits correctly behind the window opening.
Take a moment here. It is much easier to adjust the artwork before any tape is applied.
Step 3 - Apply Tape to Your Photo or Print
Place the photo or print face down. Apply one or two small tabs of acid-free hinging tape to the top edge of the photo, leaving most of the tape exposed and overhanging the edge by around 5mm.
Then flip the photo or print back over so it is face-up again, with the sticky side of the exposed tape facing upwards.

Note: You do not need tape on all sides of the photo. For most small to medium prints, you only need tabs of acid-free tape along the top edge. This allows the artwork or photo to hang naturally behind the mat board.

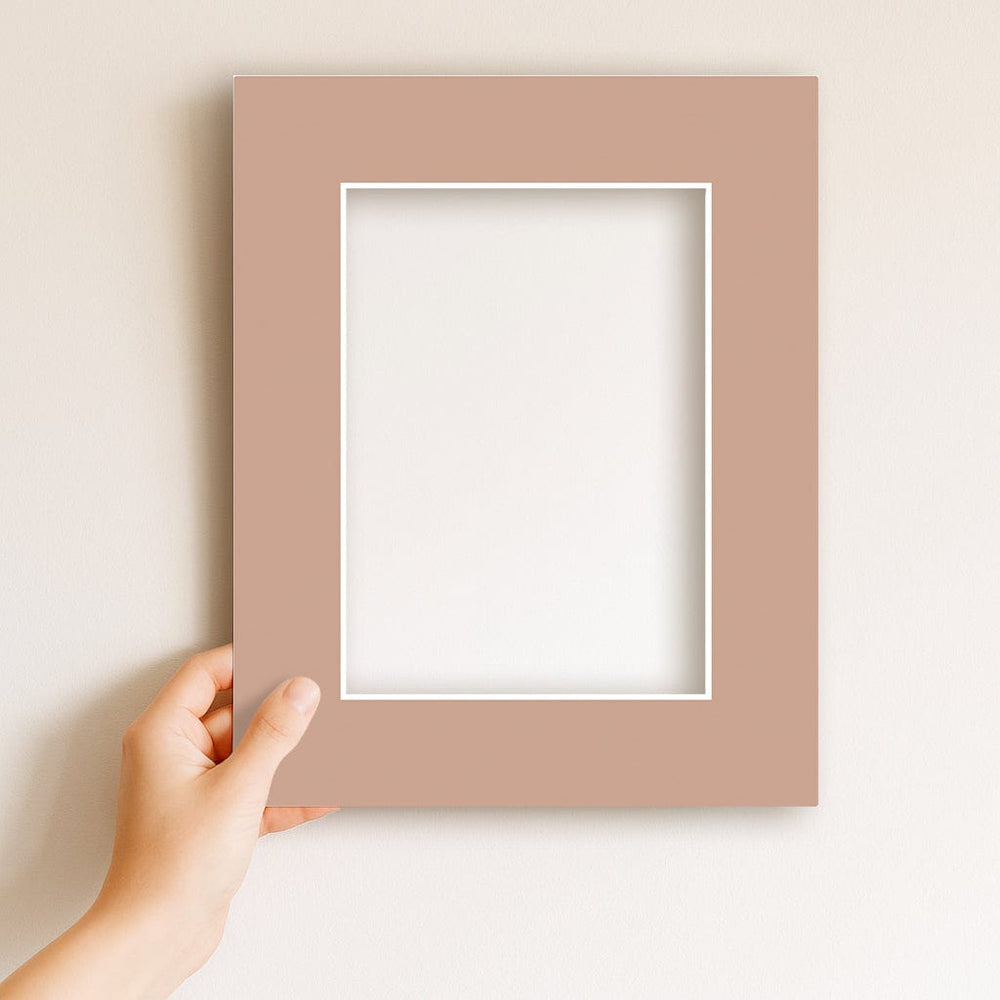
Step 4 - Attach the Mat Board to Your Photo or Print
Carefully align the mat board over the photo. Line up the inside edges of the mat board window with the image, then gently lower the mat board onto the exposed tape.

Once everything is aligned correctly, apply firm pressure over the taped area so the tape bonds securely to the back of the mat board.

Then flip the mat board and photo over. Burnish, or rub, the tape gently from the back to help it adhere properly.

That is it. Your photo is now attached to the mat board.
This method allows your photo or print to naturally suspend inside the frame. See the diagram below:

How to Attach Larger Prints, Posters and Wider Photos
For larger or wider prints, do not apply tape all along the top edge. A full strip of tape can stop the paper from moving naturally, which may lead to rippling, cockling or buckling over time.
A better method is to use a T-hinge. This uses evenly spaced, cross-layered tabs of acid-free tape along the top edge of the print only, behind the mat board window.
Like a standard tab hinge, a T-hinge allows your photo or print to hang down naturally inside the frame.
To create a T-hinge, use two tabs of tape. Place one strip vertically on the back of the artwork, then place another strip horizontally across the top of the first strip to form a T shape. See the diagram below:

For wider prints, you might place a T-hinge approximately every 20-30cm along the top edge. For example, for a wider A2 print, you might use three T-hinges across the top, with one on each side and one in the middle.
The key point is that a larger or wider print should be able to move naturally inside the frame. It should not be permanently adhered to the backing board unless you are deliberately choosing a more permanent mounting method.
Why You Should Not Tape the Whole Print Down
It can be tempting to tape the artwork down on all four sides, especially if you want it to feel secure. The problem is that paper does not stay perfectly still forever.
Paper can absorb and release moisture from the air. As the paper moves, a tightly taped print can start to wrinkle or pucker around the taped areas. This is especially common with larger prints, posters and paper-based artworks.
For more detail on this issue, read our related guide: Why Art Wrinkles and Buckles in a Frame.
What Tape Should You Use for Attaching Art to Mat Board?
The best tape to use is acid-free paper hinging tape. It is designed for attaching photos, prints and paper-based artworks to mat boards using a professional hinging method.
Our recommended option is self-adhesive acid-free paper hinging tape. It is pH neutral, made for framing, and suitable for long-term use with photos, prints and artworks.
For everyday prints that are not highly valuable, some people may choose a lower-cost acid-free tape option, such as Scotch Magic Tape. However, this is not the preferred long-term framing method. Plastic tapes do not behave the same way as paper-based artwork, and they are generally not considered the best choice for professional picture framing.
Can You Use Double-Sided Adhesive Tissue Tape?
We do not recommend double-sided adhesive tissue tape for hinging paper-based artwork to a mat board.
Double-sided tape can seem like a simple solution, but it holds the paper too firmly across the attached area. As the artwork expands and contracts, this can lead to wrinkling, puckering or visible distortion around the tape line.
Double-sided tissue tape may have other uses in craft or display work, but for attaching artwork to a mat board, hinging tape is the safer and cleaner method.
Another Option: Archival Photo Corners
Another safe method is to use archival photo corners. These are small clear corner pockets that hold the photo in place without putting adhesive directly onto the photo or artwork.
Photo corners are especially useful when you already have a clean acid-free backing insert behind the artwork. The corners stick to the backing board or insert, while the artwork sits inside the corner pockets.
This method is often preferred for conservation because no adhesive touches the photo. It also allows the photo to be removed later, which is handy for family photos, certificates, postcards and keepsakes.
There are two things to watch when using photo corners:
- Check the visible edge: Photo corners may be visible if the mat board does not cover enough of the image edge.
- Use them for suitable sizes: Photo corners may not provide enough support for larger paper-based artworks, especially anything larger than A3, depending on the paper thickness and weight.


Add an Acid-Free Backing Layer Behind the Artwork
A mat board protects the front of your photo by creating a clean border and keeping the image away from the glass. But the back of the photo also matters.
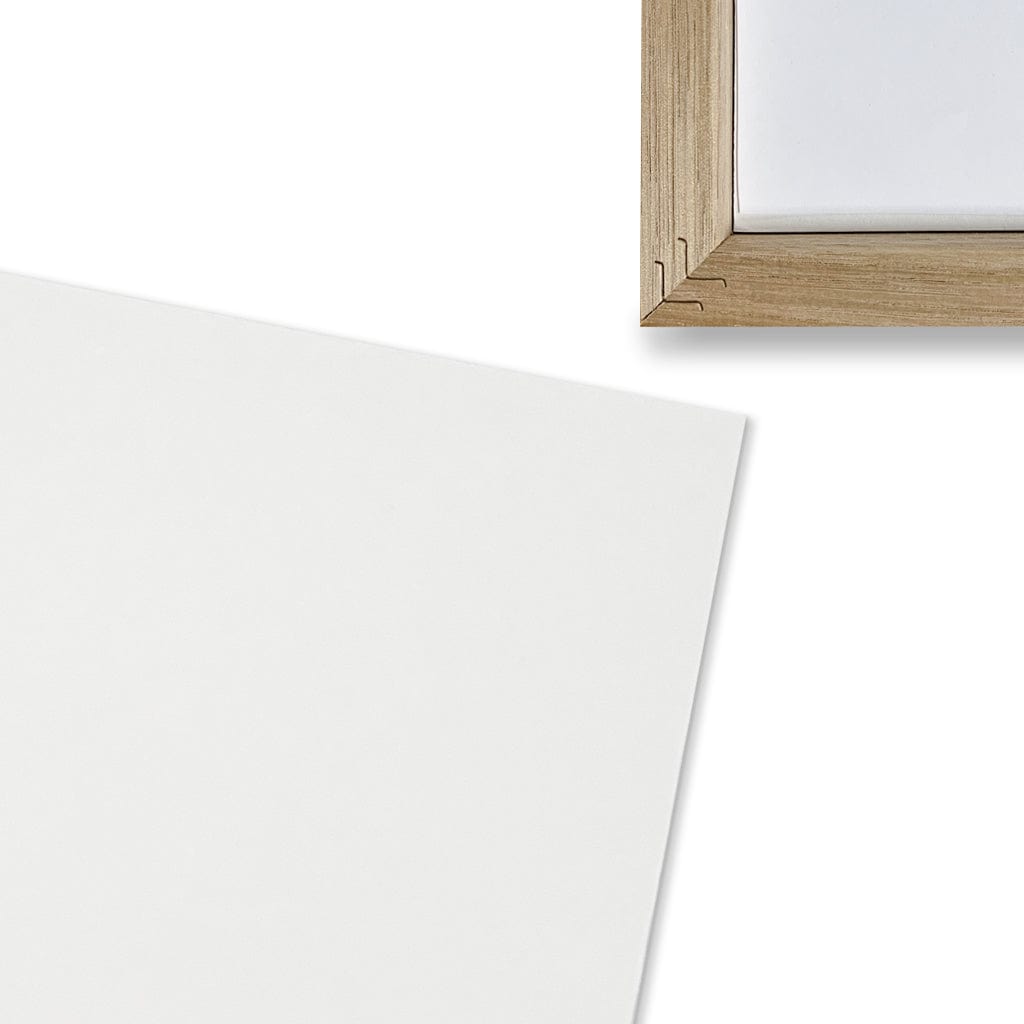
Many standard frame backing boards, including MDF, can become acidic as they age. For better protection, place an acid-free frame insert behind your artwork and mat board. This creates a protective barrier between the photo and the frame backing.
If you need extra support, you can also use 5mm cut-to-size white foam board. This is lightweight, rigid and acid-free, making it a practical backing option for many framing projects.
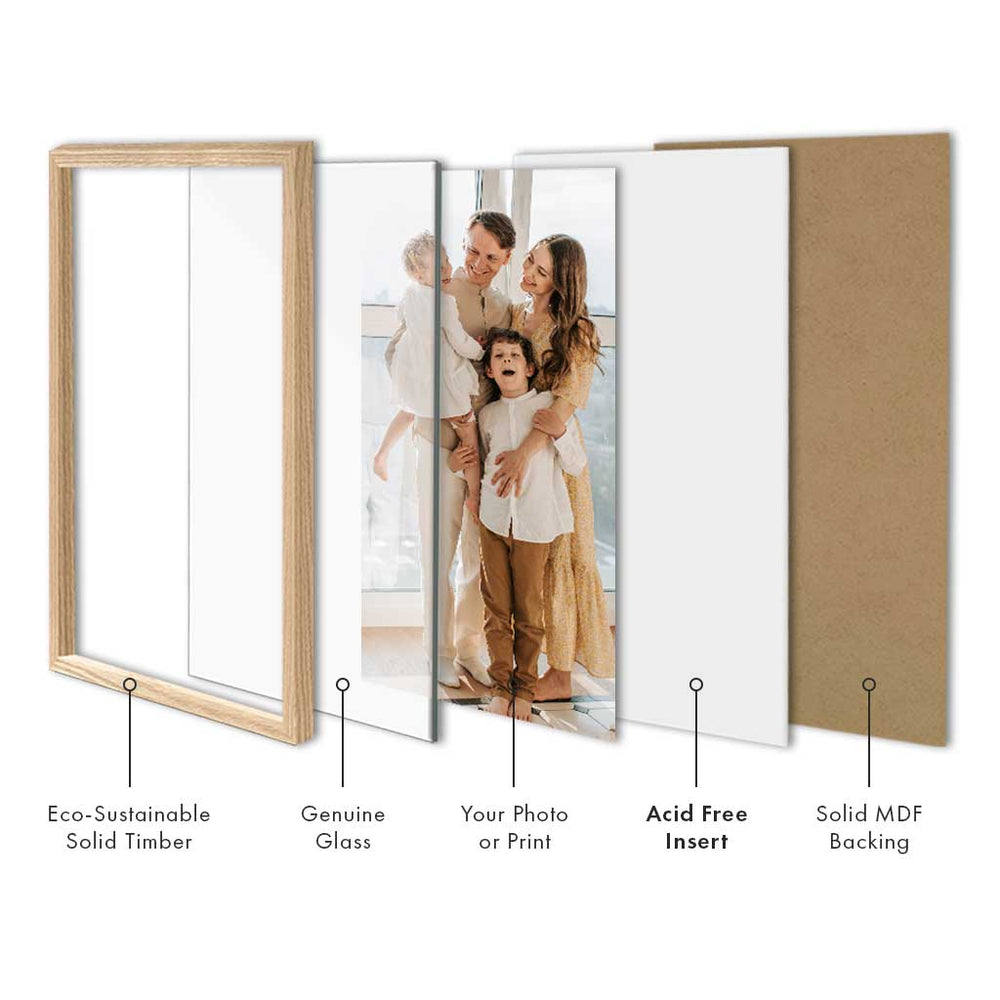
For a better frame package, think in layers:
- Glass or acrylic front
- Mat board
- Photo, print or artwork
- Acid-free insert or acid-free foam board
- Frame backing board


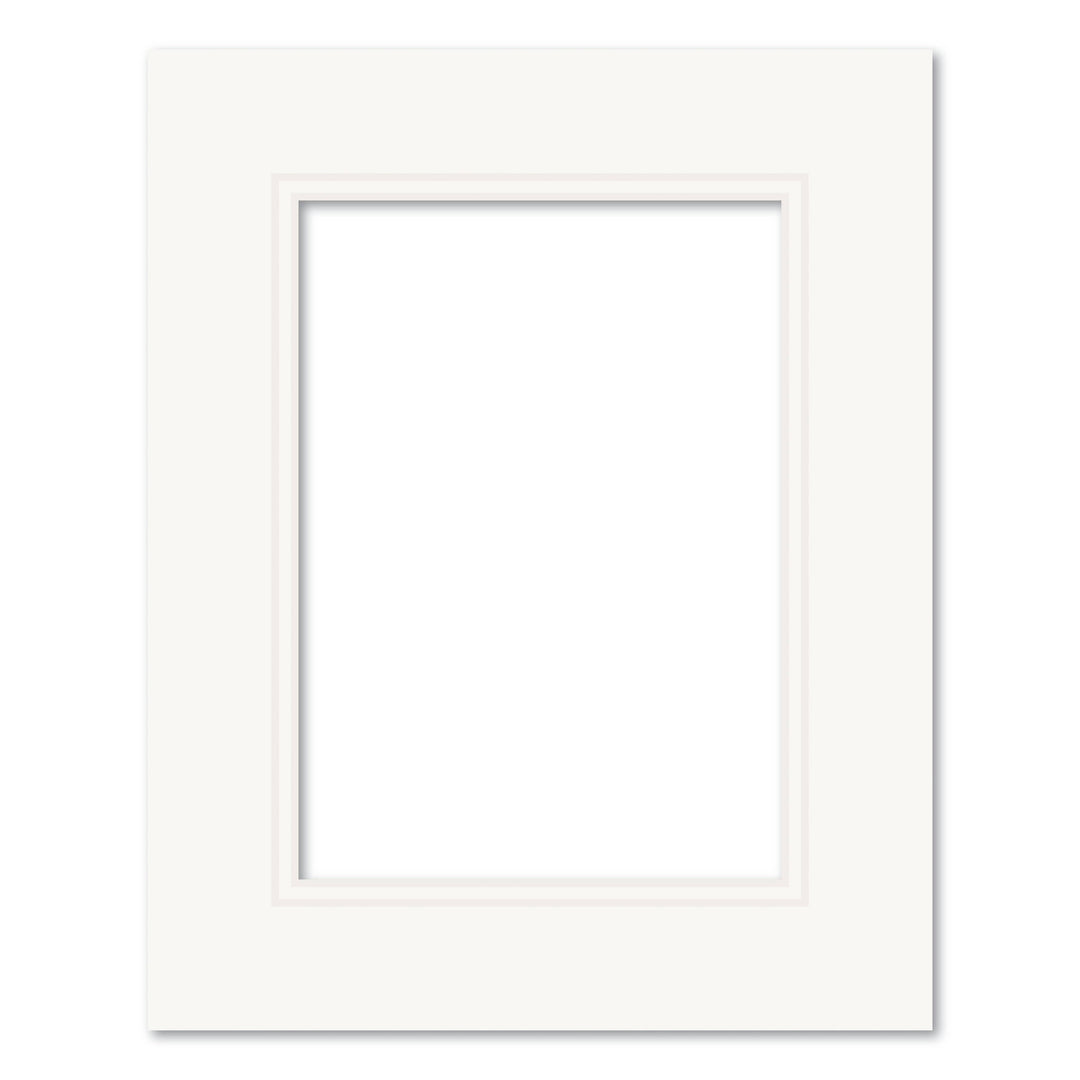
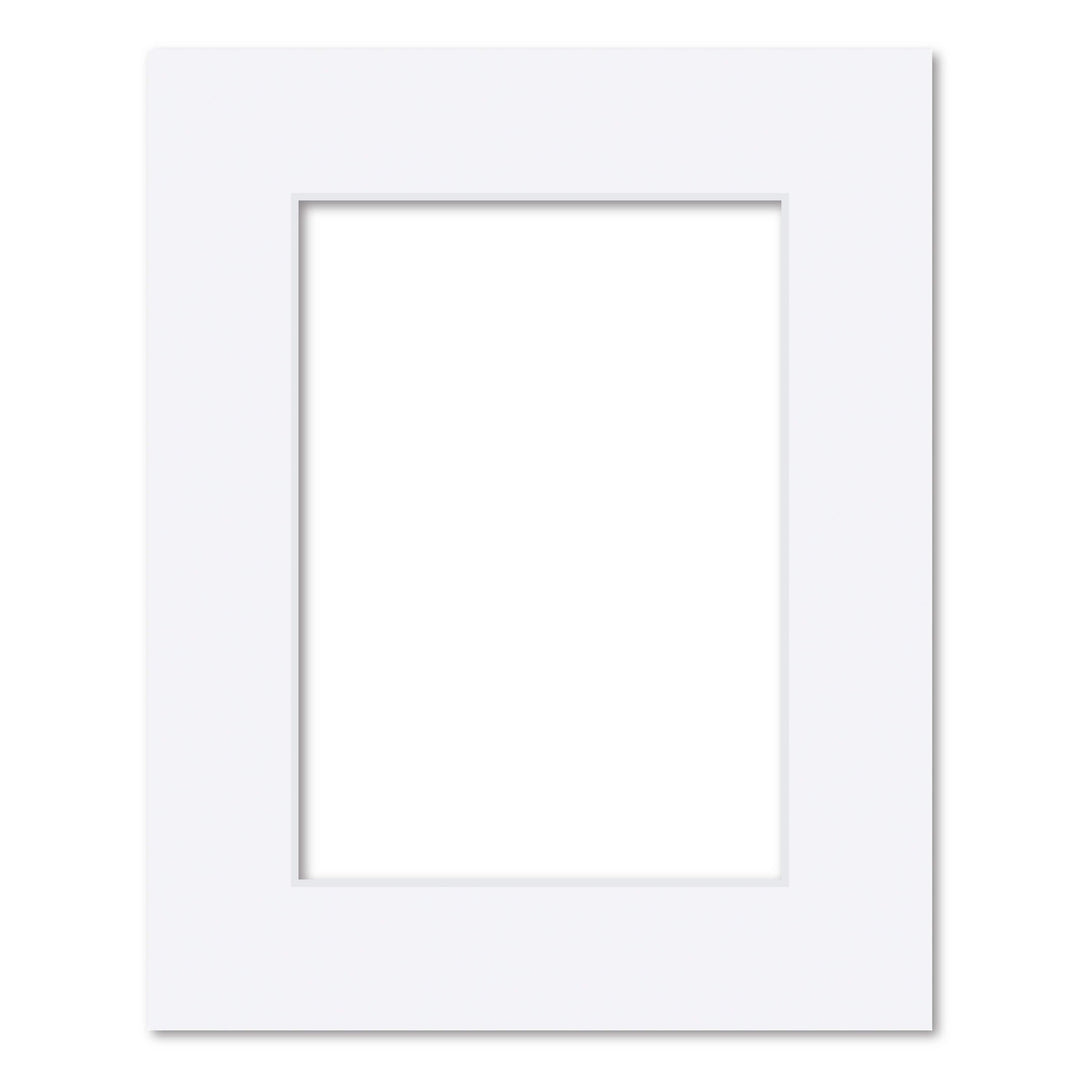
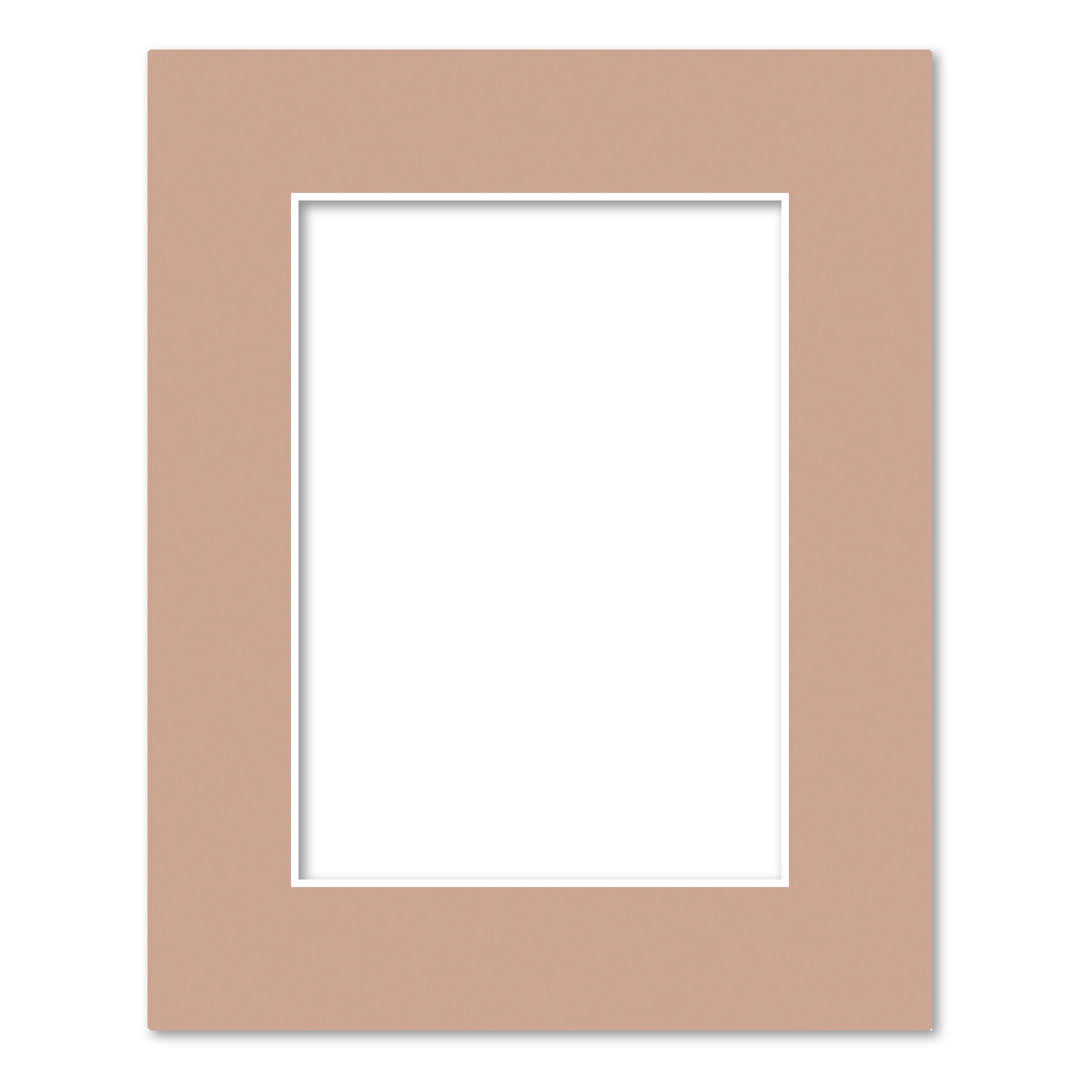
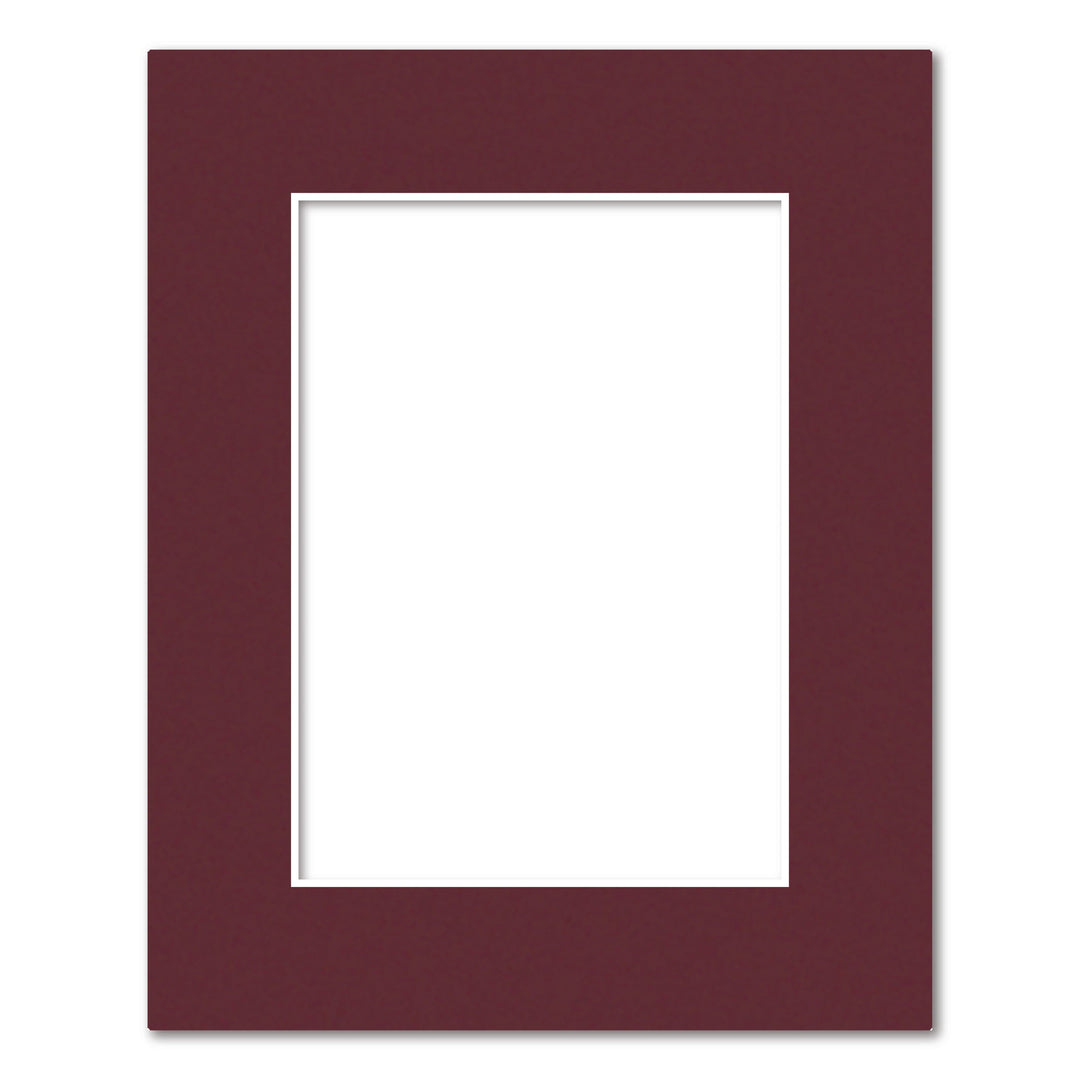
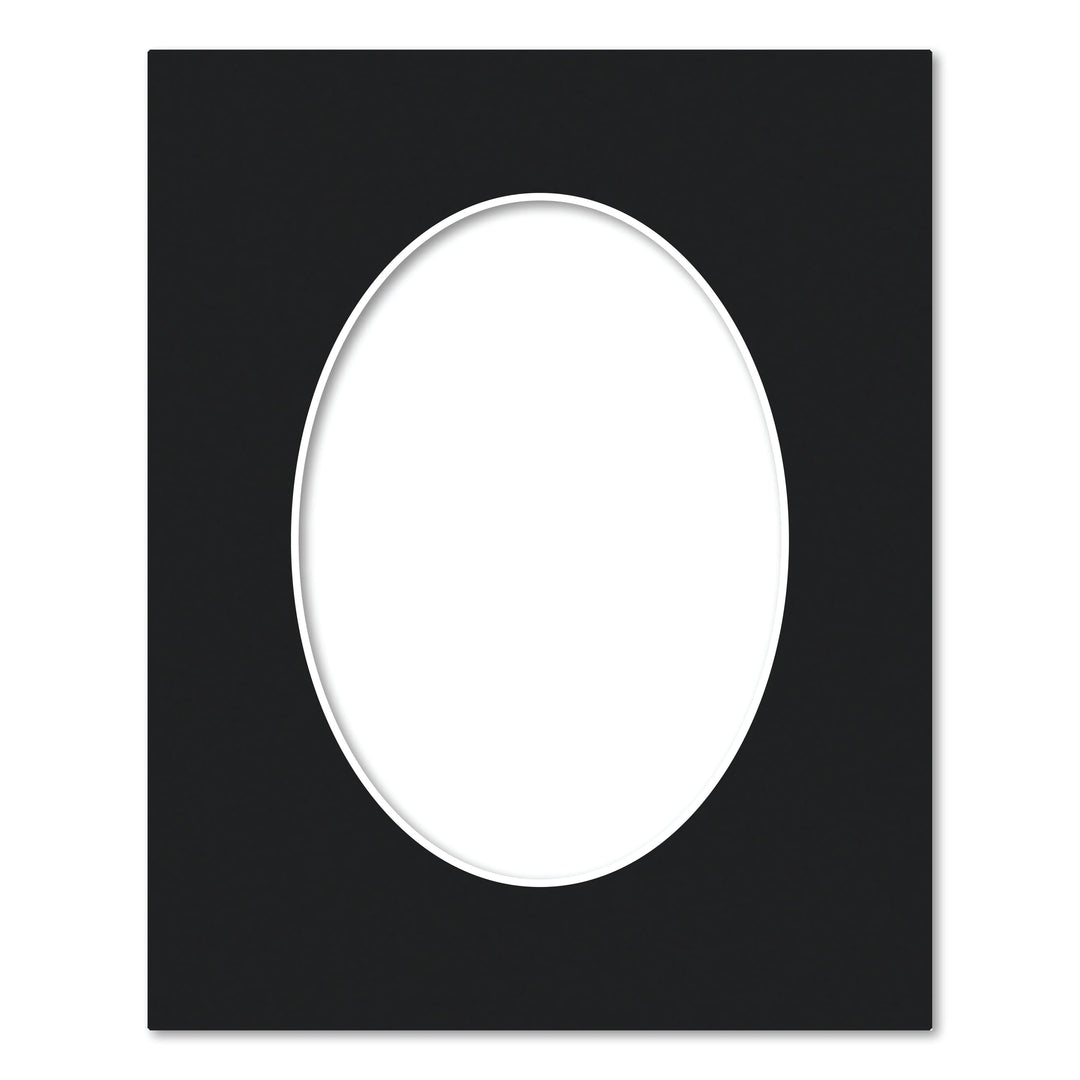
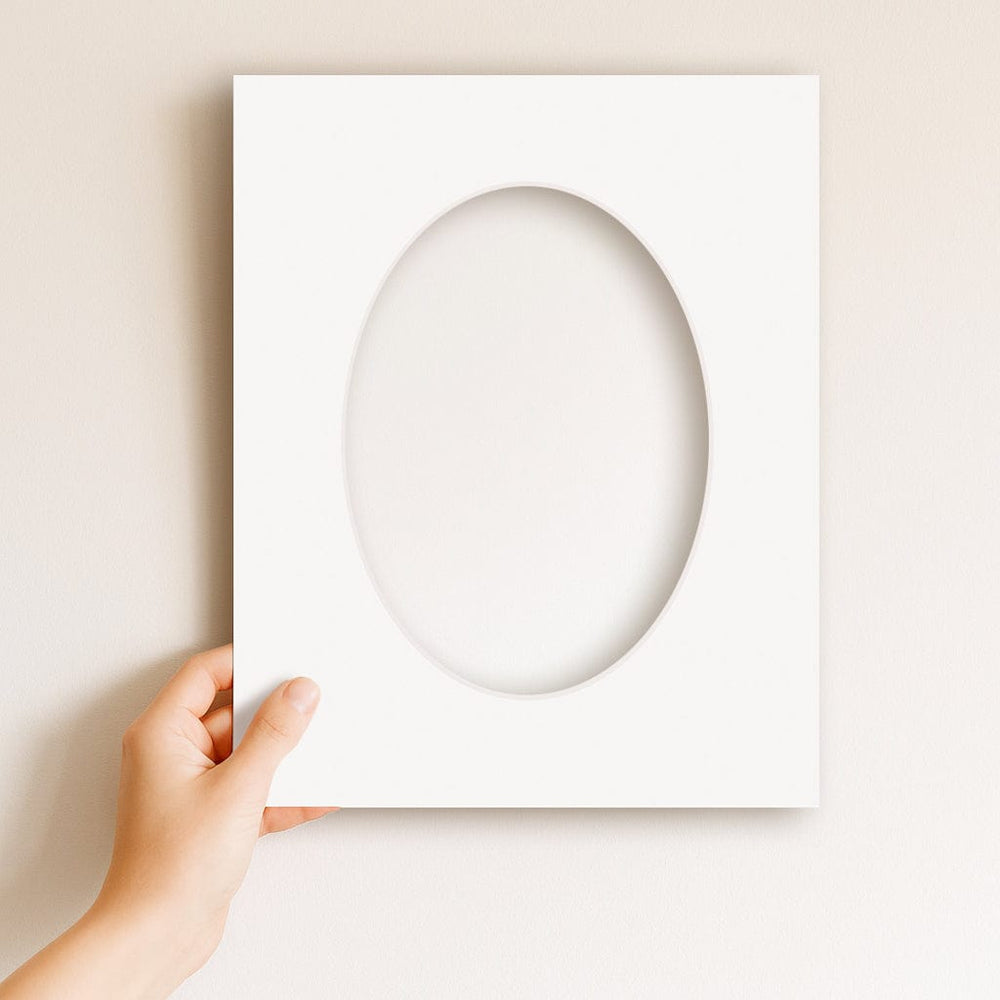
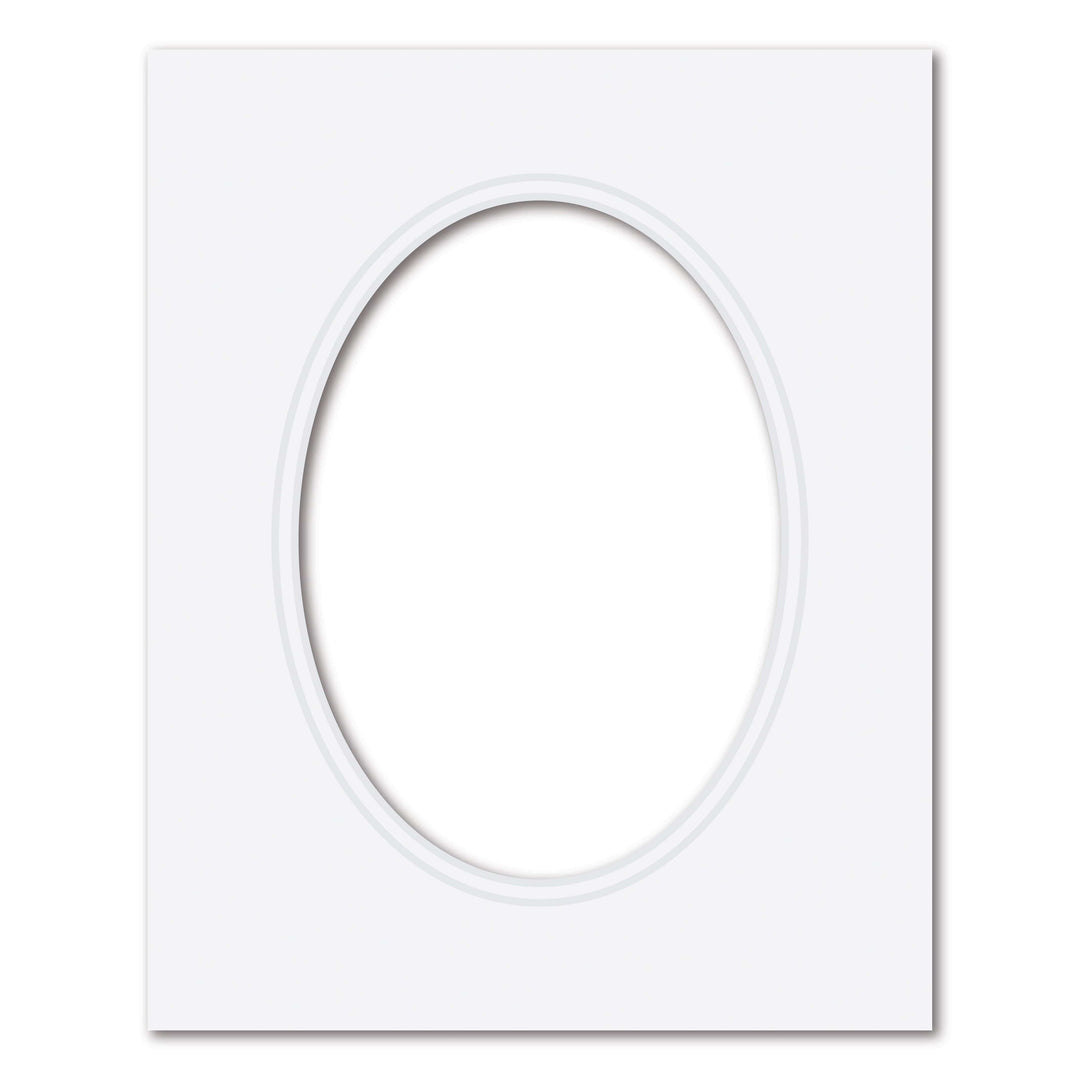
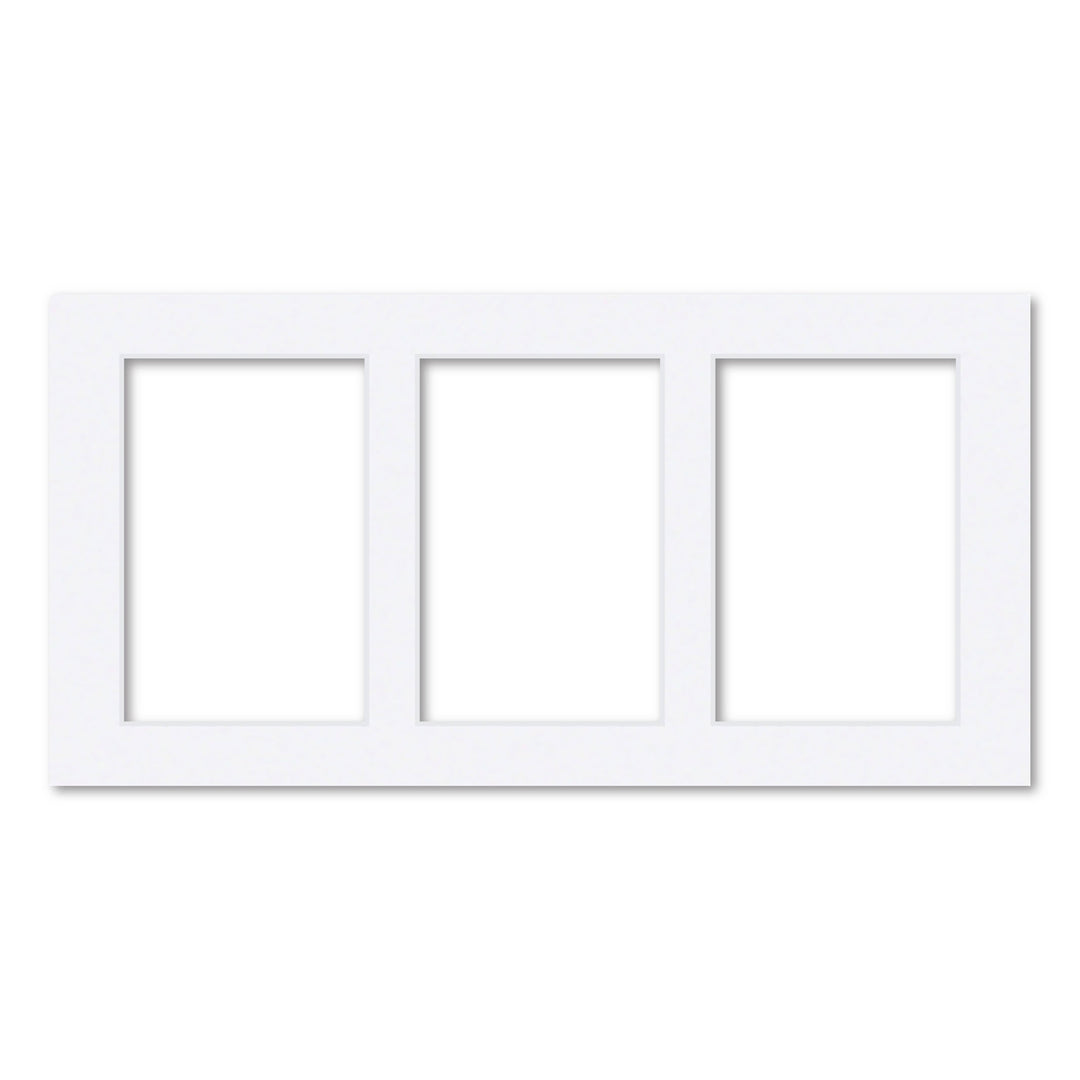
Shop Pre-Cut Photo Mats and Matboards Online with Profile Australia
Explore the complete range of matboards from Profile Australia. Whether you're looking for full, uncut sheets of matboard, standard single white window mat boards or double-layered matboards, we offer a full range of mat boards and mount boards in different sizes and colours.
Our mat boards are proudly made in Australia using acid-free, eco-sustainable papers and are backed by our lifetime guarantee.
We also offer a complete range of Picture & Photo Frames, so you can choose your own frame and mat board combination to suit your photo, print or artwork.
Frequently Asked Questions About Attaching Photos to Mat Boards
What is the best tape to use for attaching artwork to a mat board?
The best tape to use is acid-free paper hinging tape. It is designed for picture framing and allows the artwork to hang from the top edge without being permanently stuck down on all sides.
Can I use double-sided tape to attach a photo to a mat board?
Double-sided tape is not recommended for paper-based photos, prints or artworks. It can hold the paper too firmly and may cause wrinkling or puckering as the paper expands and contracts over time.
Should I tape all four sides of the photo?
No. In most cases, you should only hinge the photo along the top edge. This lets the photo hang naturally and reduces the risk of buckling inside the frame.
How many tape hinges do I need?
For small and medium photos, one or two tabs are usually enough. For wider prints, use T-hinges spaced approximately every 20-30cm along the top edge.
Are photo corners better than hinging tape?
Photo corners are a very safe option because no adhesive touches the photo. They work well for smaller photos, certificates, postcards and keepsakes, especially when used with an acid-free backing insert. Hinging tape is usually more secure for larger paper-based prints.
Do I need an acid-free backing insert behind the photo?
It is strongly recommended. An acid-free backing insert helps protect the back of your photo from contact with standard frame backing boards, which may become acidic as they age.
Want to read more? You may also like:
- How to Insert a Photo Into a Matted Photo Frame
- What is a Matboard?
- Why Art Wrinkles and Buckles in a Frame
- How to Attach our Hanging Pack and Attach Wire String to the Back of Your Photo Frame
If you have any questions about choosing the right mat board, tape or backing board for your framing project, please contact us. We are happy to help.