Table of Contents
Why Gallery Walls Work
Gallery walls have become one of the most personal and creative ways to decorate a home, and Profile Australia’s Decorator Wall Art Prints collection offers endless inspiration to get started.
Whether it’s a collection of travel memories, abstract art, or your favourite coastal prints, a well-planned gallery wall transforms blank space into a story worth telling. It gives personality to a room and brings warmth, texture, and depth to your décor.
Unlike a single oversized artwork, a gallery wall grows with you. It can start small and expand over time. For first-time decorators, this makes it an approachable way to express style without committing to a single piece. The key lies in planning your layout, curating cohesive prints, and hanging them with care.

Step 1 - Plan Your Gallery Wall Layout
Before selecting your artwork, it helps to define the physical space your gallery wall will occupy. Planning first ensures that every frame has room to breathe and that your final arrangement feels balanced and intentional.
Measure your wall and define your “canvas”
Begin by measuring the full width of the wall and noting any furniture below it. The centre of your layout should sit roughly 150 cm from the floor, close to average eye level. This may vary depending on ceiling height and the visual weight of the furniture underneath.
Create a life-size layout on the floor
- After measuring your wall, use painter’s tape to mark out the same dimensions on your floor. This helps you visualise the layout at full scale without marking the wall.
- Cut out rough frame shapes from newspaper or craft paper in the sizes you’re considering (A3, A2, A1, or larger). Lay these inside your taped outline.
- Start with one larger anchor piece as your visual focal point. Then position a second anchor diagonally offset to create balance and energy.
- Avoid placing the main anchor dead centre; slightly offset compositions often feel more natural and dynamic.
- Surround your anchors with a mix of medium and smaller frames to add rhythm, alternating between landscape and portrait orientations for variety and movement.
- Shift your paper pieces around until the spacing feels even and balanced across the layout.
- When satisfied, take a quick photo of the arrangement for easy reference when it’s time to hang.

Below is a guide to common external frame dimensions:
| Size | Approximate External Frame Dimensions |
|---|---|
| A0 Framed Print | 123cm × 87.1cm |
| A1 Framed Print | 87.1cm × 62.4cm |
| A2 Framed Print | 62.4cm × 45.0cm |
| A3 Framed Print | 45.0cm × 32.7cm |
| A4 Framed Print | 32.7cm × 24.0cm |
Spacing rules that always look good
Consistent spacing keeps your arrangement cohesive. A gap of around 5 cm between frames works well for most layouts. Wider gaps can make large prints feel lighter, while smaller gaps suit compact walls with smaller frames. Don’t forget to check level alignment across the top edges for a professional finish.
For extra help, see How to Hang a Gallery Wall Like an Expert and the Picture Frame Wall Hanging Calculator on Profile Australia’s blog for precision spacing tips.

Step 2 - Choose Wall Art Prints With a Unifying Thread
Once you’ve defined the layout, it’s time to select the art that will bring your wall to life. The best gallery walls feel collected, not random, with pieces that share a visual or emotional connection.
Decide on a theme or mood
Start by identifying the feeling you want to create. A shared theme or palette ties different styles together and helps your wall look curated. Try building around:
- Colour family: soft neutrals for calm, bold hues for energy.
- Subject theme: botanical prints, abstract line art, or coastal photography.
- Artist or style influence: mid-century, minimalist, or vintage.
Explore ideas in these popular collections:
- Coastal & Beach Wall Art Prints
- Modern Wall Art Prints
- Floral & Botanical Prints
- Popular Artists
- Wall Art Style Trends
Mix styles, formats and orientations
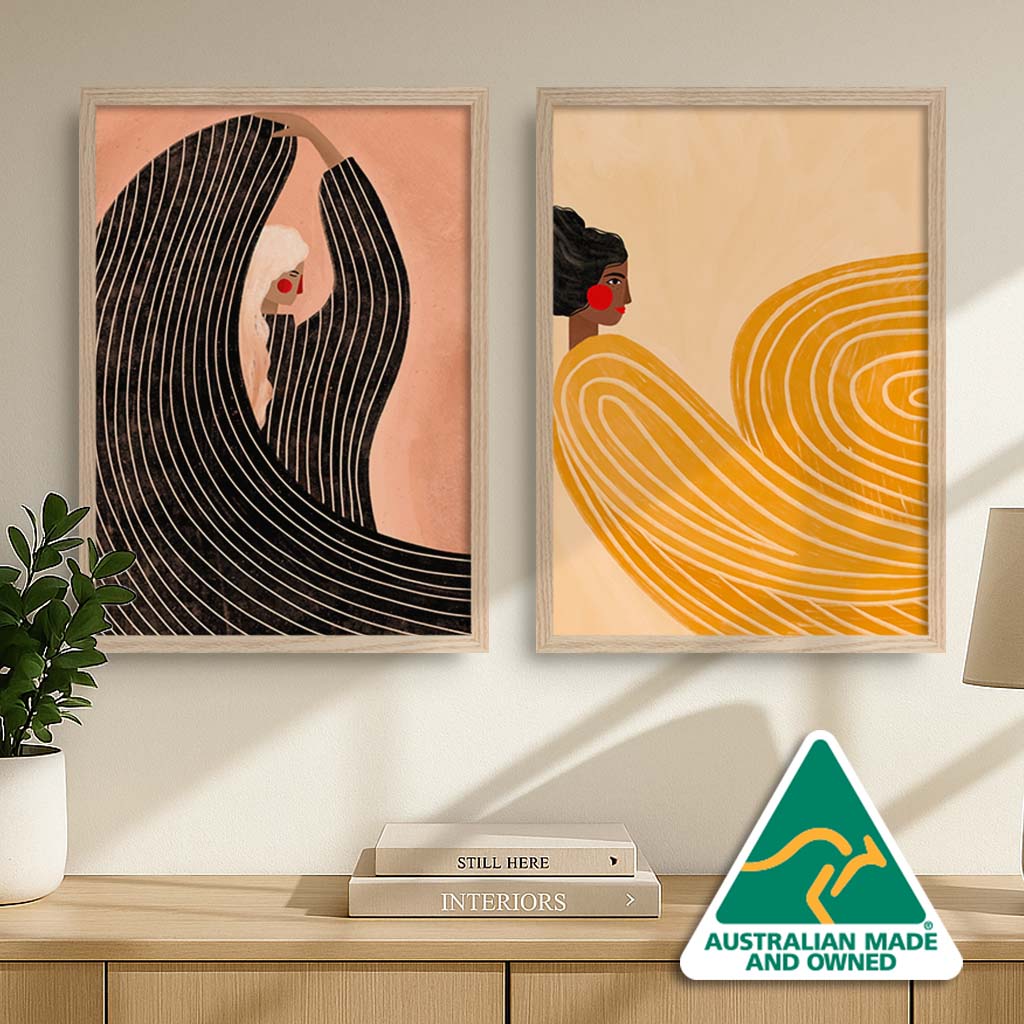
Combining different art types, such as photography, illustration, and abstract painting, adds visual depth. Balance heavier, darker pieces with lighter or more minimal prints. Play with size and orientation to create flow; alternating portrait and landscape helps avoid rigidity.
Frames and mats as the great unifiers
Even when your prints vary in style, matching frames or mats bring cohesion. Choose one consistent finish, like matte white, natural oak, or matte black timber, to anchor the mix. White bevel-cut mats or intentional white borders around prints add breathing space and visual harmony.
If you’re new to styling, our range of pre-selected gallery wall frame sets can simplify coordination and ensure consistent materials and finishes across all pieces.
Step 3 - How to Hang a Gallery Wall: Tools, Spacing and Straight Lines
Once your layout is final and your prints are chosen, it’s time to bring your vision to the wall. The goal here is precision and care, ensuring each piece is secure, level, and beautifully aligned.
Tools and hardware checklist
Before you start, gather all your essentials:
- Pencil and painter’s tape
- Tape measure and level
- Hammer and suitable picture hooks for your wall type
Always handle glass-fronted frames with care. For safety, always carry and lift larger sized frames with two hands, by their side rails, not the top rail.
Wall Hanging sequence
Before hanging, you can test your arrangement directly on the wall using paper templates:
- Trace each frame onto paper (newspaper or craft paper works well) and tape these cut-outs to the wall at your measured positions, using painter's tape.
- Adjust until the spacing feels natural and symmetrical from a distance.
- Once satisfied, mark the nail points directly on the paper, hammer in the hooks, and gently tear the paper away.
- Begin with your anchor piece (the largest frame). Hang this first at the measured centre point, which should ideally be around eye level or 150 cm from the ground.
- Step back to check that the anchor feels balanced relative to the surrounding furniture.
- Use the reference photo from your floor layout to guide placement of each subsequent frame.
- Hang pieces outward from the centre, maintaining your consistent 5 cm spacing.
- Recheck level alignment every few frames, as slight shifts can add up.

Finishing touches
Once every piece is up:
- Step back and view the arrangement from multiple angles and distances.
- Make small adjustments as needed for spacing and alignment.
- Add protective felt pads to each frame’s back corners to protect your walls and keep frames stable.

Room-by-Room Gallery Wall Ideas for Every Space
Different rooms call for different moods. Here’s how to tailor your gallery wall to each space while keeping your overall look cohesive.
Living Room Gallery Walls
- Ideal for bold statements or feature walls above a sofa.
- Aim for the artwork width to span roughly two-thirds of the furniture beneath it.
- Keep the bottom row about 20–25 cm above the back of the sofa.
- Combine a few larger prints as anchors with smaller supporting pieces for flow.
Explore our Living Room Art Collection for framed wall art prints that complement open living spaces.

Bedroom Gallery Walls
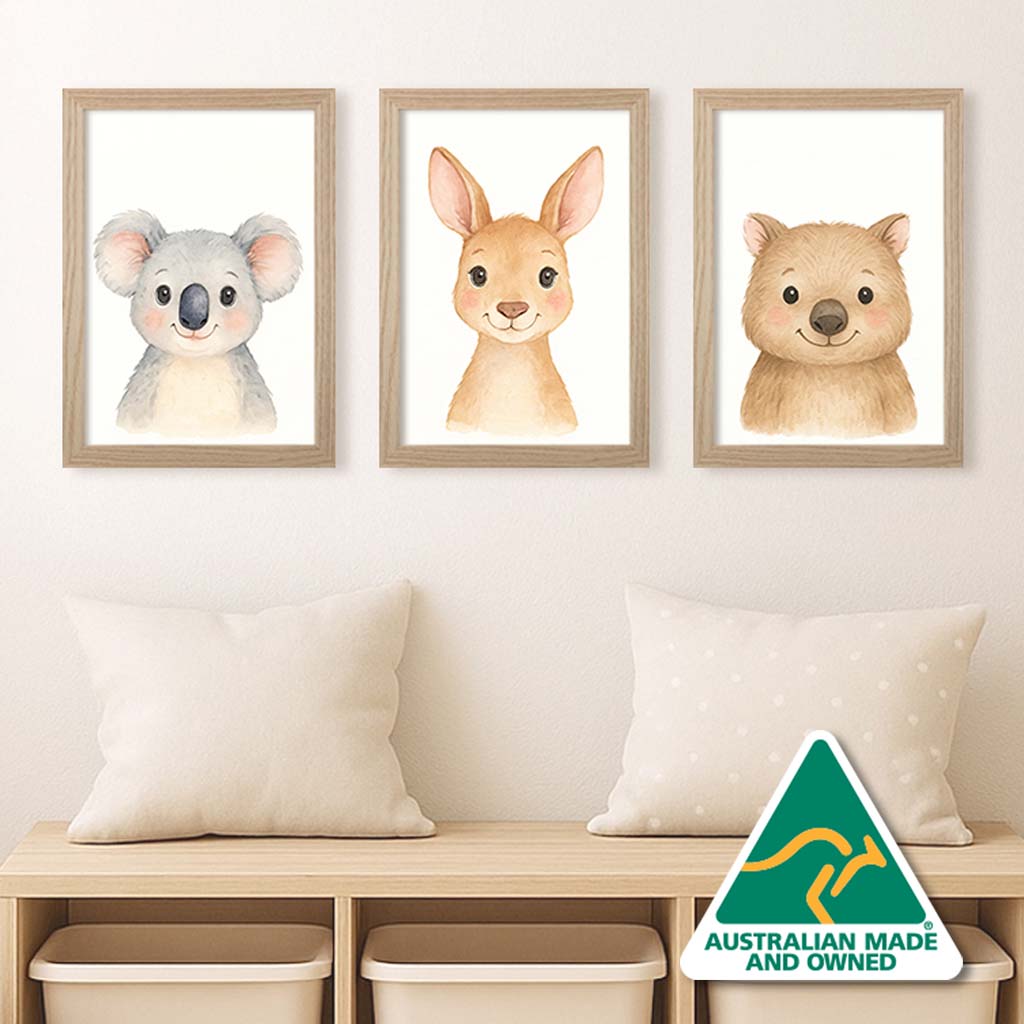
- Choose prints that promote calm, think soft colours, botanical subjects, or minimalist abstracts.
- Try symmetrical pairings above the bed or a three-piece layout that mirrors bedside height.
- Use lighter frame finishes like natural oak or matte white for a soothing effect.
See Bedroom Art Prints for soft, restful wall art ideas.

Hallway and Entry Gallery Walls
- Perfect for narrow or transitional spaces where vertical arrangements shine.
- Consider a linear or stairway sequence of equally spaced frames.
- Choose slimmer profiles and consistent colours to keep the look refined.
Shop our Hallway Art Collection to find prints that add character to smaller or connecting areas.

Style Pairing Ideas: Coastal Calm, Modern Minimal, Botanical Mix
Inspired by current Australian interior design trends, these professionally curated combinations help you achieve a balanced, timeless look. Every great gallery wall tells a story — here are a few tried-and-true style pairings to inspire your own cohesive narrative.
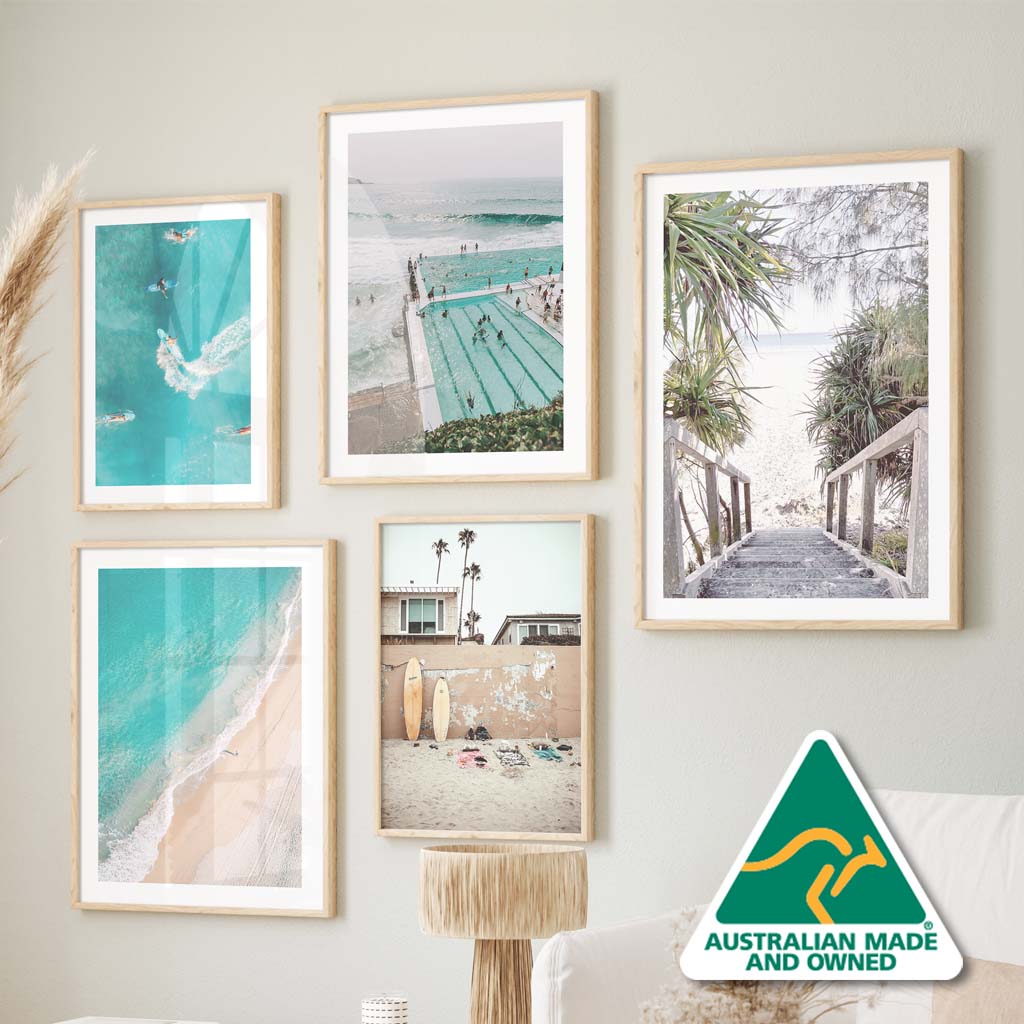
Coastal Calm
- Palette: sands, soft whites, seafoam blues.
- Mix: a blend of seascape photography, abstract coastal brushstrokes, and soft botanical shells.
- Frames: natural oak or matte white for a relaxed, sunlit feel.
Explore Coastal & Beach Wall Art Prints for artworks inspired by the Australian coastline.

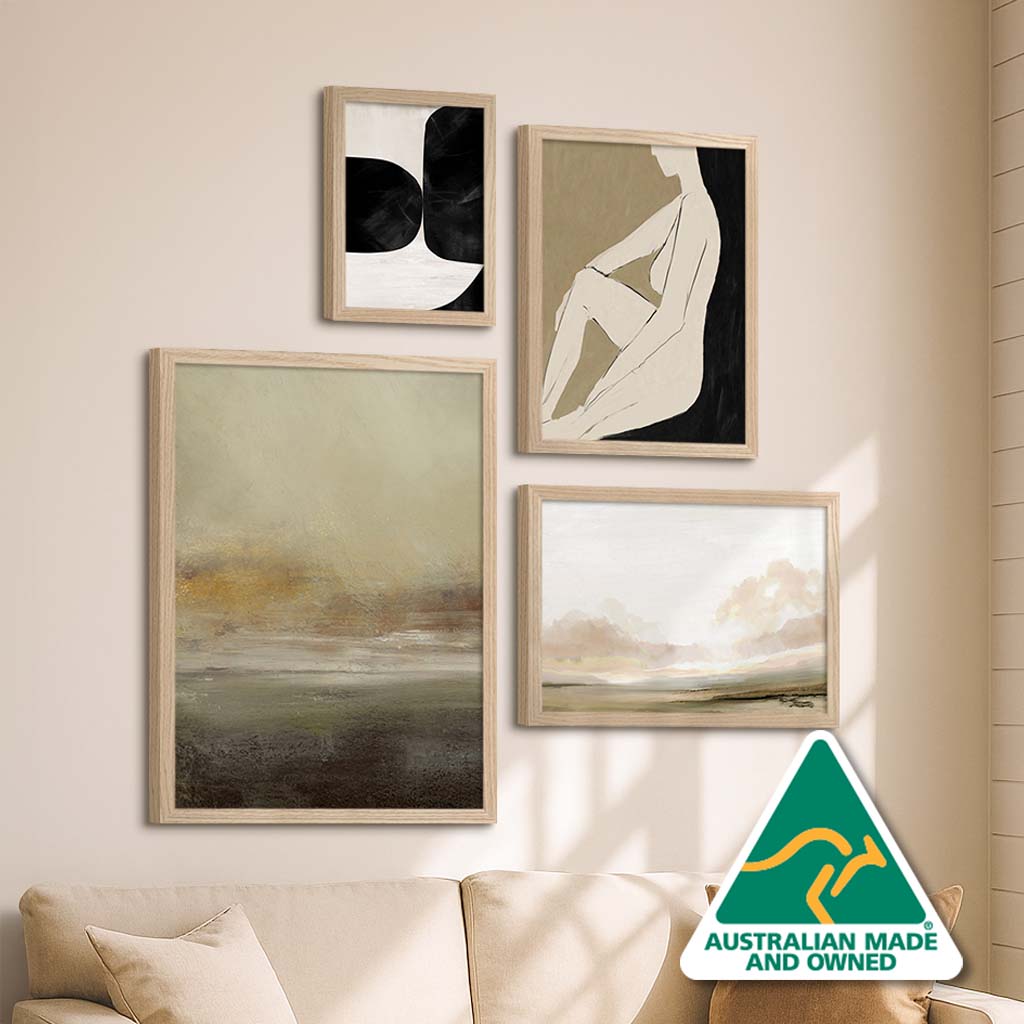
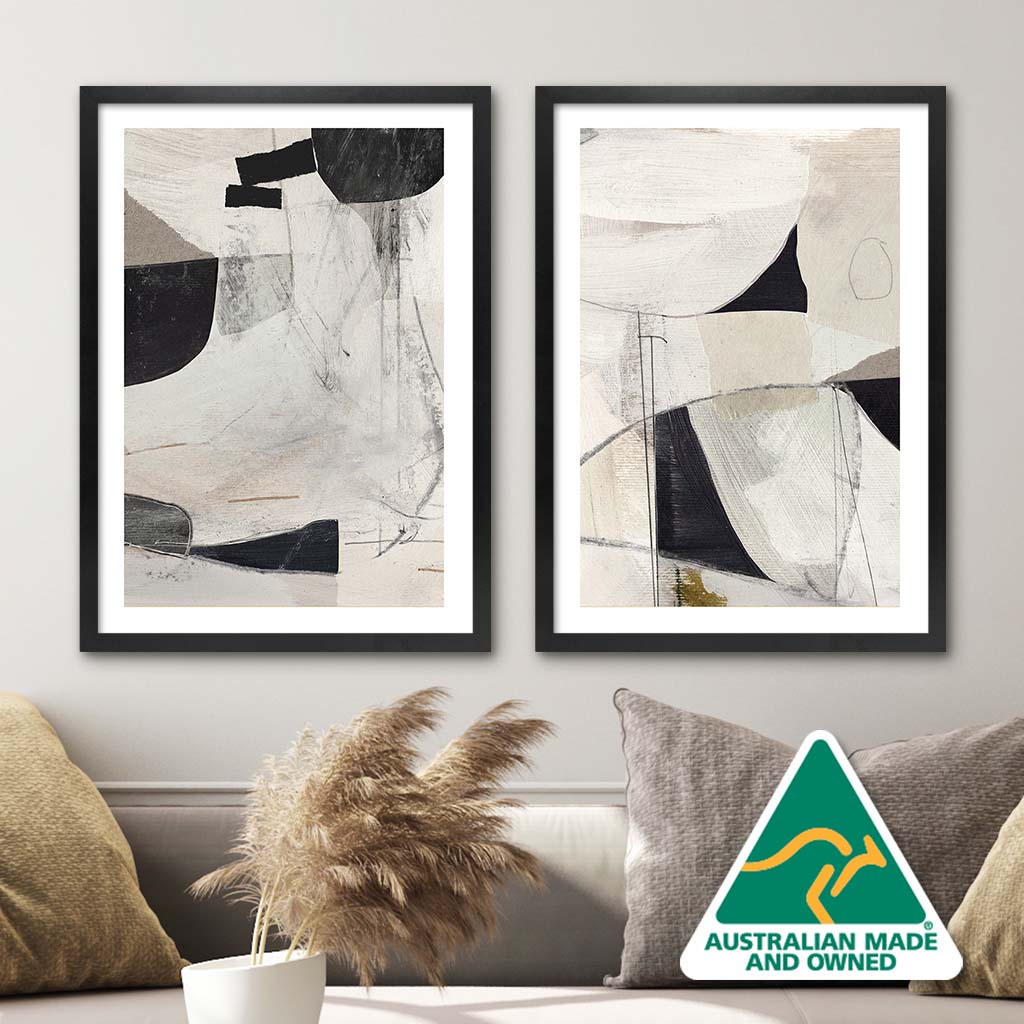
Modern Minimal
- Palette: black, white, and warm neutrals with an optional single accent colour.
- Mix: abstract line art, geometric prints, and monochrome photography.
- Frames: smooth matte black or thin metallic profiles for structure and definition.
See Modern Wall Art Prints to create a refined, minimalist gallery wall.

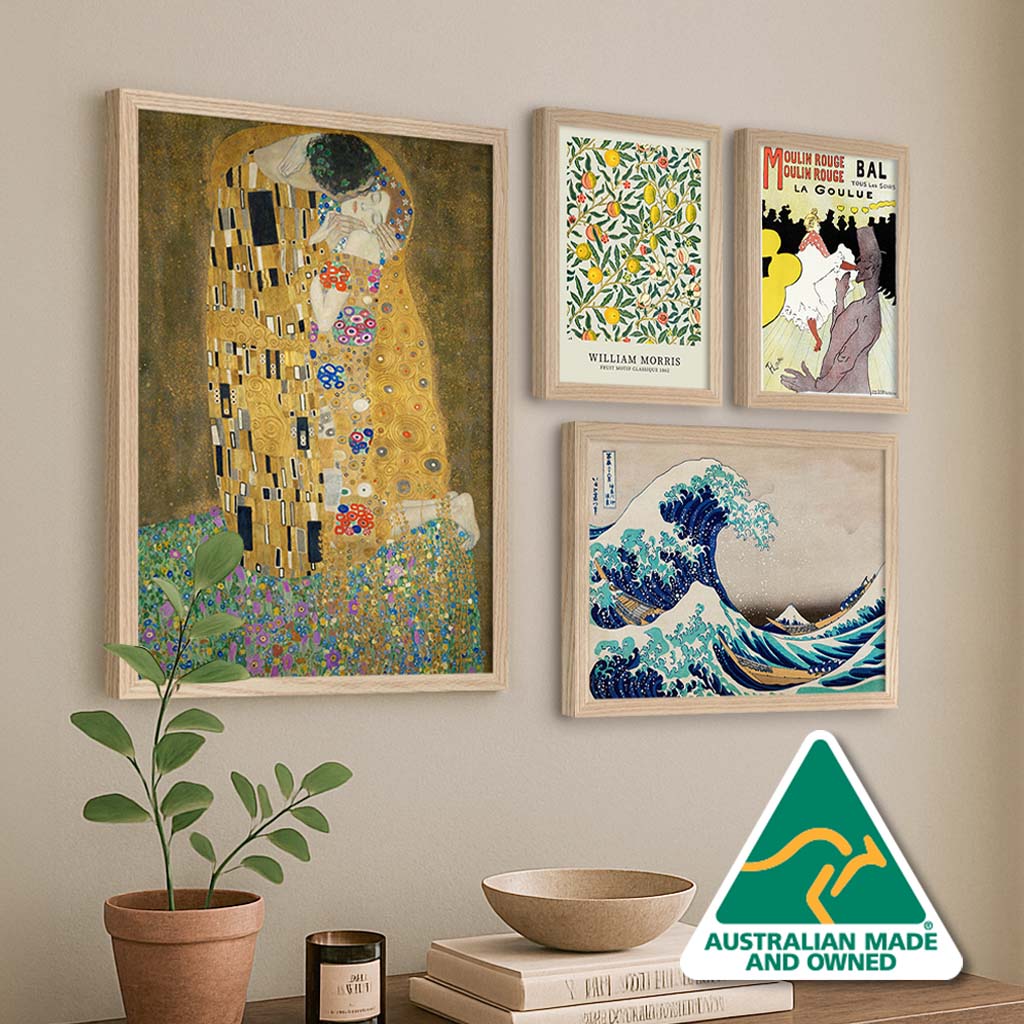
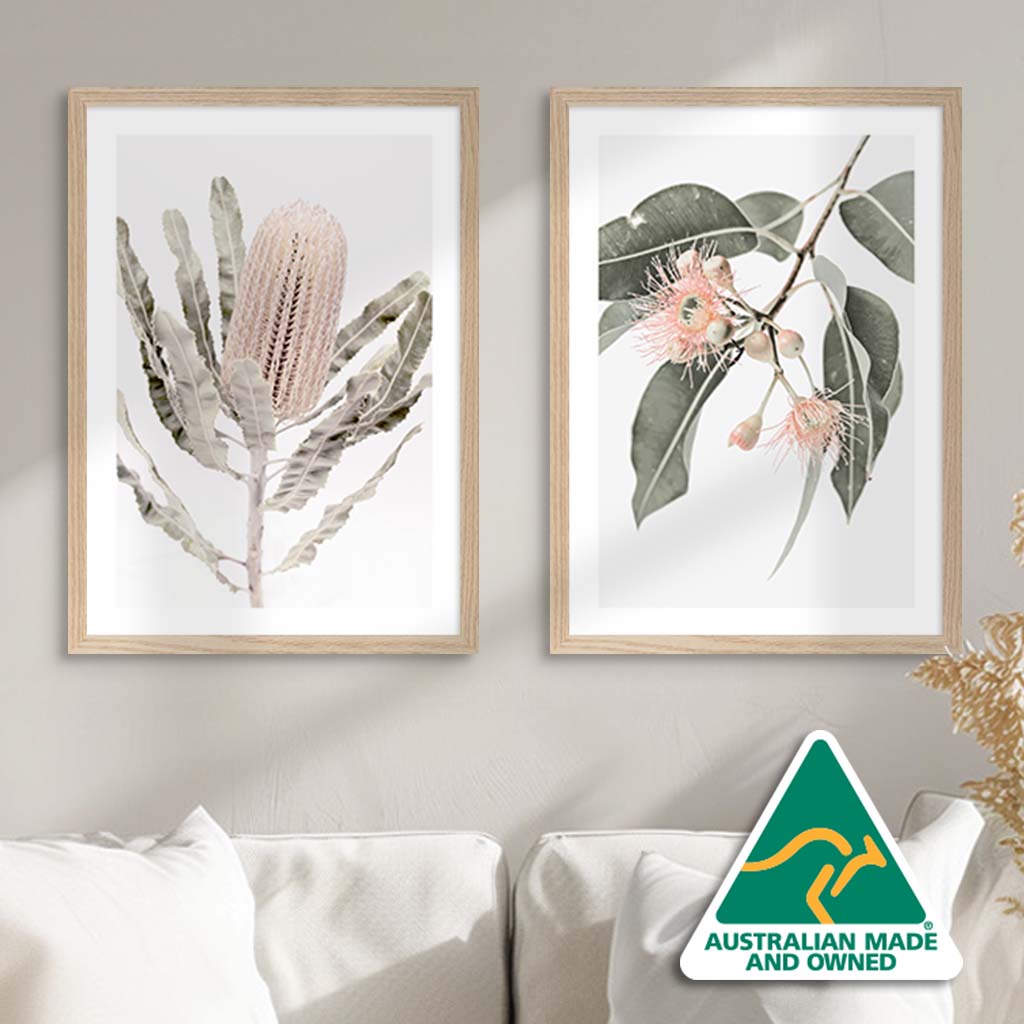
Botanical Mix
- Palette: lush greens, blush tones, and earthy neutrals.
- Mix: detailed floral illustrations, soft nature photography, and abstract leaf motifs.
- Frames: natural timber finishes for warmth and organic cohesion.
Browse Floral & Botanical Wall Art Prints to add natural serenity to your space.
Tip: You can also mix in a few pieces from our Popular Artists and Wall Art Style Trends collections to personalise your look.

Seasonal or Rotating Gallery Walls
A unique way to keep your space feeling fresh is to create a seasonal or rotating gallery wall. Instead of treating your arrangement as permanent, think of it as a living design that evolves throughout the year.
- Seasonal refresh: Swap in lighter, brighter art prints during summer and moodier tones in winter for a simple décor update without repainting or refurnishing.
- Trend rotation: Introduce one or two new pieces inspired by current design trends while keeping your anchor pieces consistent.
- Sustainability focus: Rotating art extends the lifespan of your collection and reduces waste, aligning with conscious home styling.
This approach helps keep your home visually engaging and adaptable to both trends and personal growth.

Common Gallery Wall Mistakes to Avoid
Even seasoned decorators can run into these common pitfalls. Keep your gallery wall polished by avoiding the following:
- Too many small frames: Without at least one or two larger anchor pieces, the wall can feel cluttered and uneven.
- Inconsistent spacing: Measure gaps carefully; even a few millimetres of difference can disrupt alignment.
- Mismatched frame finishes: Stick to one or two complementary tones to keep the look cohesive.
- Hanging too high or low: Always aim for your arrangement’s centre to be around eye level (approximately 150 cm from the floor).
- Unrelated styles: Avoid combining artworks that compete for attention or clash in tone.
Quick Gallery Wall Checklist: From First Idea to Final Hang
- Define your wall space and measure accurately.
- Tape the same area on the floor and experiment with paper cut-outs.
- Choose a theme, colour palette, or mood to unify your prints.
- Mix sizes and orientations for rhythm and movement.
- Select consistent frames or mats to tie your gallery together.
- Use paper templates to test your layout before nailing.
- Hang the anchor first, then build outward with equal spacing.
- Step back, review, and make final micro-adjustments.
FAQs: Your Gallery Wall Questions Answered
How do I choose the right size wall art prints for my space?
Start by measuring the width of your furniture and aim for your artwork to cover around two-thirds of that length. For detailed guidance, use our Picture Frame Wall Hanging Calculator or check the sizing guide on each collection page to ensure the proportions fit your wall perfectly.
How far apart should frames be in a gallery wall?
A gap of about 5 cm works well for most layouts. Adjust slightly depending on frame size.
Do all frames need to match?
No, mixing can look curated when you repeat one unifying element such as frame colour or mat style.
Can I mix photos with art prints?
Yes. Combine photography and art using a shared palette or consistent framing.
What is the best layout for a small space?
Try a vertical stack or two balanced rows of three. Keep gaps consistent and frames slimmer.
How high should I hang my gallery wall?
Centre your layout roughly at 150 cm from the floor, keeping it close to average eye level.
Wrap-Up: Start Curating Your Own Gallery Wall of Art Prints
Creating a gallery wall doesn’t have to be intimidating. With a plan, a few guiding principles, and prints that speak to you, the result will always feel personal and timeless.
Start by browsing our Decorator Wall Art Prints and explore the full range of Modern, Coastal, and Floral collections, all Australian-made and ready to frame.
Also, share your finished gallery wall on Instagram and tag @ProfileAustralia for a chance to be featured.