Table of Contents
Have you ever walked into someone's home and been instantly captivated by their perfectly arranged gallery photo wall? The combination of different frames, sizes, and subjects creates an intriguing visual story that draws you in and leaves you wanting more. If only you knew how to recreate this artistic masterpiece in your own home! Well, fret no more because today we are going to reveal the secrets behind hanging a gallery photo wall like a pro. Get ready to unleash your creativity and transform those dull walls into an awe-inspiring focal point that will have everyone talking.

How Do I Hang a Gallery Photo Wall?
Creating a gallery wall is not only a great way to showcase your favorite images but also an opportunity to add personality and style to any room. Whether you're a seasoned photographer or just someone with an eye for aesthetics, convenient step-by-step guide will guide you through the process of creating a stunning display that will impress all who enter your space.
We've also put this information together for you into a helpful video, to take you through the steps as well.
Steps to Hang a Gallery Photo Wall of Picture Frames Video:
6 Steps to Hanging a Photo Wall Gallery of Frames
After introducing our very popular gallery wall frame sets, customers have asked us for some tips on hanging and displaying their photo frames when creating their own photo walls display, sometimes also called a salon styled hang.
So we have the following simple steps for you to follow so you can hang your picture frame wall gallery set and complete your own beautiful feature wall. While it may seem intimidating, it is really a lot simpler than you think when you follow these steps below.

Step 1 - Build Your Photo Wall Layout
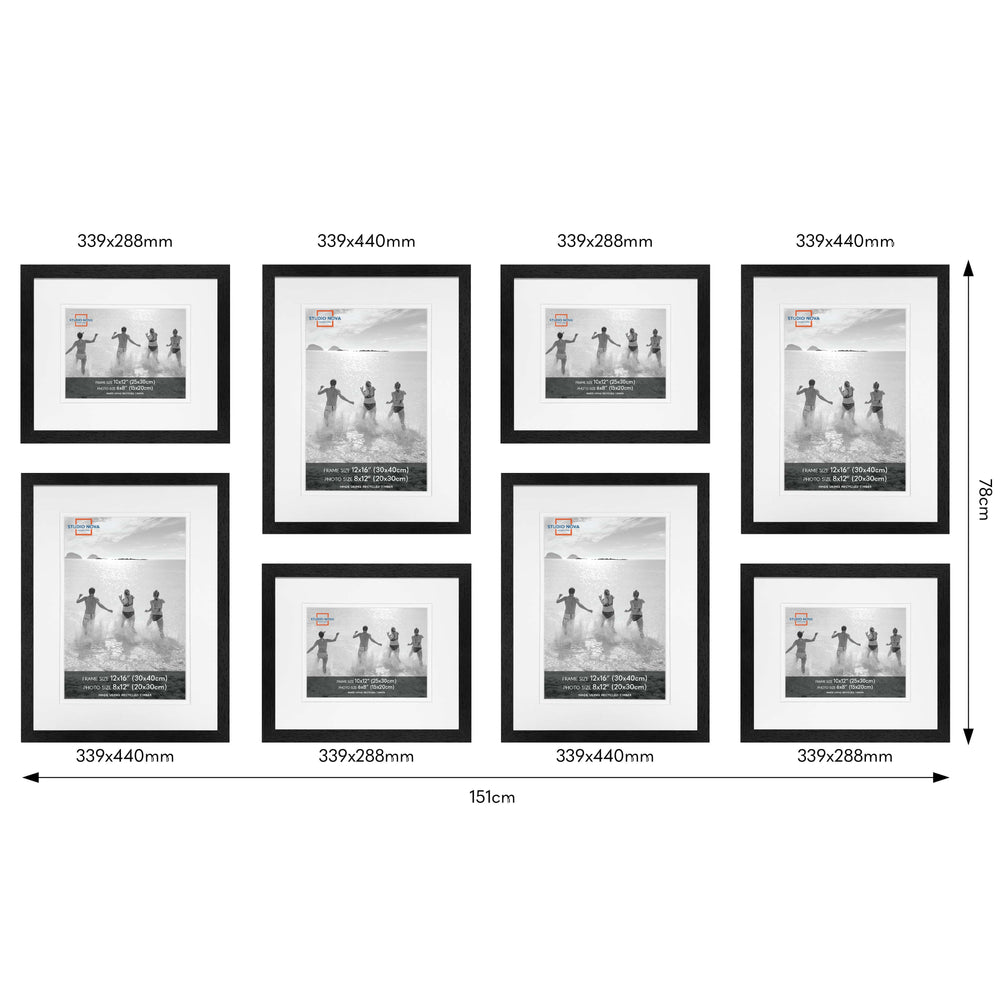
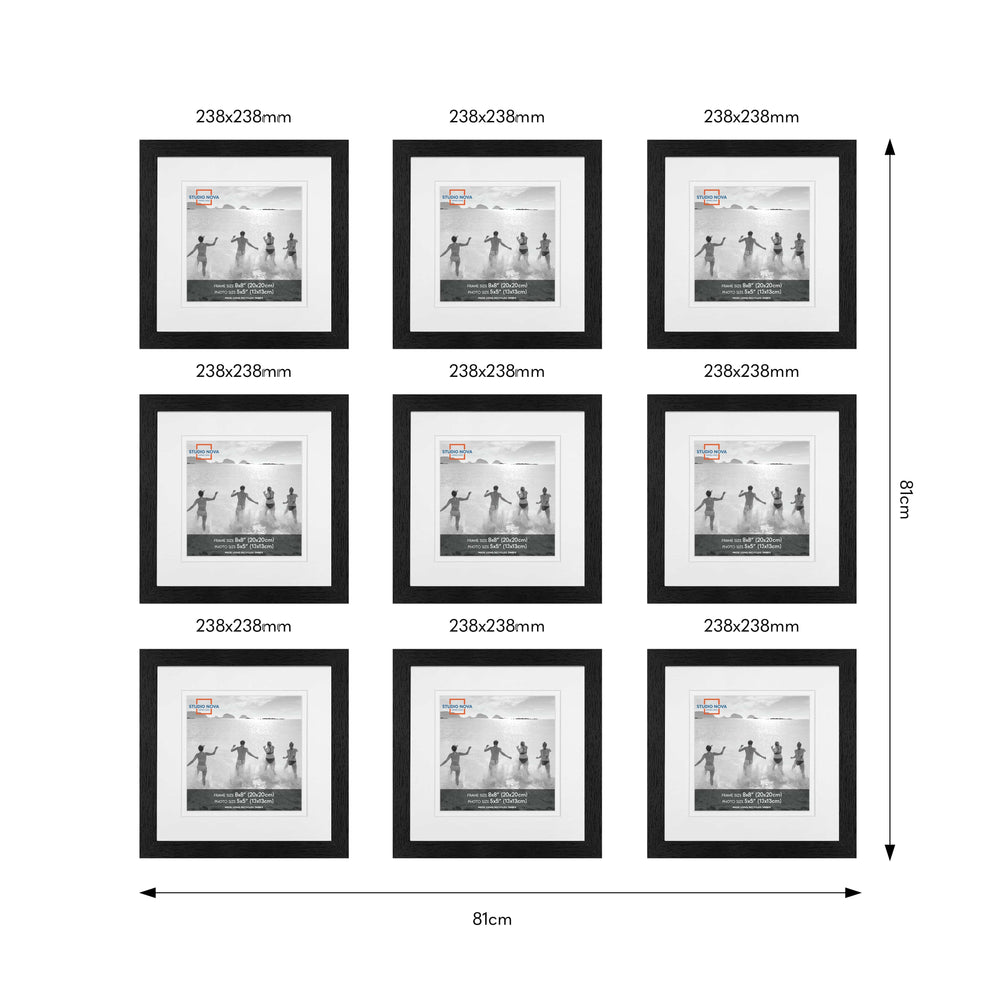
Layout the photo frames on your floor and find the layout that best suits your space. We recommend allowing a 5cm gap between your picture frames.

Step 2 - Find the Look You Want
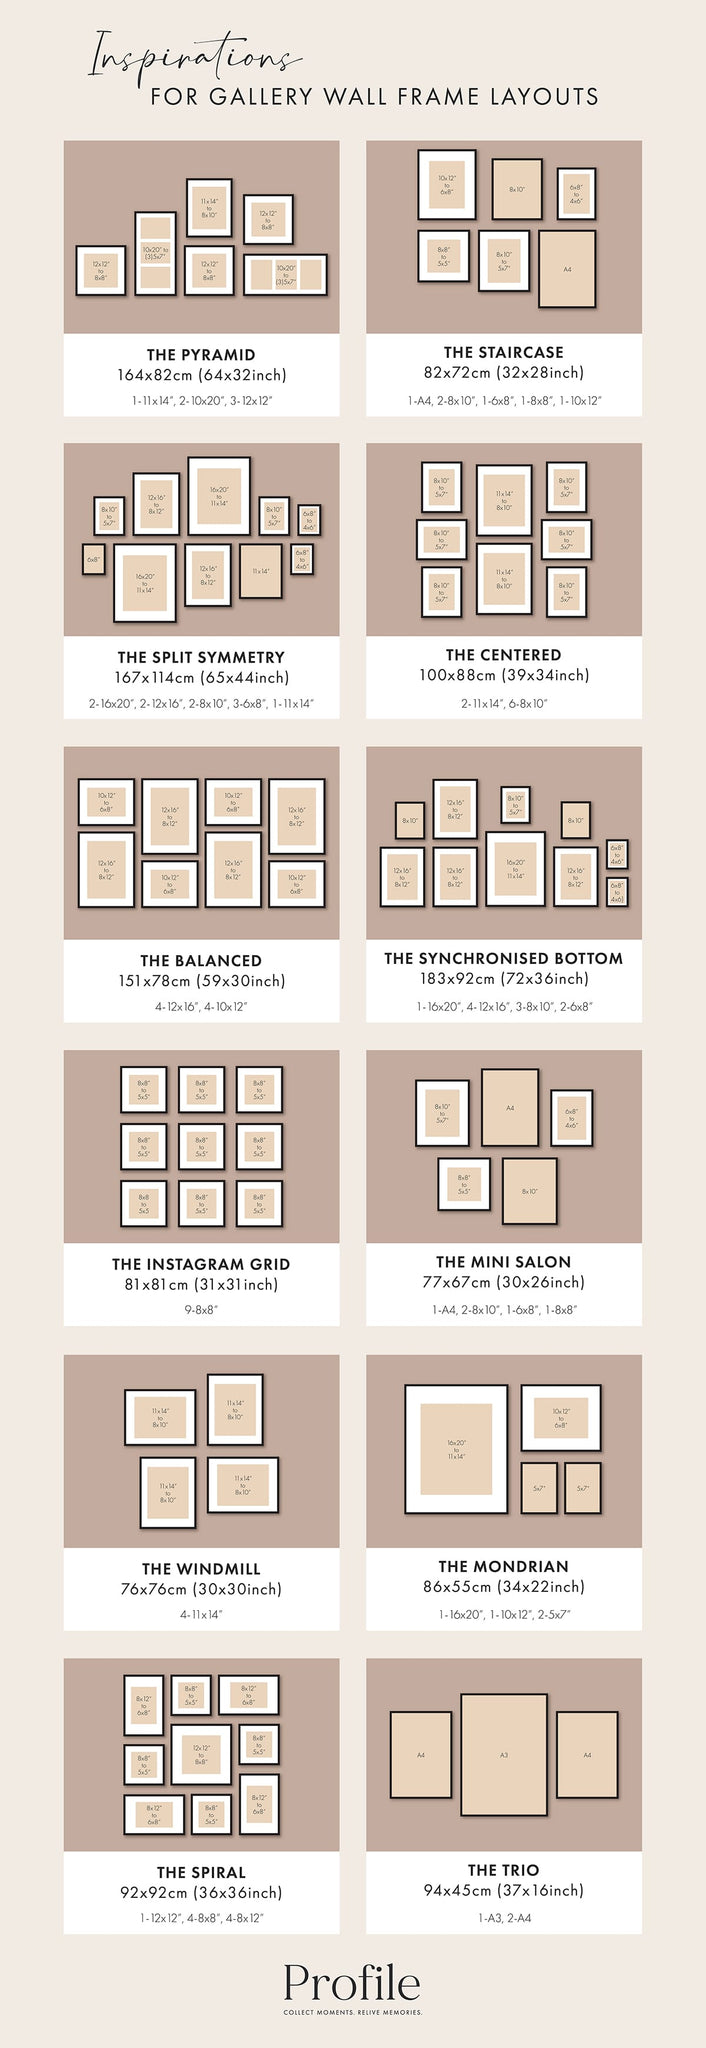
You may already have a diagram or a guide to reference when designing your picture frame photo wall layout, But you can also come up with your own layout design as well.
Place your collection of photos on top of each frame. Stand back and look at them all together. Will this wall collage arrangement look and feel right to you? Try swapping some photos. Does this combination look better for your picture wall?
Once you’ve found the perfect arrangement, use your mobile phone to take a photo of your favourite and final combination for your reference.

Step 3 - Place the Photos into Your Photo Frames
Now you can place the photos into your photo frames, as per the look you have decided on the previous step.
At this stage, you may wish to refer to our other step-by-step tutorial on how to place a photo into a matted photo frame if you need extra helpful tips, which also includes a video:

Step 4 - Display Your Layout onto Your Wall
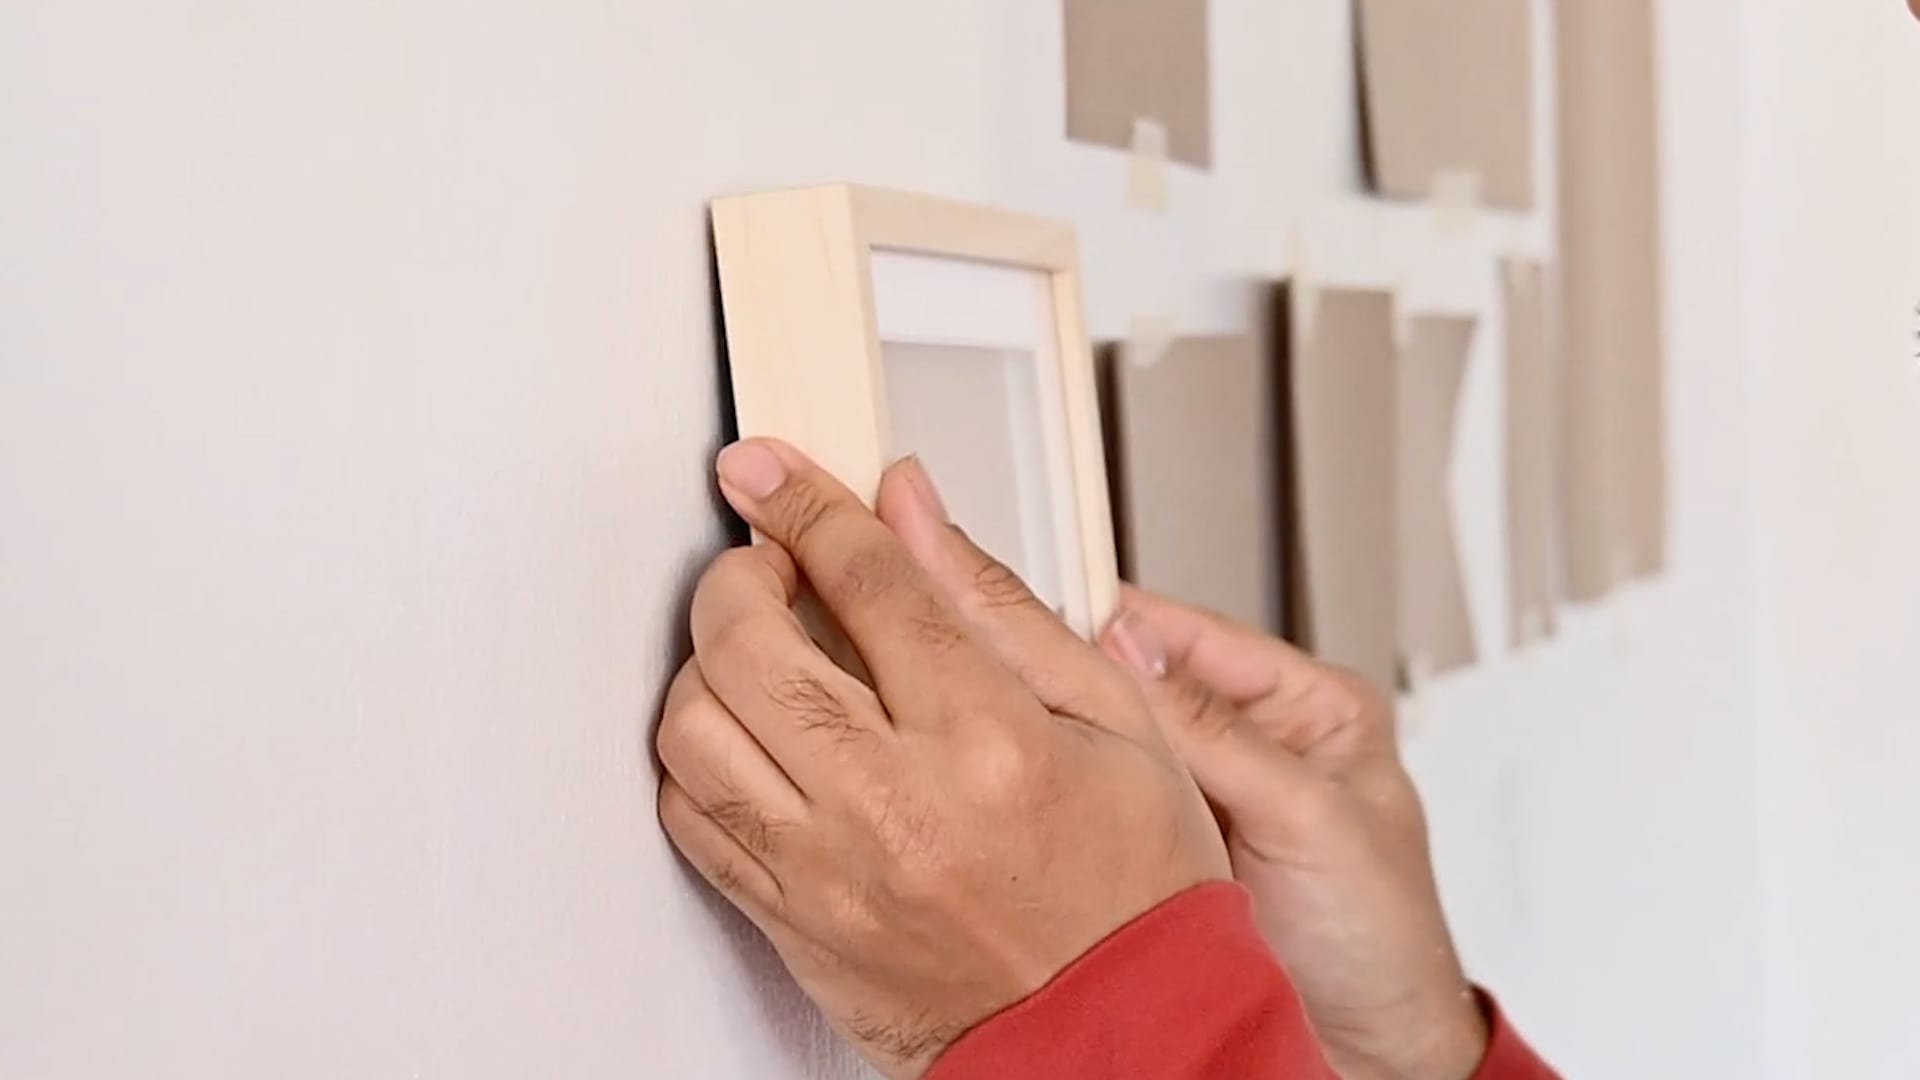
Now, cut some kraft paper or large pieces of paper as per the size of each frame. Use some removable masking tape to stick these pieces of kraft paper onto your wall following the same layout arrangement that you built and decided on for Step 1.
Now use a pencil to mark where each frame will be hung onto your photo wall display. Use a ruler or a level to help ensure your picture frame will be straight.

Step 5 - Mark & Place the Nails or Screws on Your Wall
Make a note on the paper at the appropriate place where to hang each nail or screw.
Once you have placed all the nails or screws, remove the paper and leaving only the nails or screws remaining in the wall.

Step 6 - Hang Your Photo Frames
At this stage you can now hang all of your photo frames on your wall to match your original layout.
If you need some further help with hanging your picture frames on your wall, we also have another helpful tutorial on this as well:
And voila, you have just created your own gallery photo wall of picture frames, which you can admire and enjoy for years to come!

Inspiration for Creating Your Own Gallery Wall Frame Display
Creating a gallery wall can be intimidating, especially if you have no idea where to start. To make things easier for you, we have written a helpful blog post as a guide on Gallery Photo Wall Ideas:
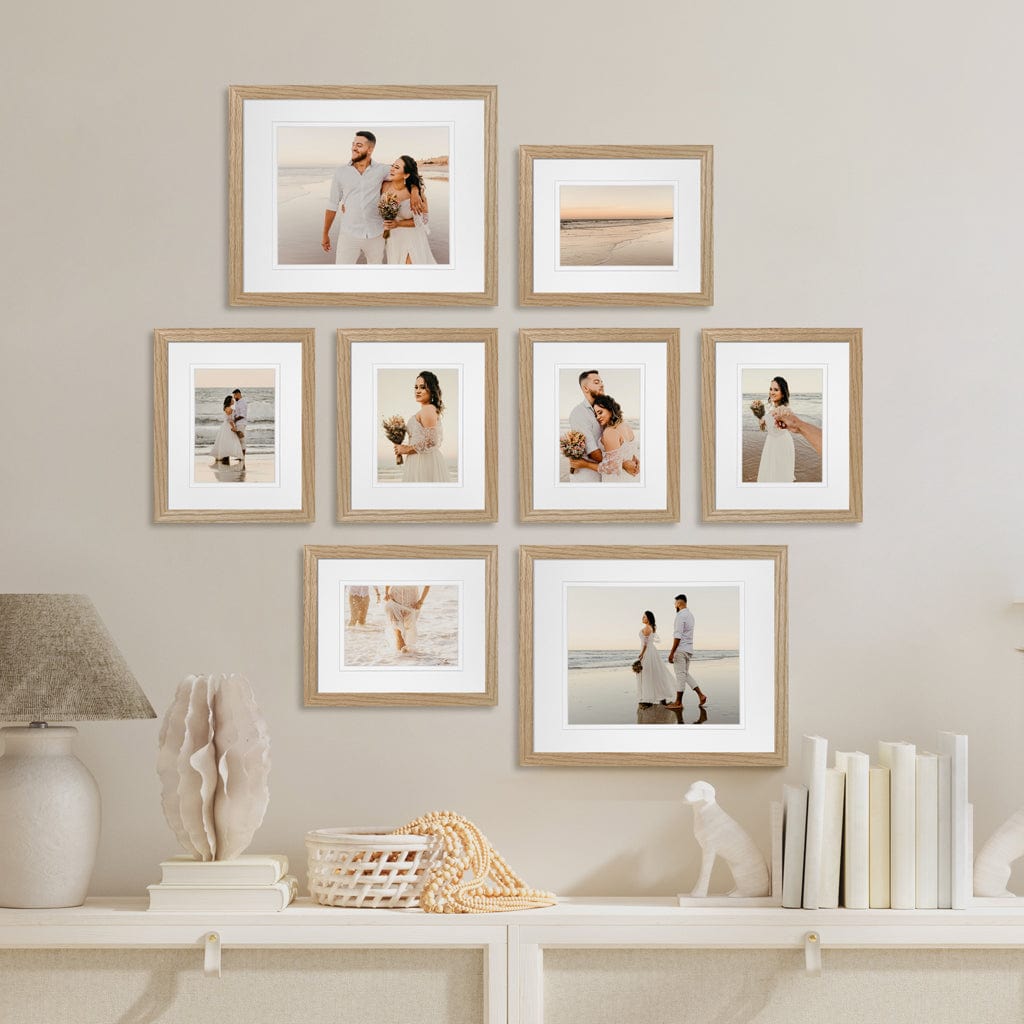
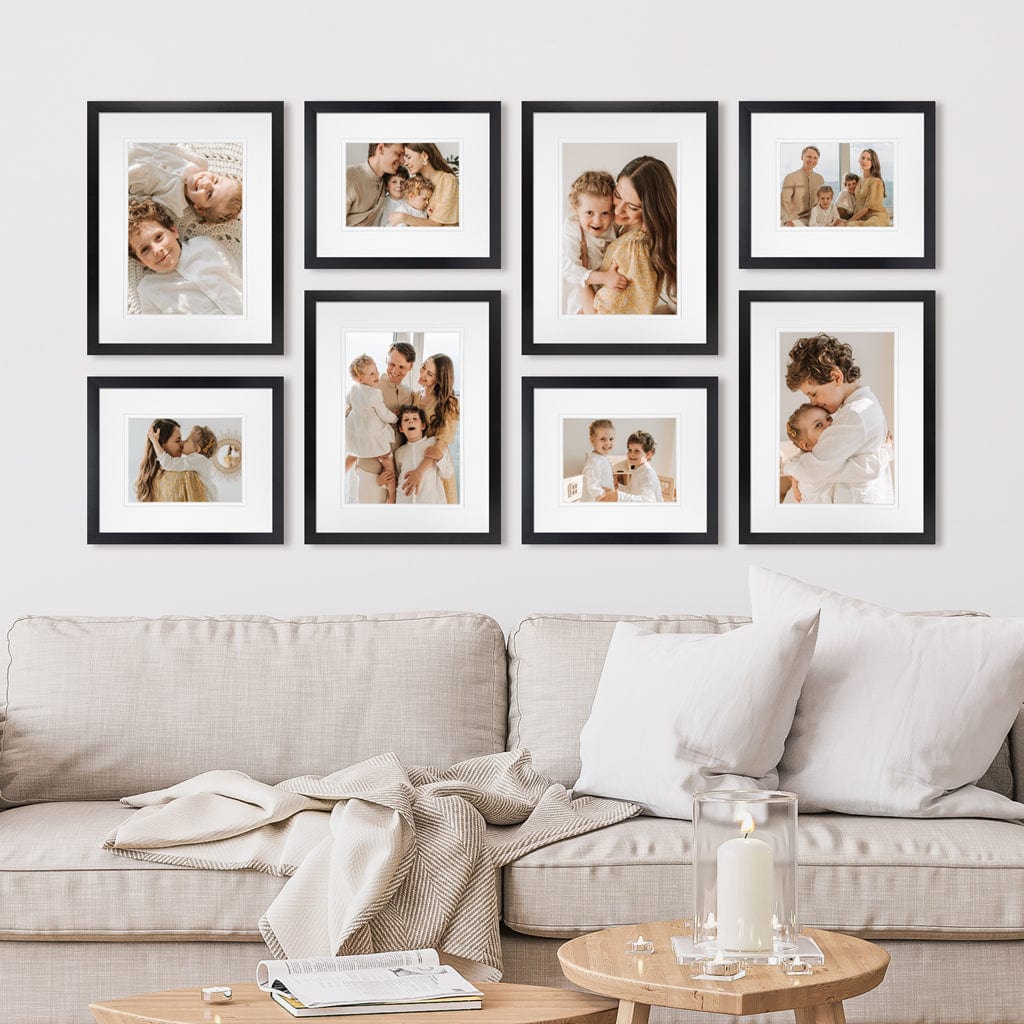
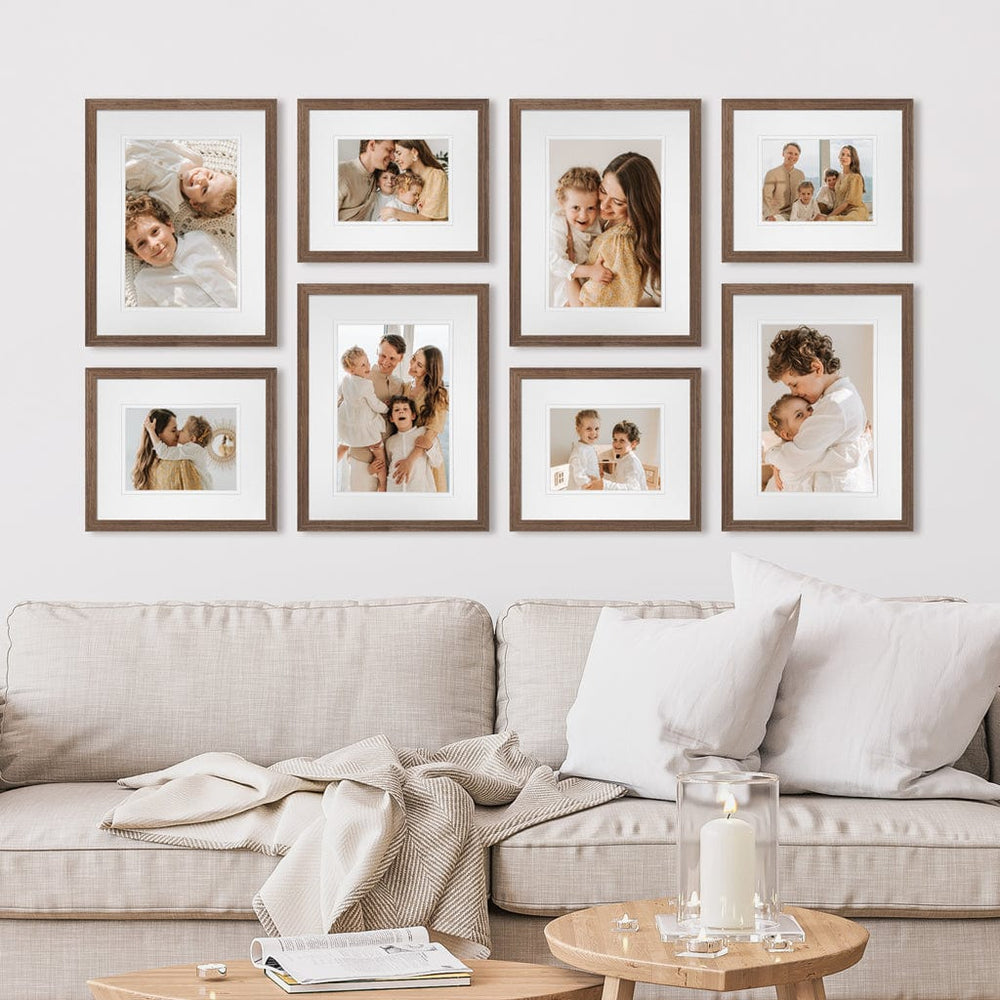
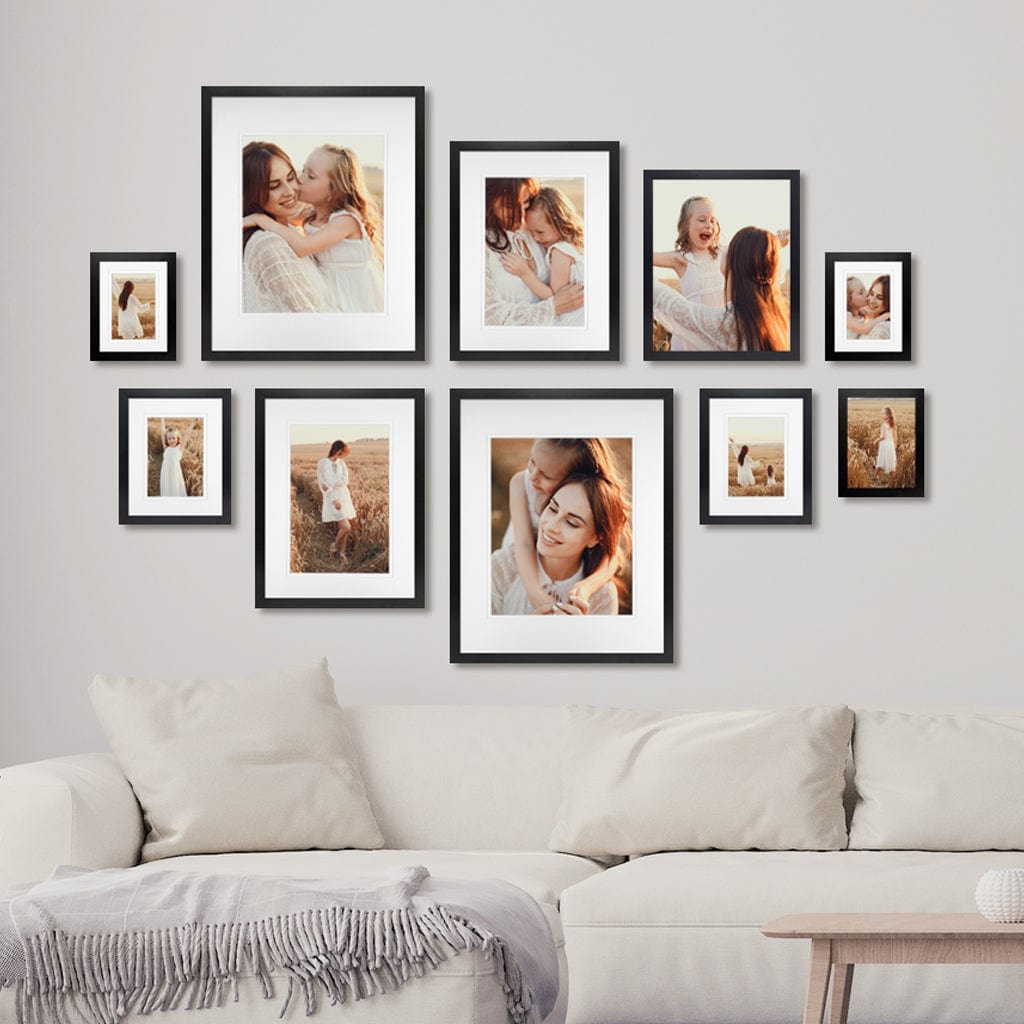
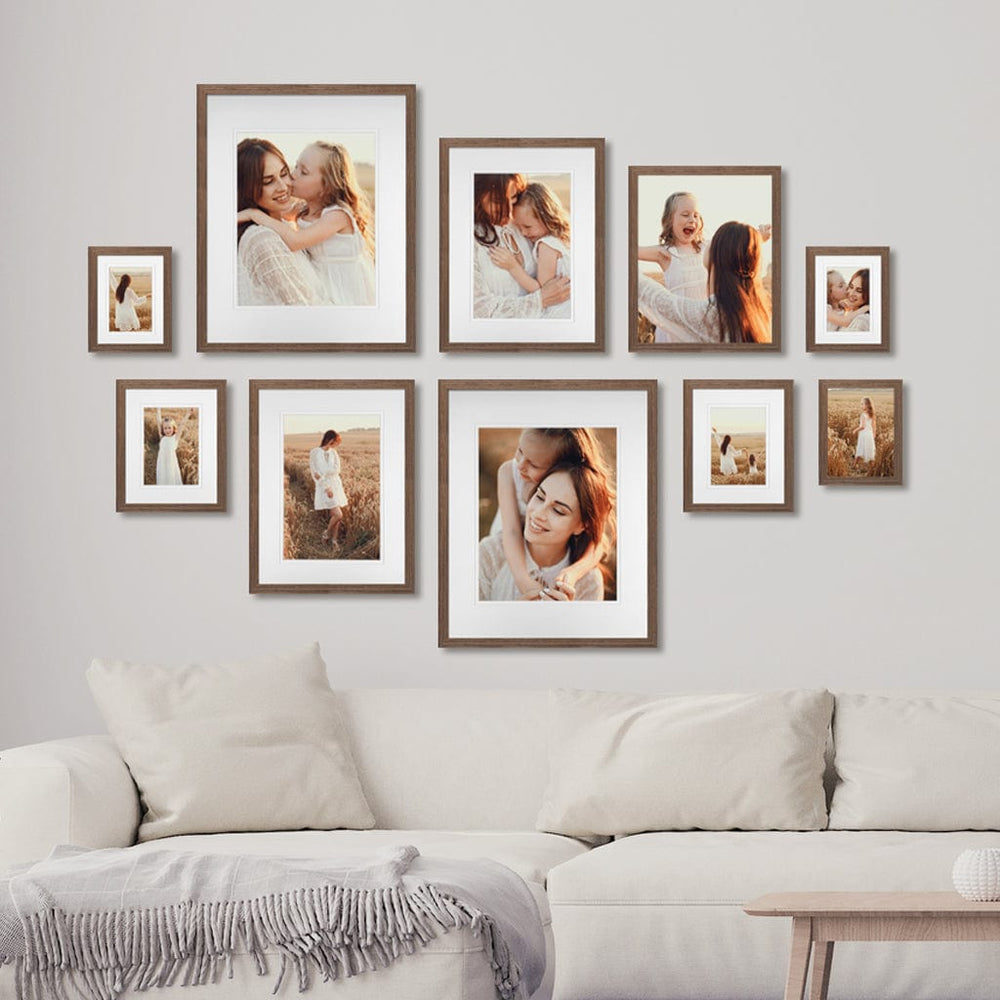
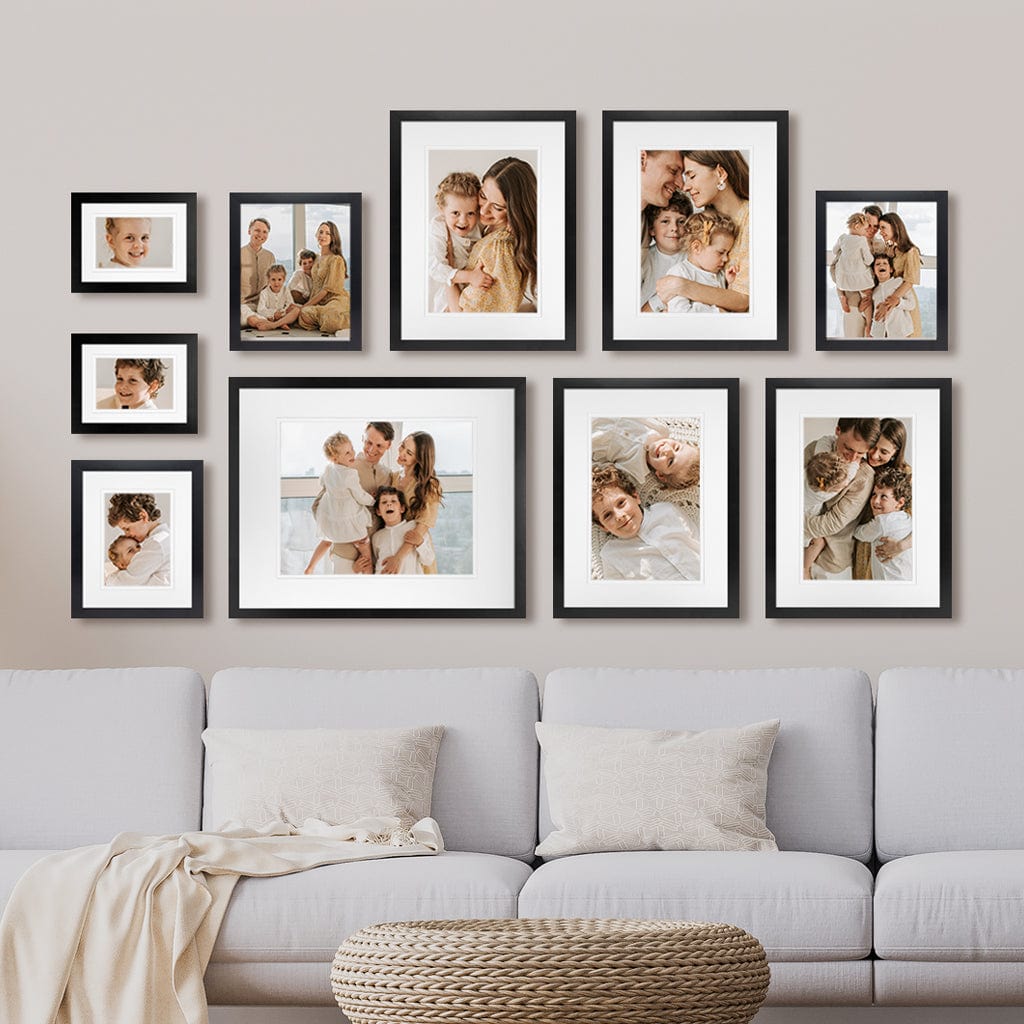
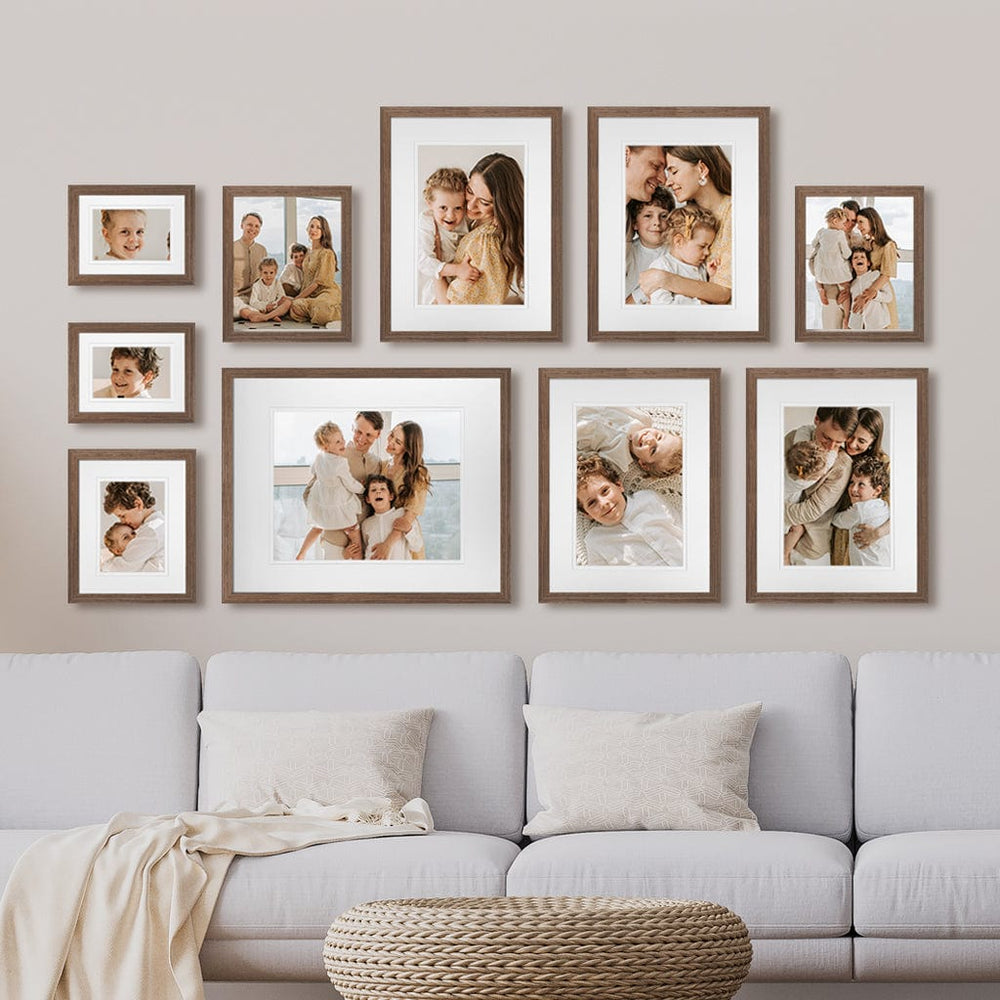
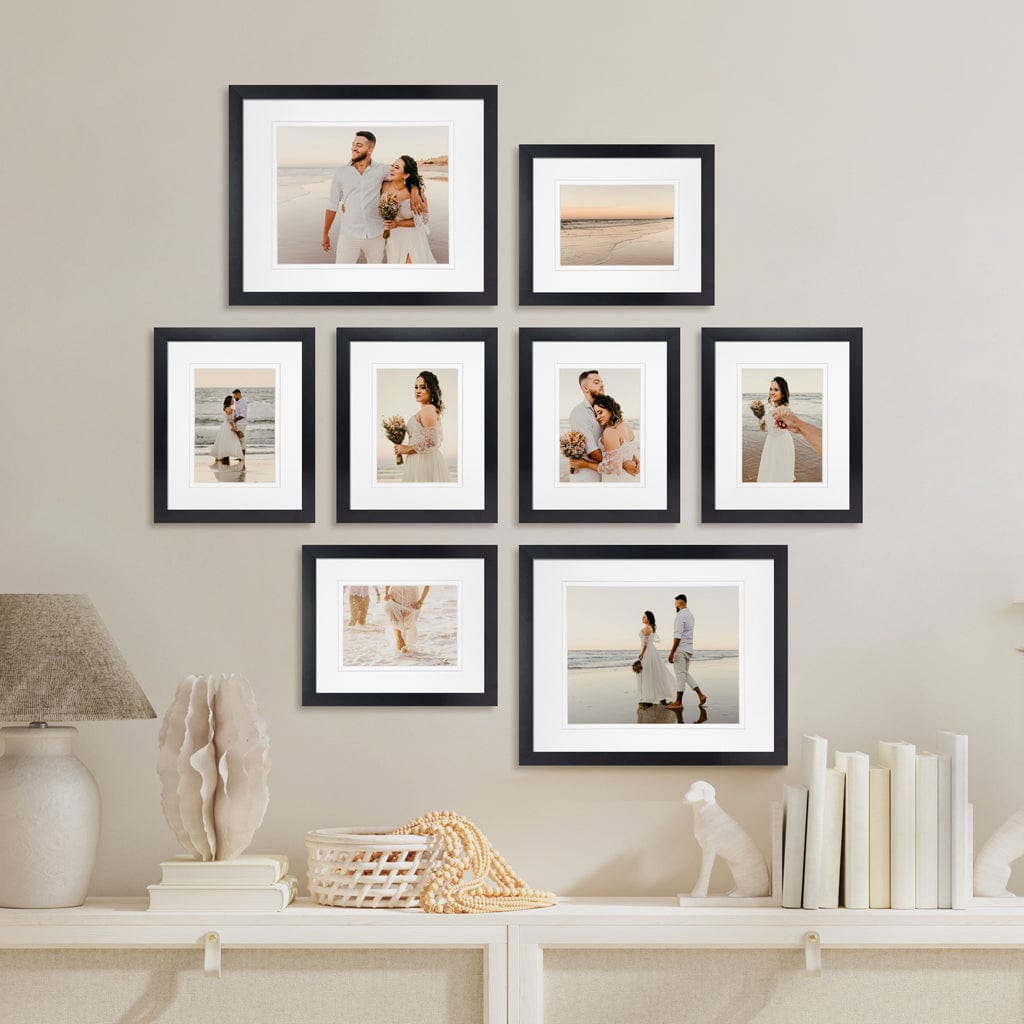
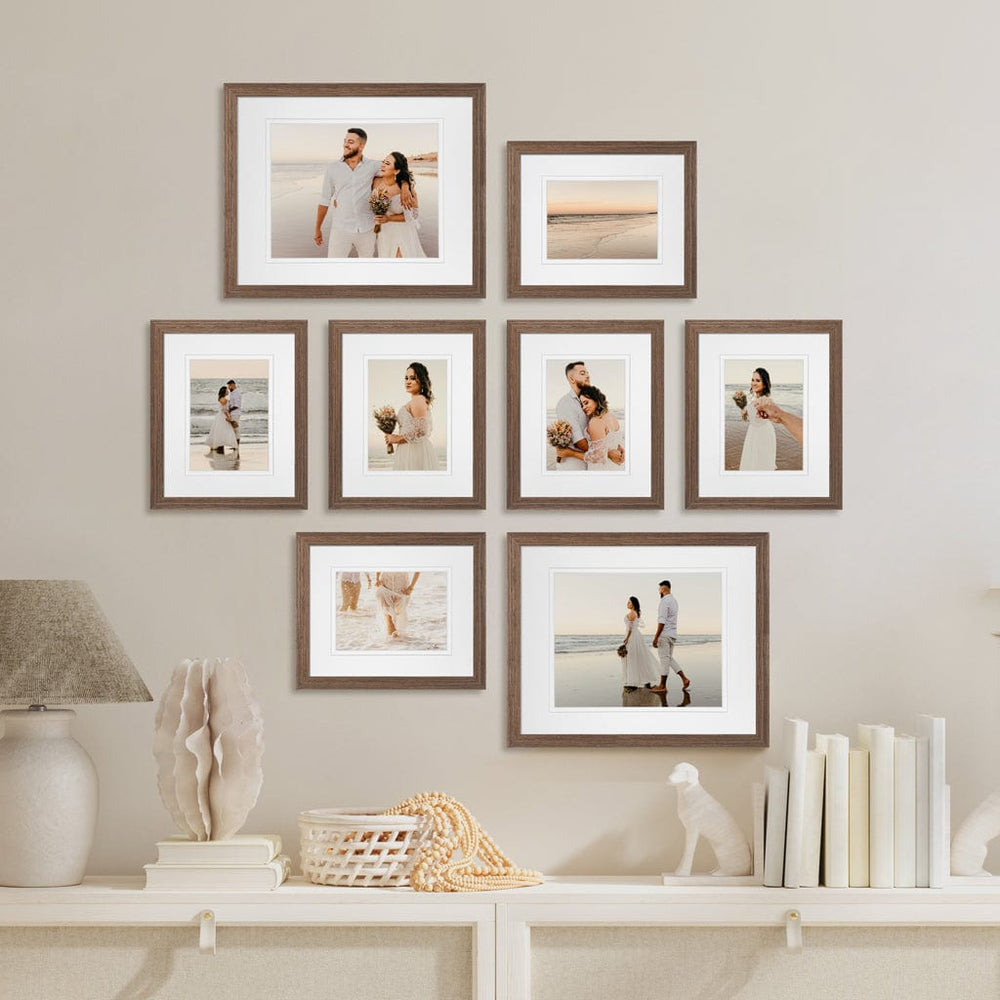
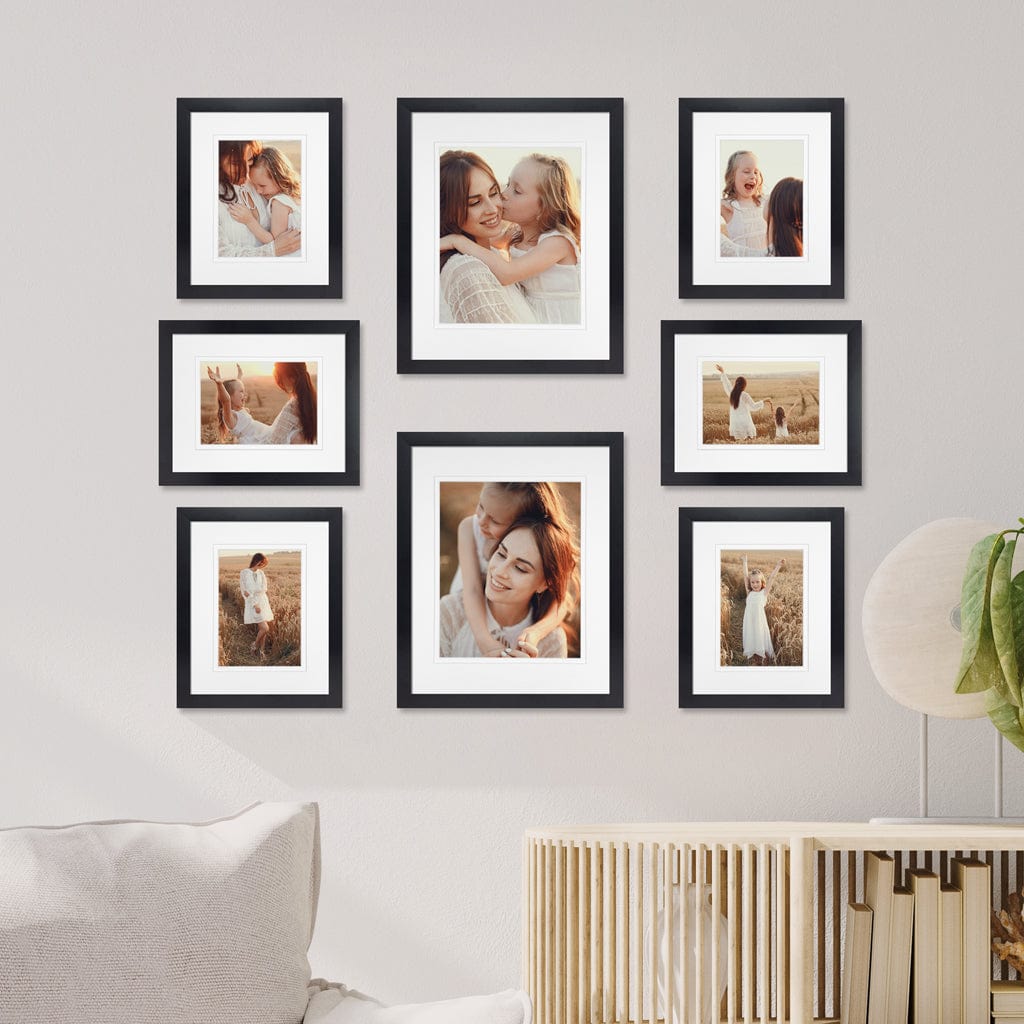
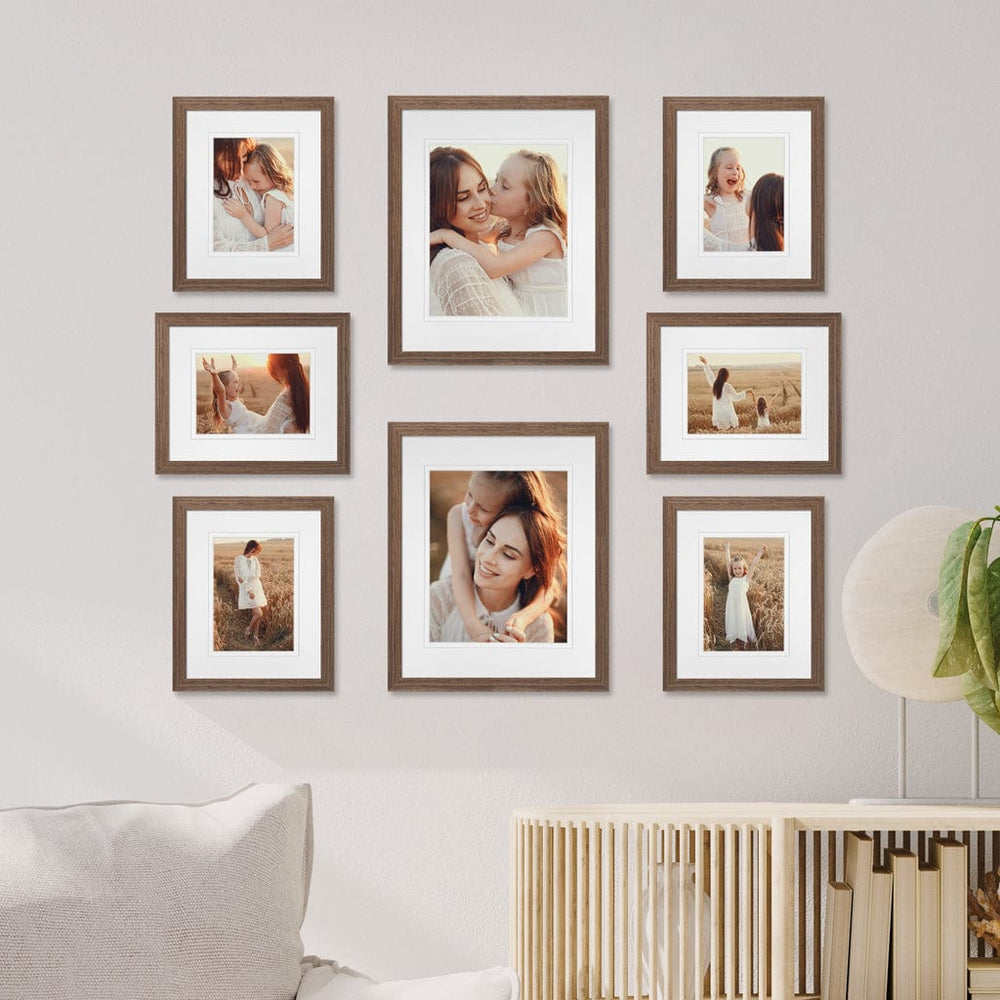
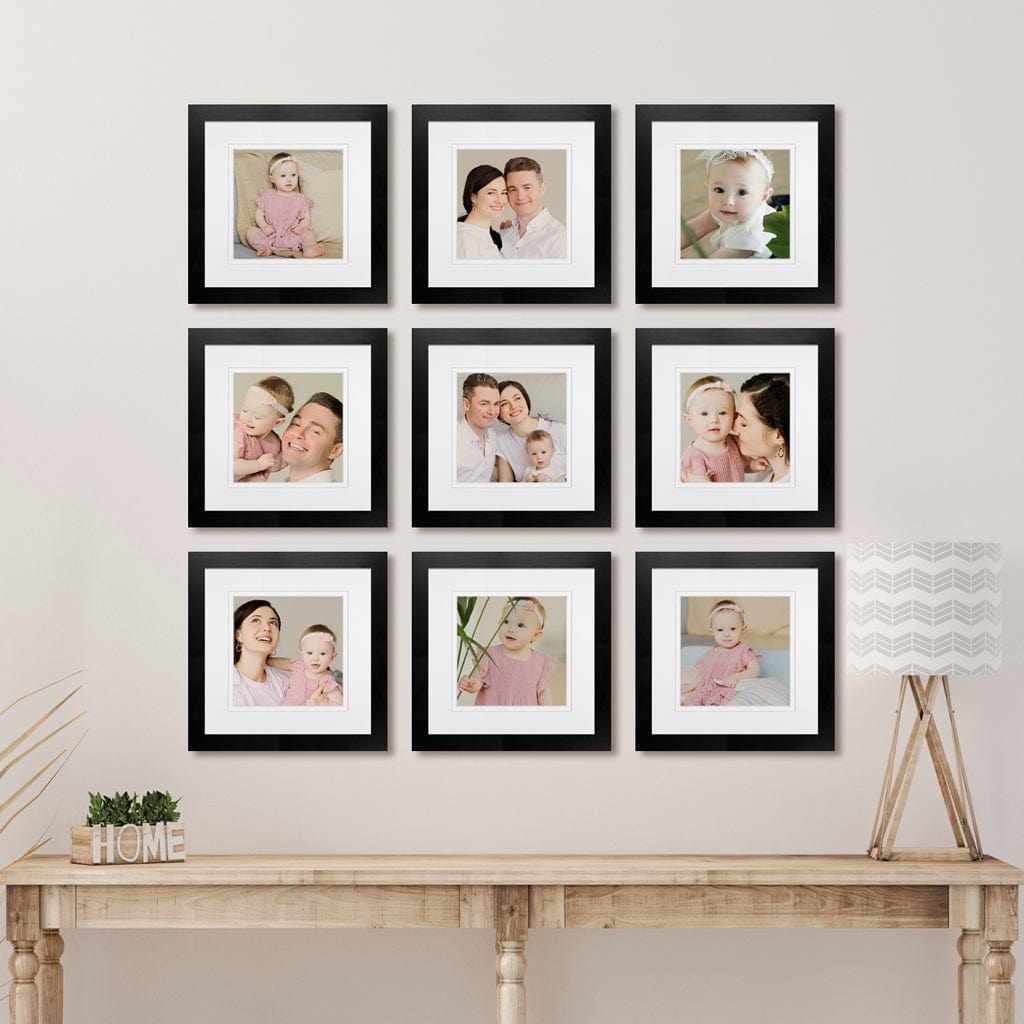
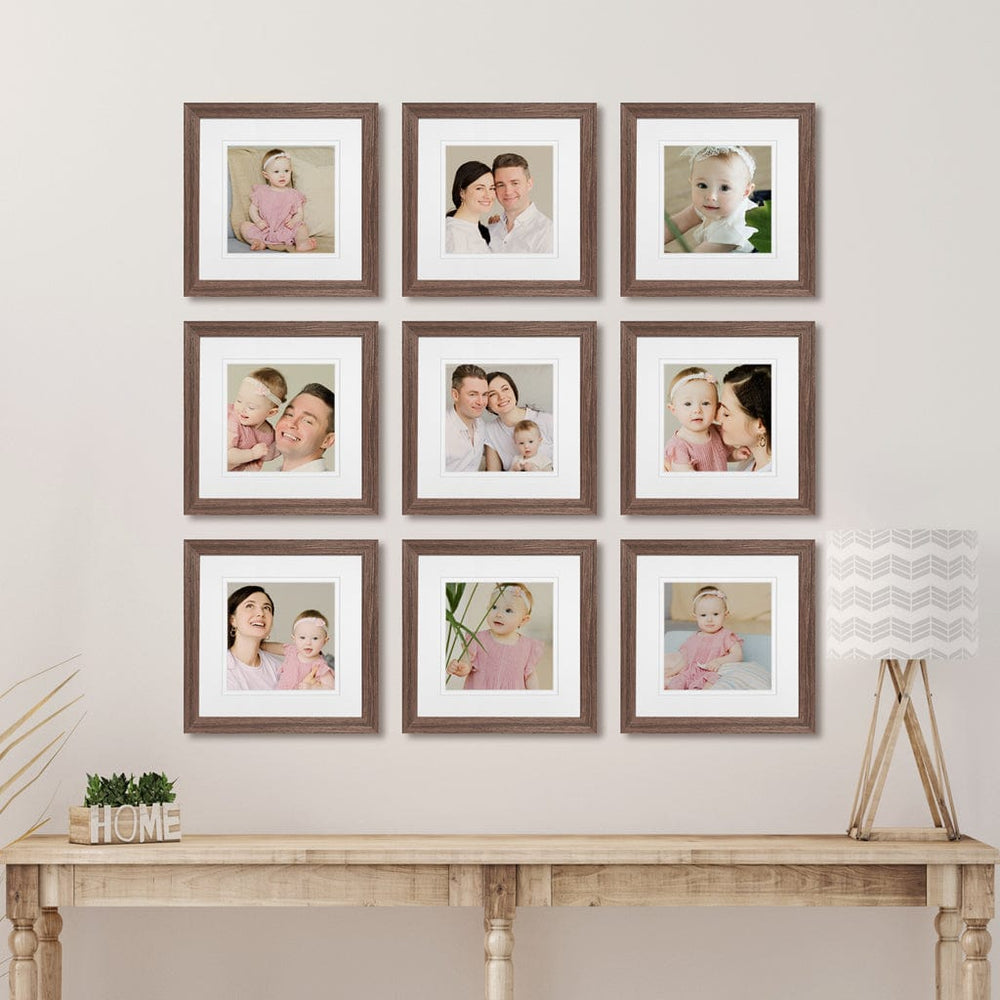
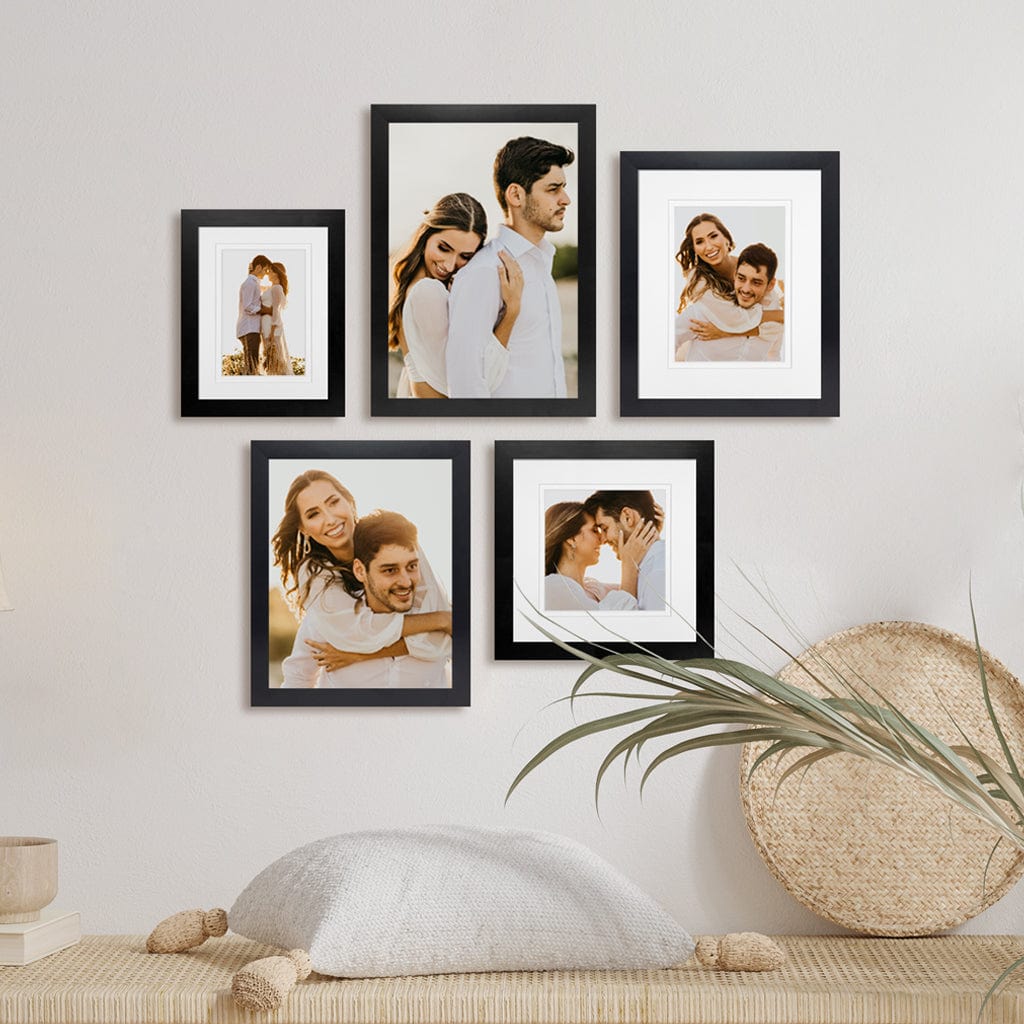
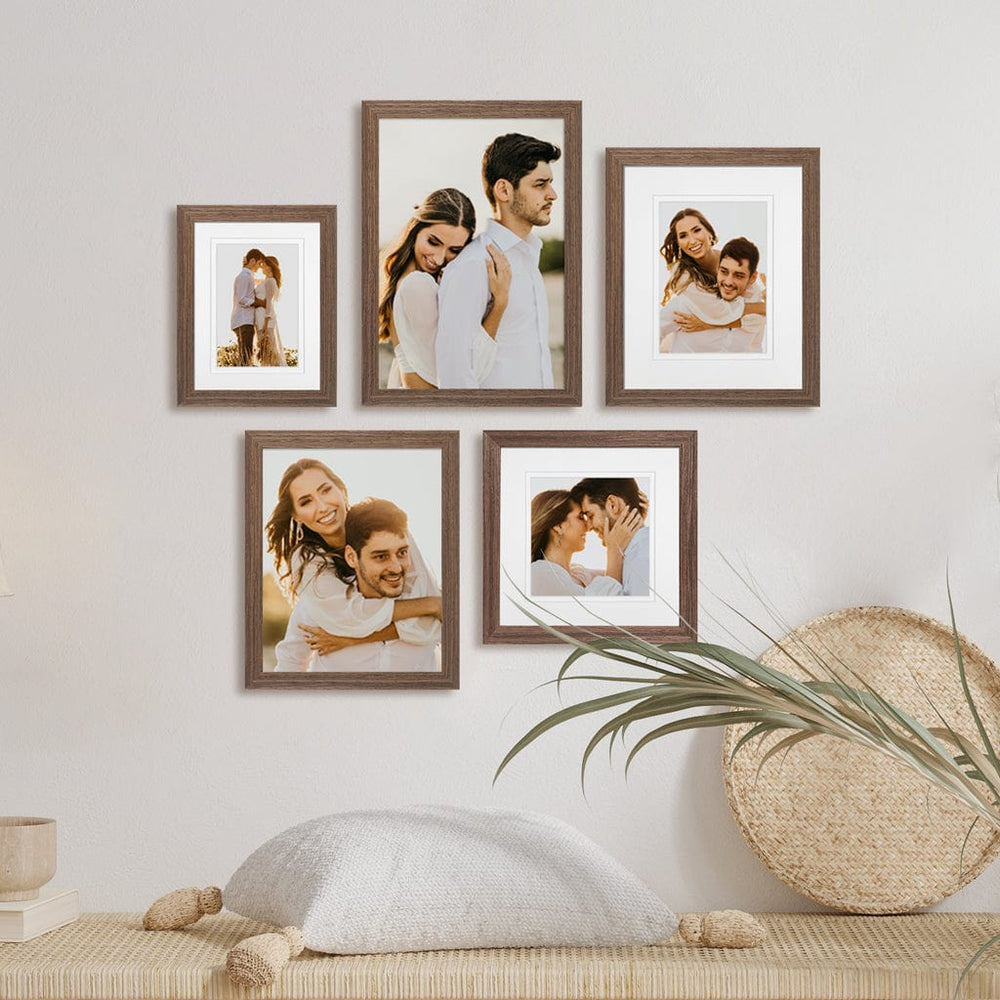
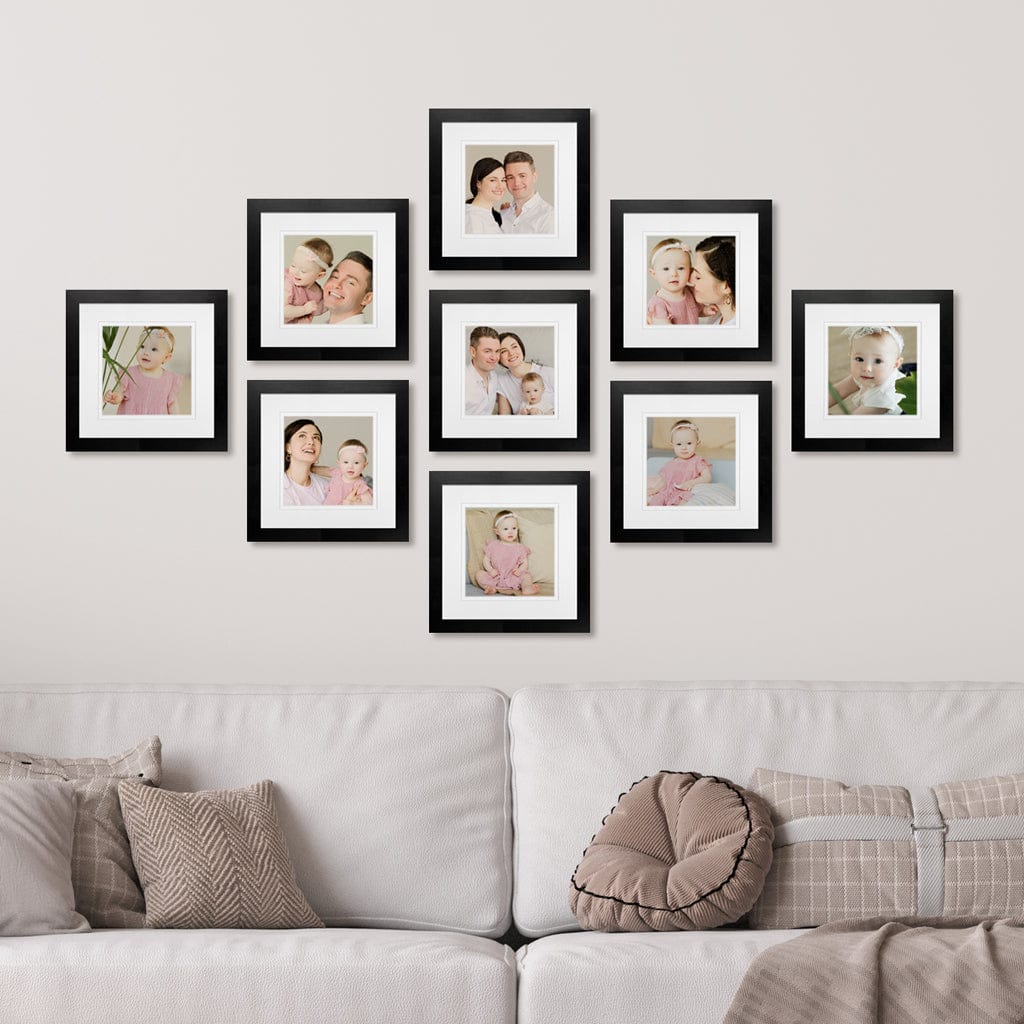
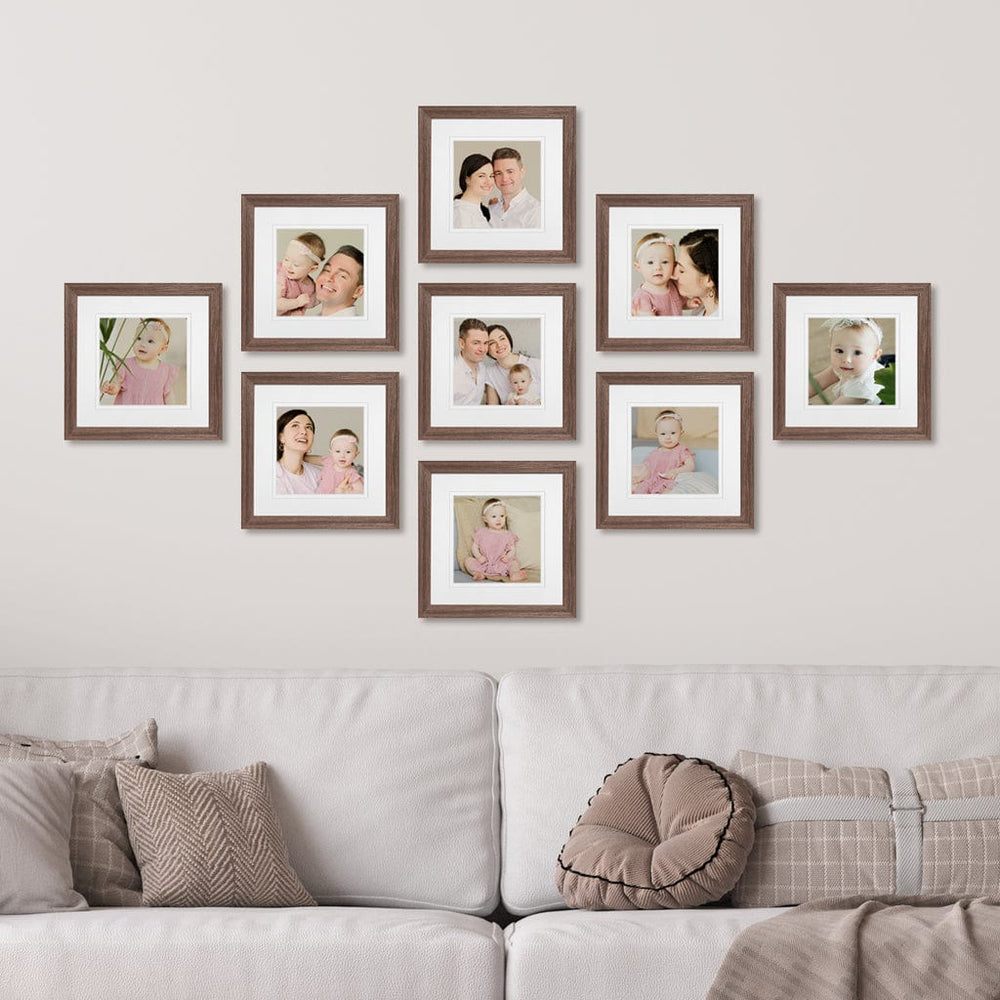
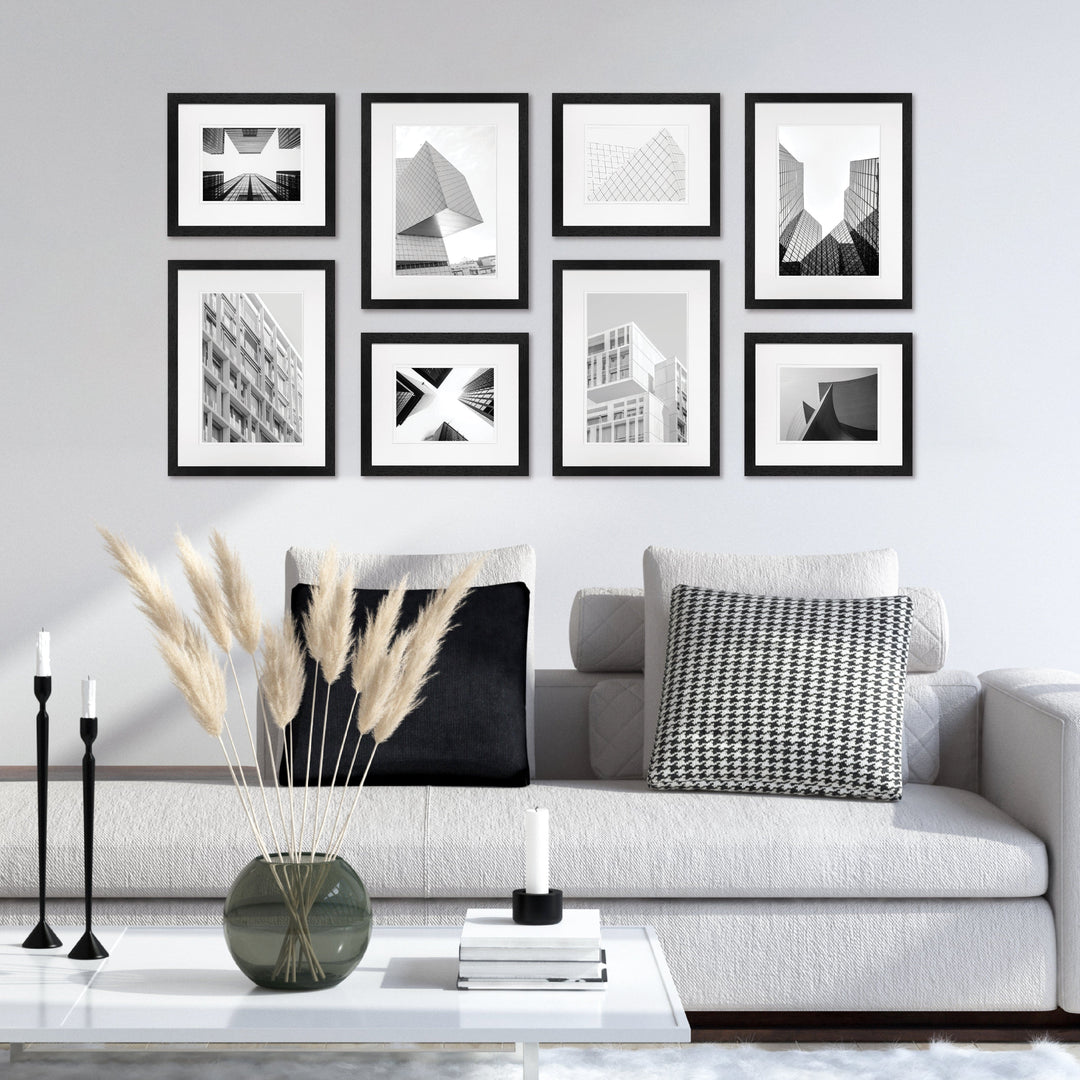
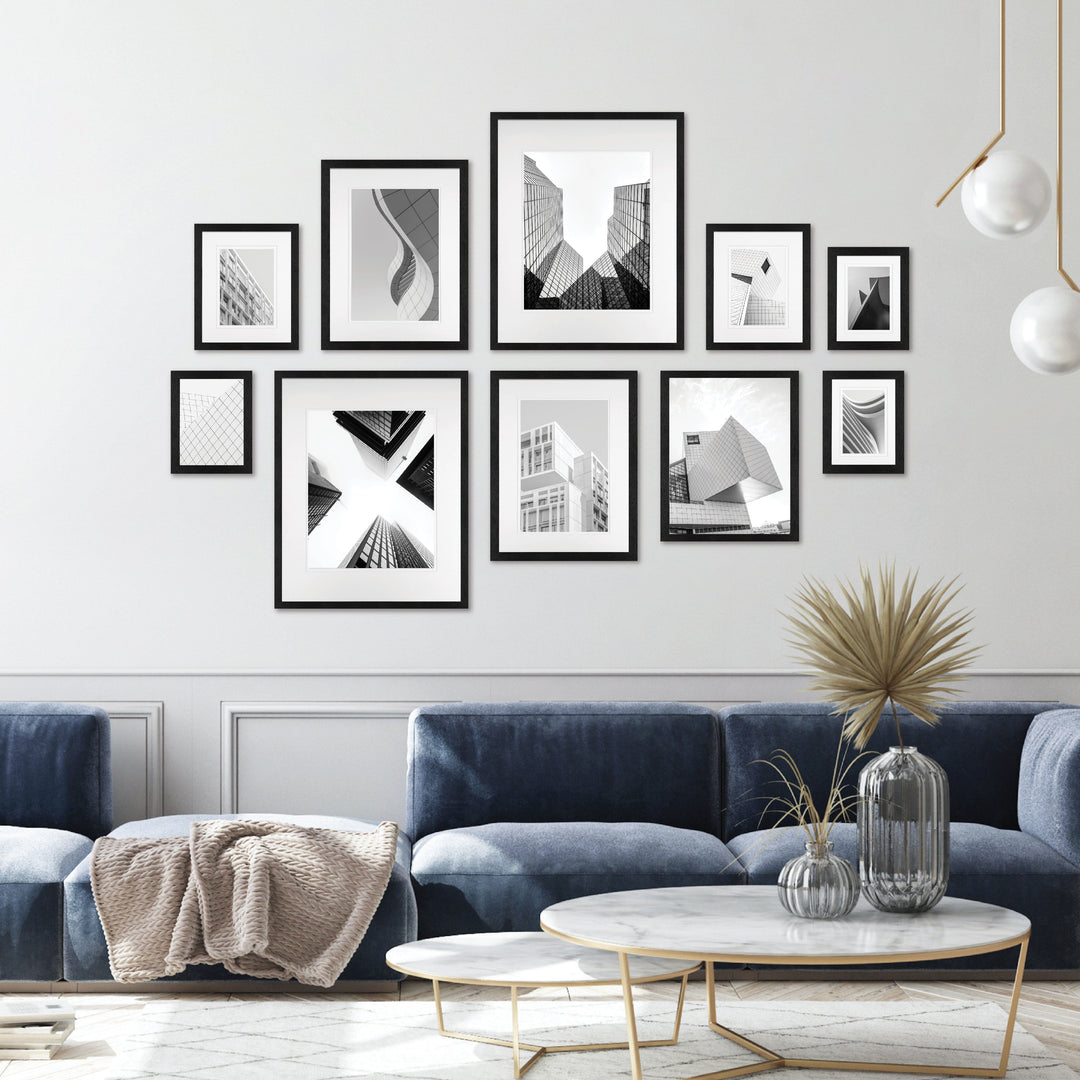
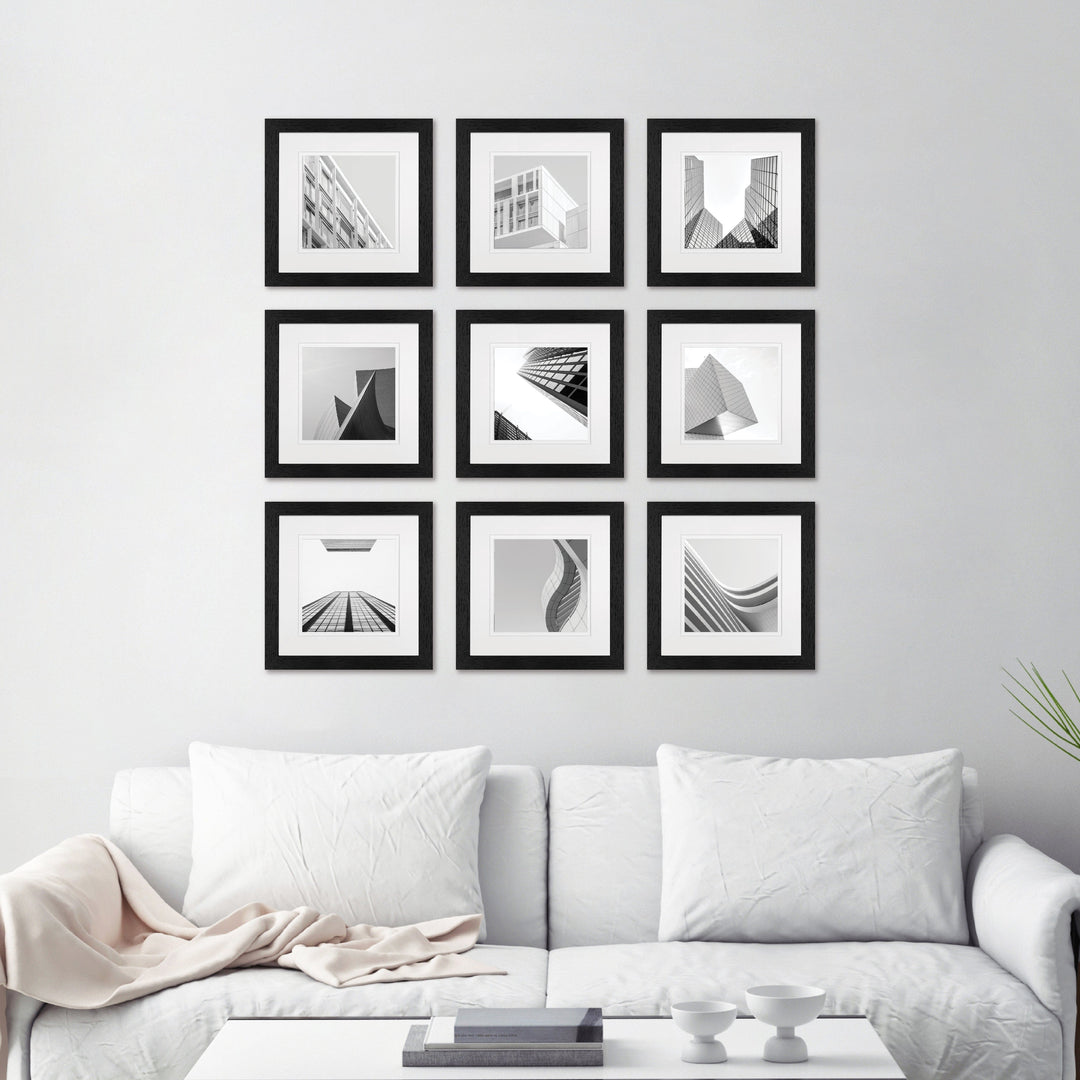
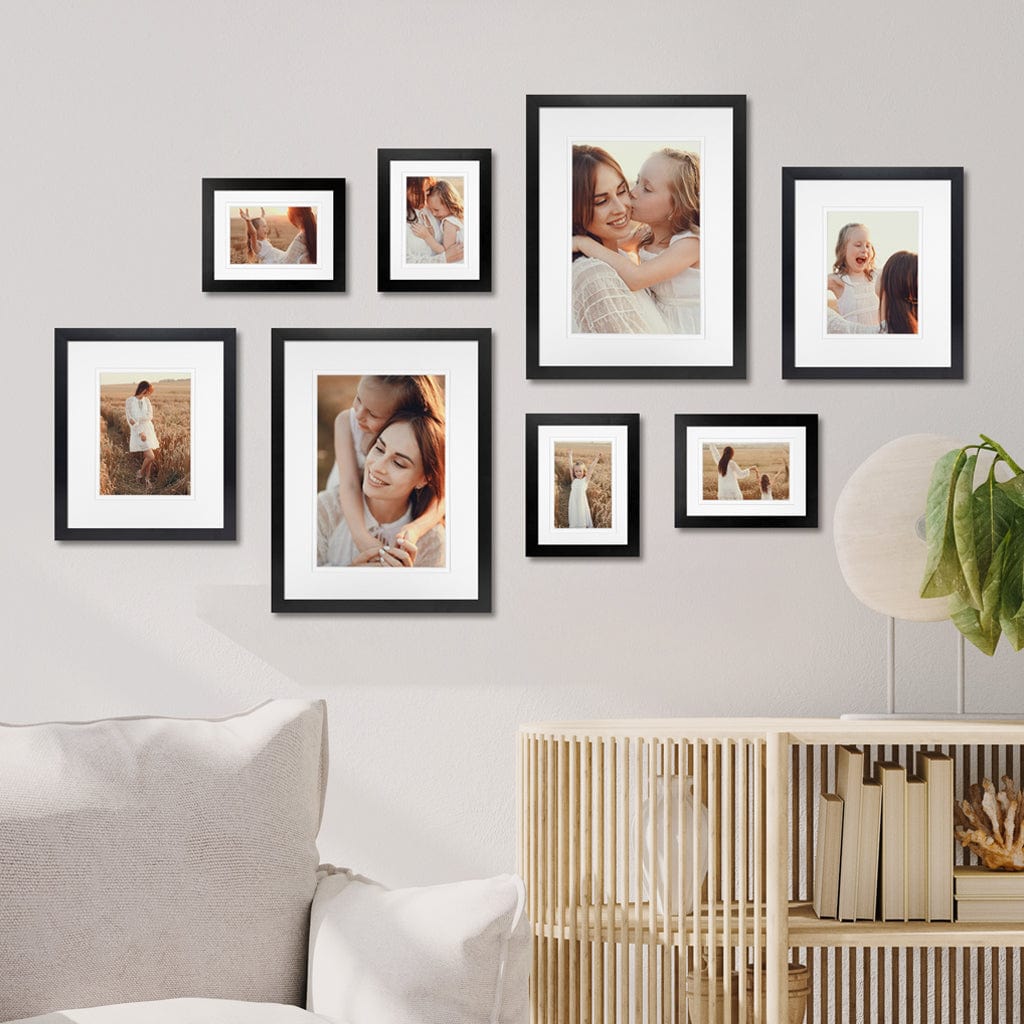
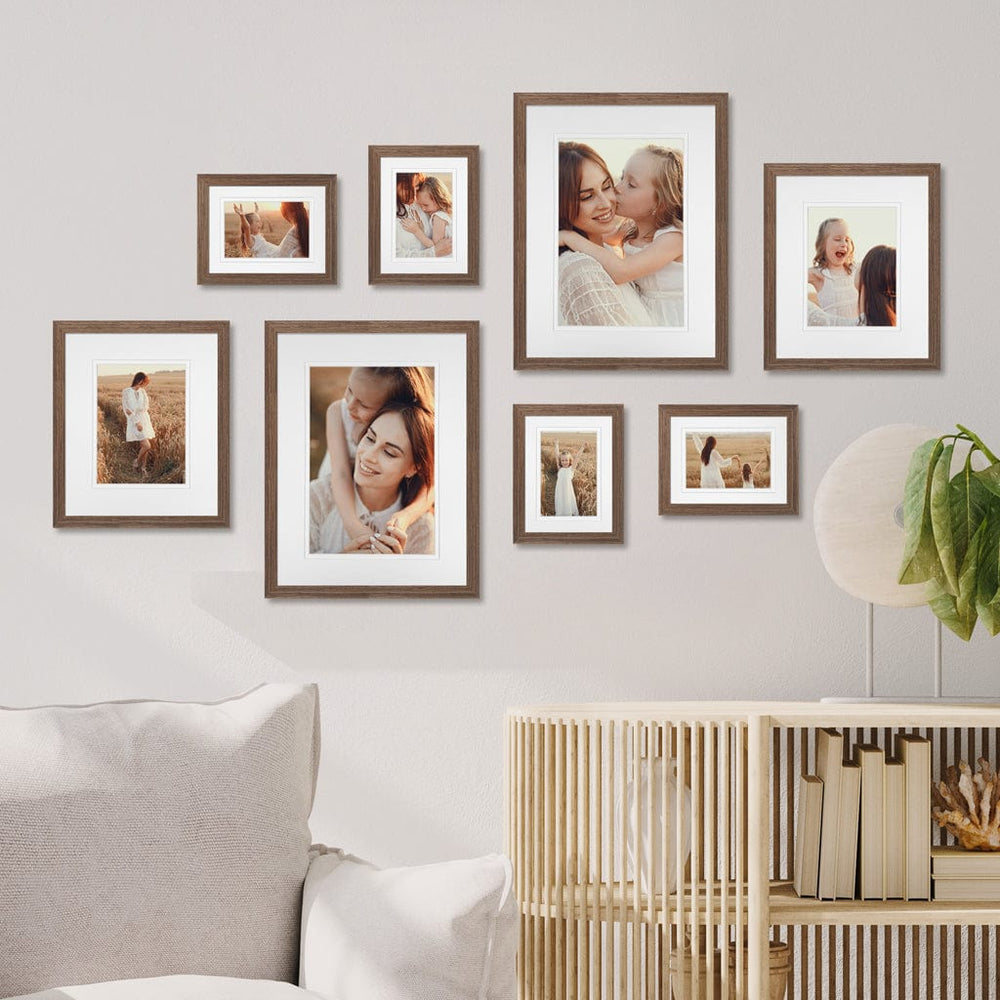
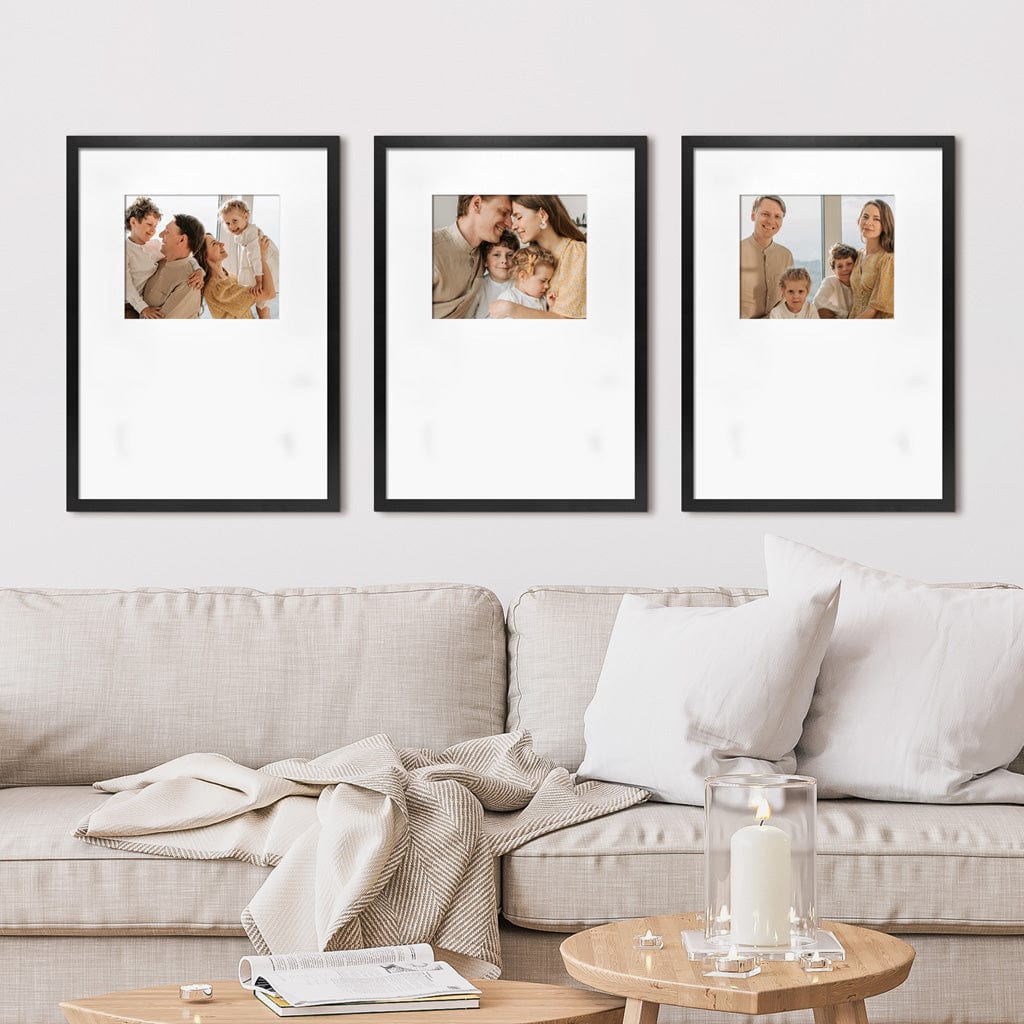
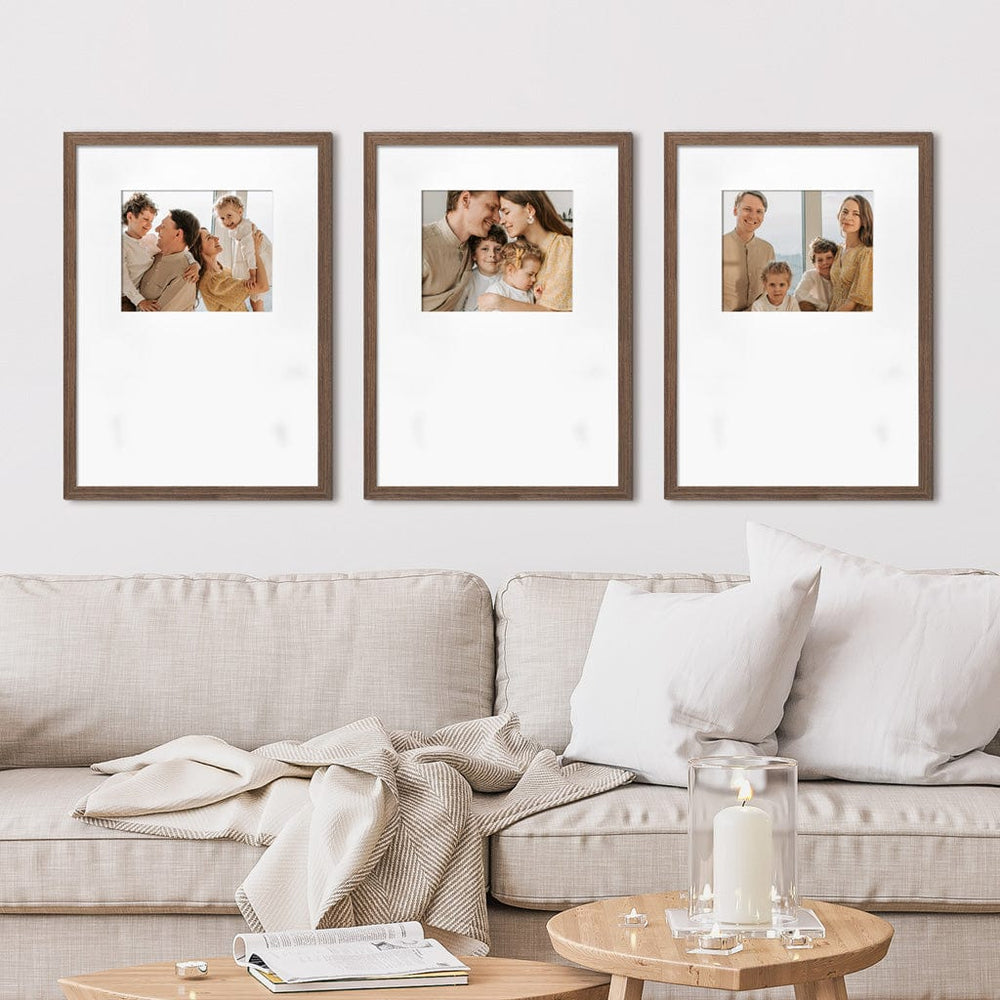
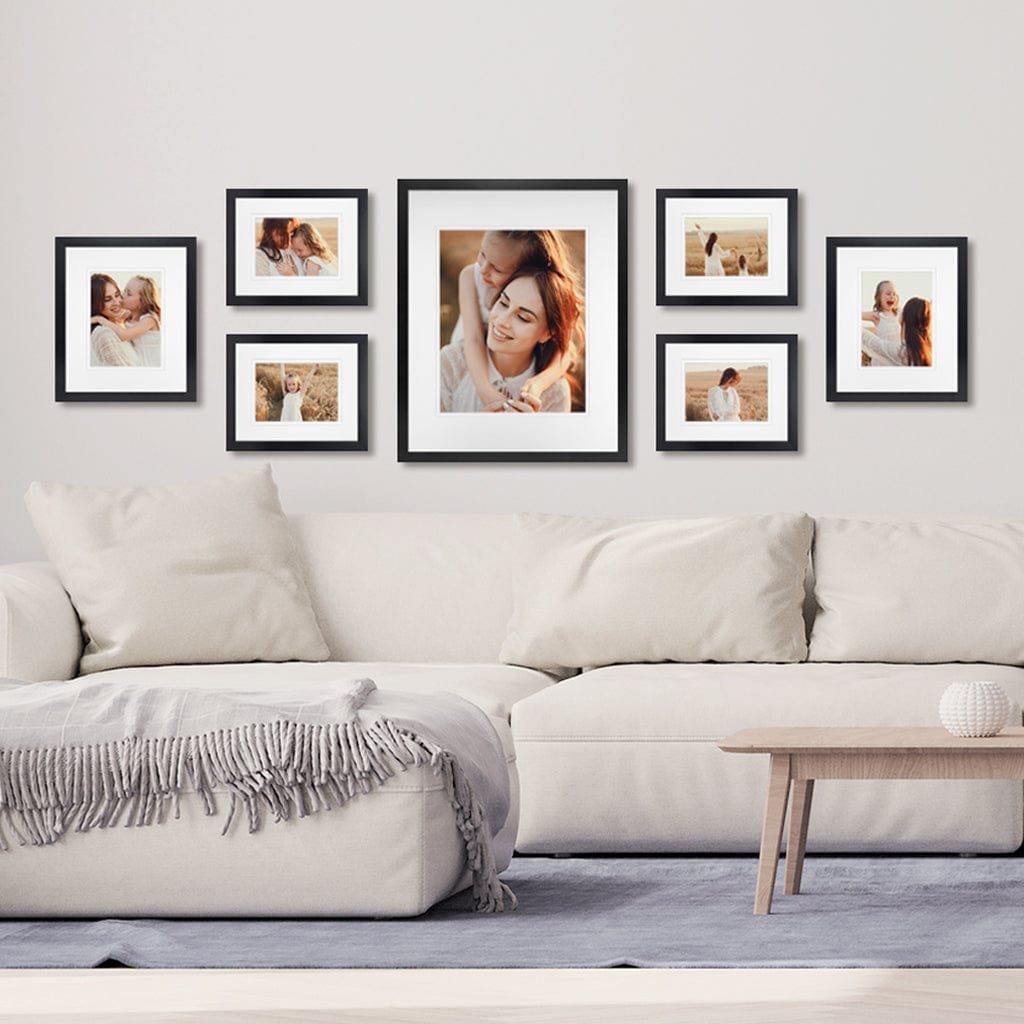
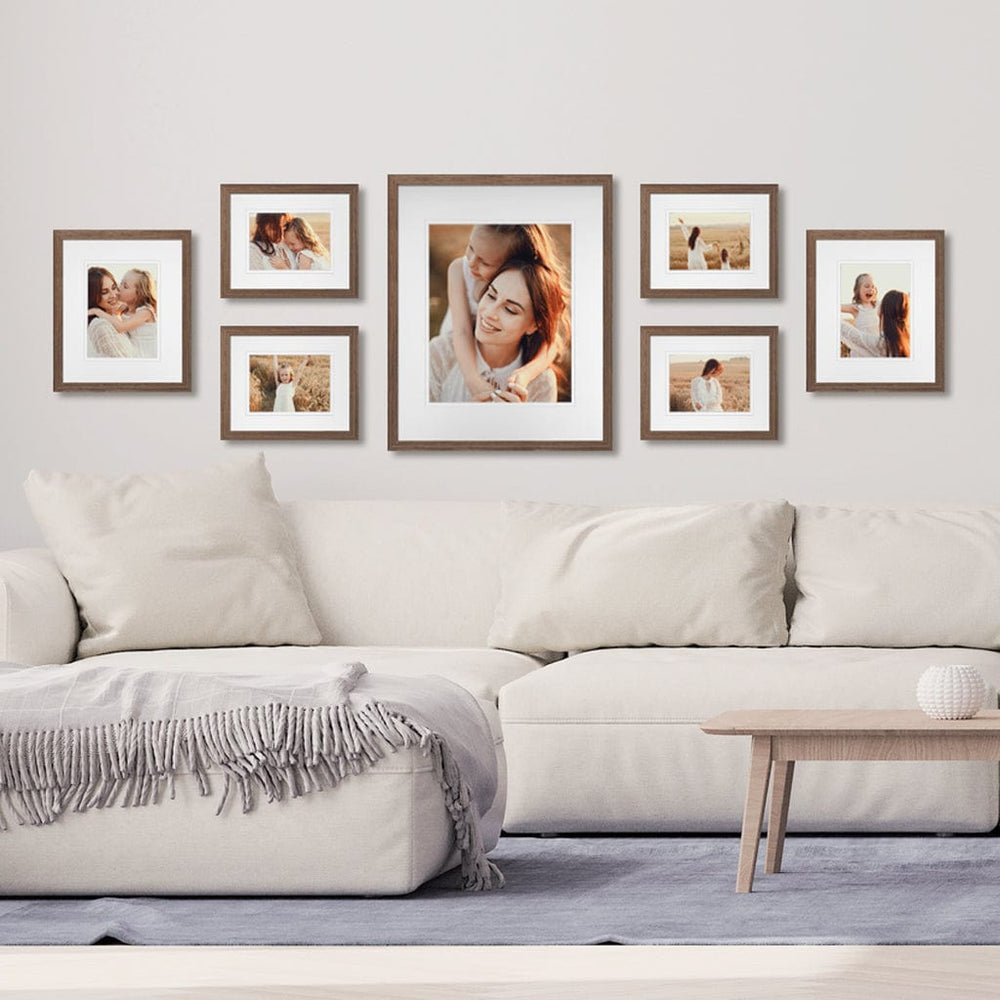
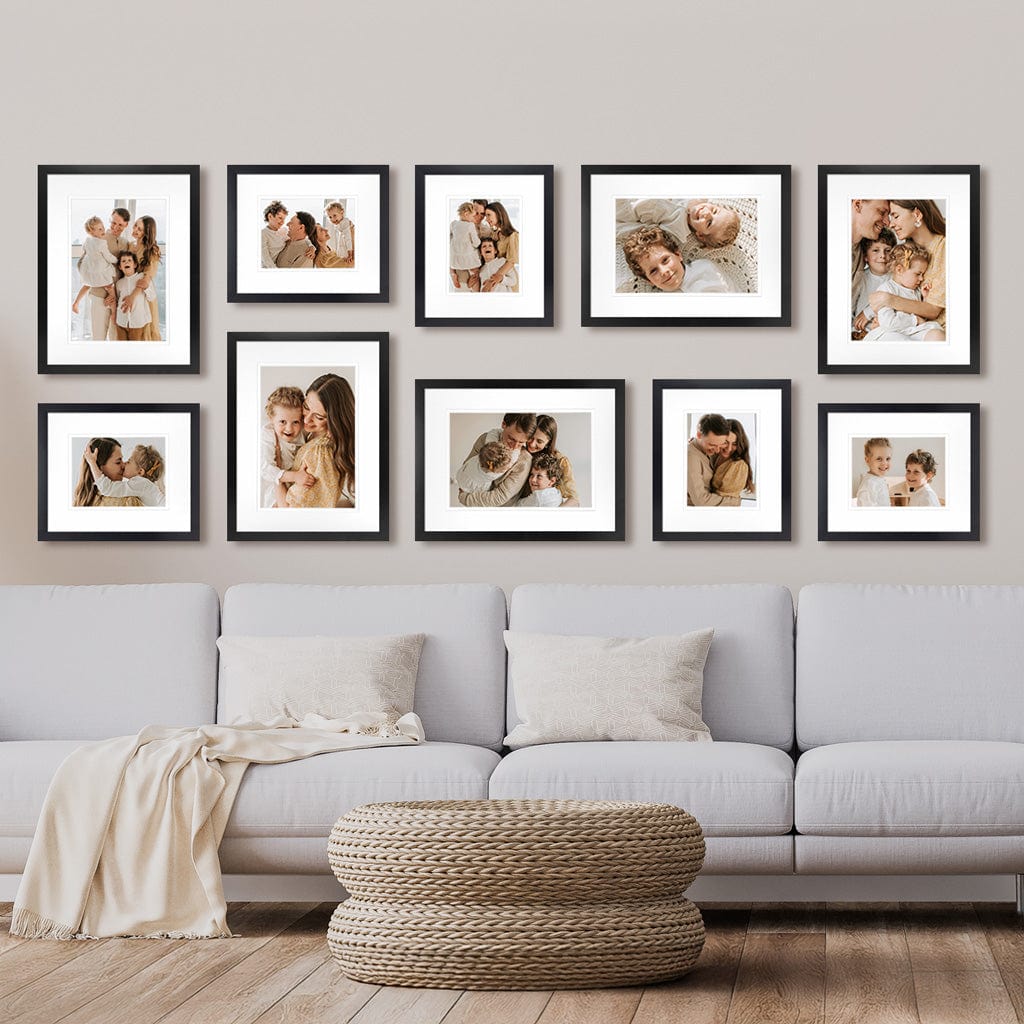
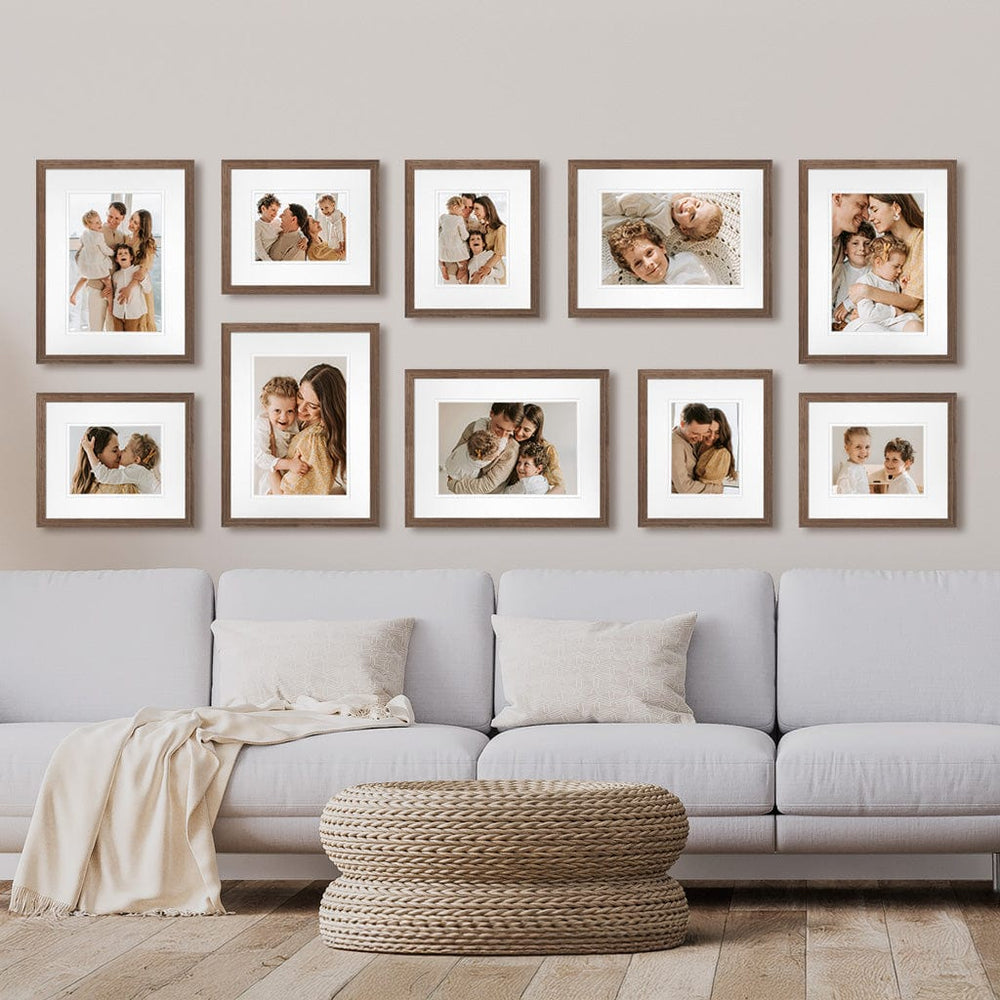
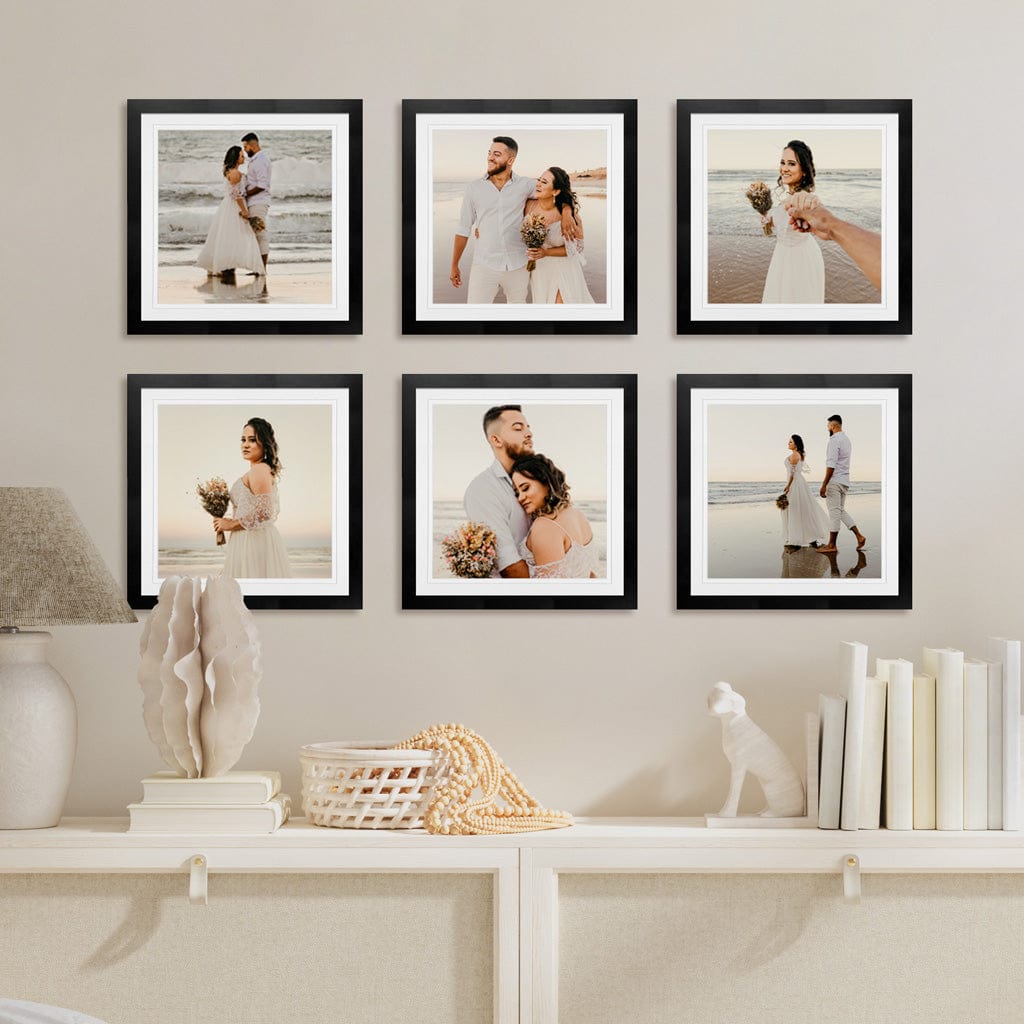
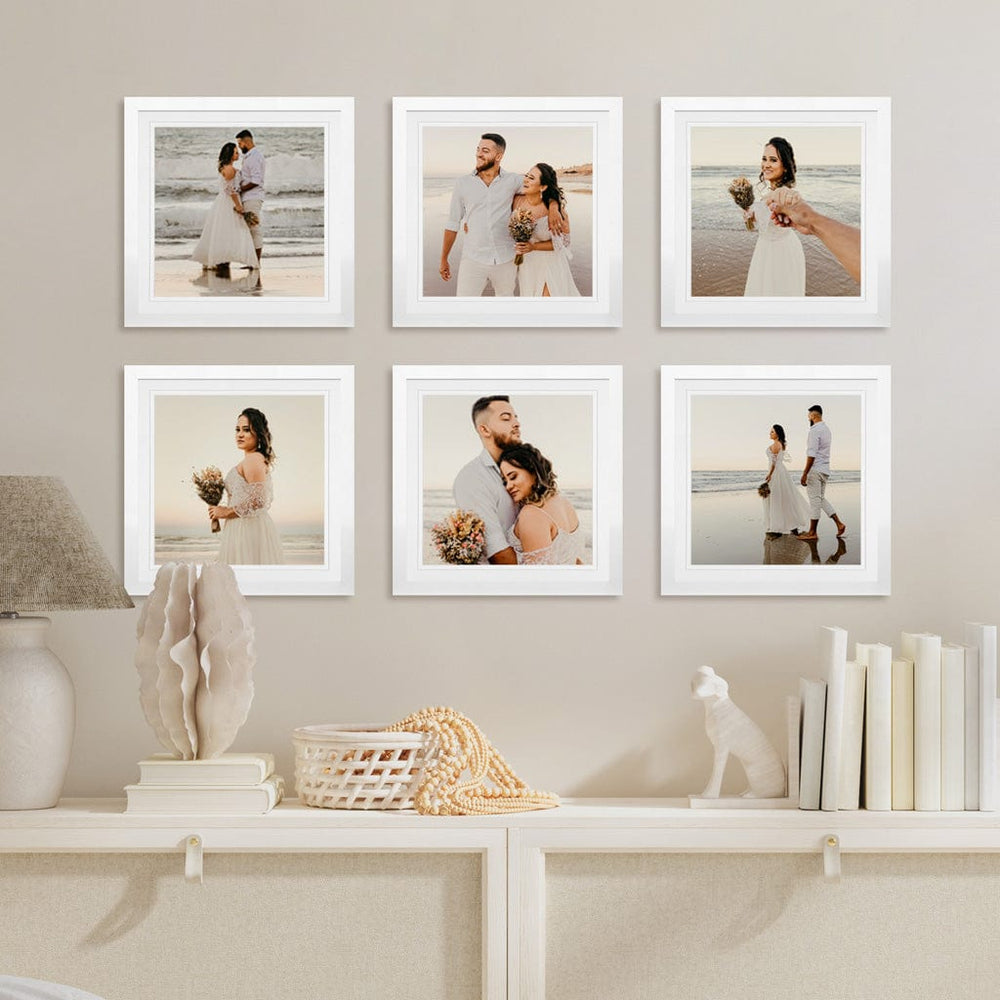
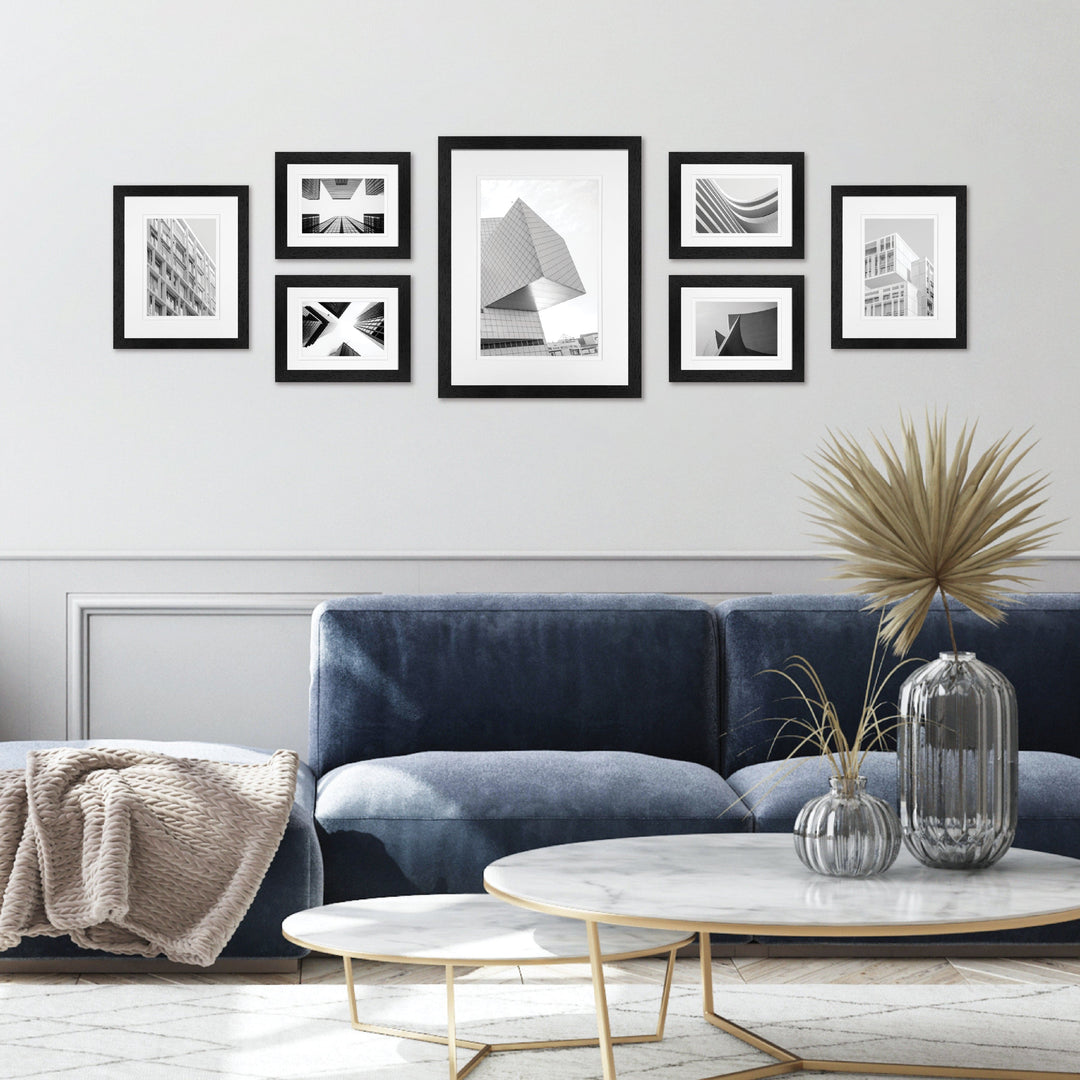
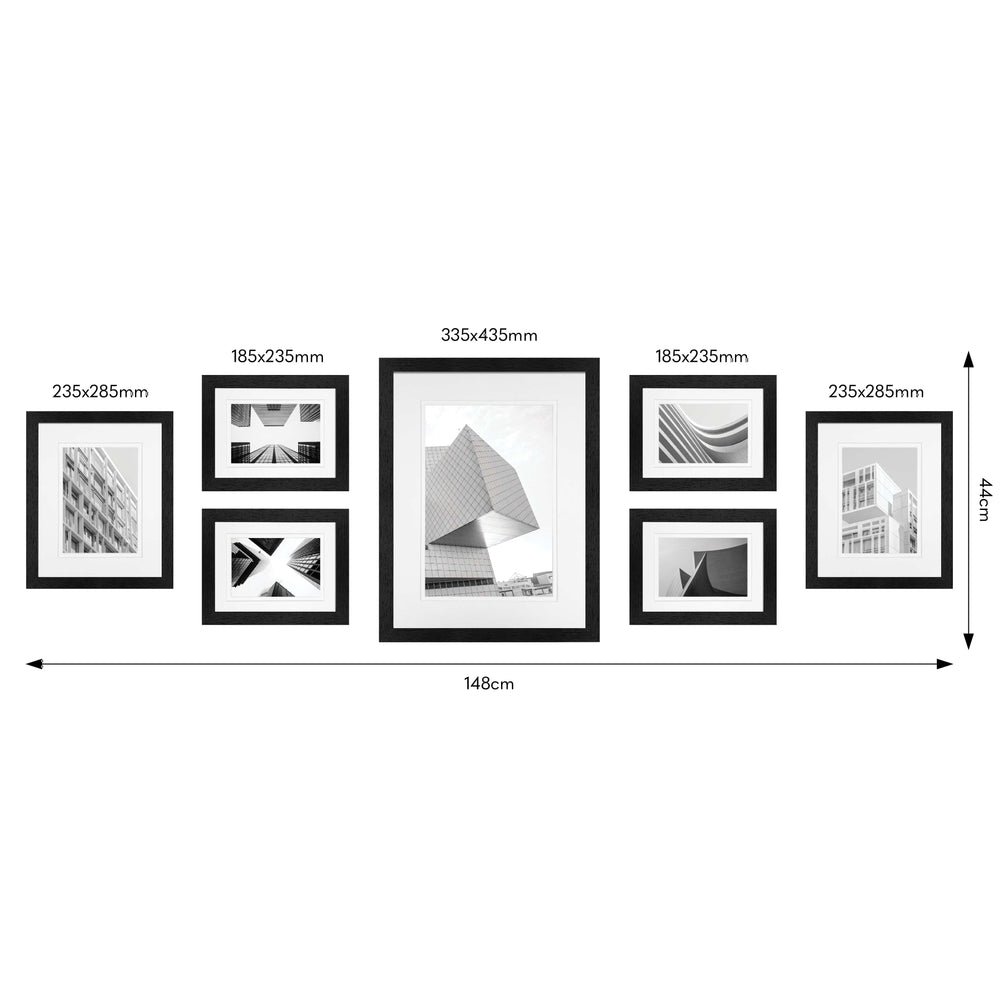
This article contains some great tips and ideas to help you with designing your own featured salon styled hang display, such as these examples below:
In conclusion, hanging a gallery photo wall can be a fun and rewarding project that adds personality and style to your home. By following the expert tips mentioned above, you can achieve a professional-looking salon hang display that showcases your favorite memories or artwork. Remember to plan your layout beforehand and experiment with different arrangements until you find the perfect one. Don't be afraid to get creative and think outside the box – the possibilities are endless! So go ahead, grab your hammer and nails, and start creating a stunning gallery photo wall that will make a statement in any room of your home.
Shop Australia's #1 Range of Gallery Photo Wall Frame Sets Online with Profile
Explore our complete range of pre-made Gallery Wall Frame Sets from Profile Australia. Each salon hang, photo wall frame set come boxed with everything you need to create your own a beautiful wall of memories. We have photo wall sets with pre-designed layouts, including Large Featured 10 Frame Sets, Symmetrically Balanced 8 Frames Sets, Small, Affordable Mini Frame Sets, and even Instagram Inspired Square Frame Sets. These all come a variety of colour options including, black, white, ash timber and brown chestnut timbers.
All of our timber picture frames proudly made in Australia with eco-sustainable timbers and a lifetime guarantee.
We also offer a complete range of Picture & Photo Frames so you can choose your own frames which you can mix and match to suit. Profile offers a full range of picture framing solutions in all types of shapes, styles and sizes.
Want to read more? You may also like:
- Picture Frame Gallery Photo Wall Ideas For Beginners
- The Ultimate Guide to Picture Hanging on Your Wall
- 3 Amazing Photo Wall Ideas for your Living Room Wall Space
- 5 Creative Ways to Fill a Picture Frame


