Table of Contents
Broken glass in a picture frame can be dangerous, not just for you, but for your artwork underneath. In this guide, we’ll walk through how to safely remove broken frame glass, avoid injury, protect your art, and explore how to replace the glazing. We’ll also share some tips that professional picture framers use when handling cracked or shattered glass.
Step 1: Safety First
Before you do anything else, protect yourself from sharp edges and glass shards:
- Wear thick protective gloves (leather or cut-resistant)
- Use closed-toe shoes to protect your feet
- Handle the frame with both hands and always keep it supported
Place the frame on a stable work surface covered with cardboard or newspaper to catch small glass fragments. Avoid handling broken glass with bare hands at any stage.

Step 2: Reinforce Cracked Glass (If Safe to Do So)
If the glass is cracked but mostly intact, you may be able to prevent it from breaking further. Here’s a quick emergency method used by professional picture framers:
- Apply strips of packing or masking tape over the cracked glass face in a close grid pattern
- This helps hold the glass together while you disassemble the frame
- It also reduces the risk of shards falling and scratching the artwork beneath
If the glass is already shattered or visibly unstable, skip this step and move directly to frame disassembly.

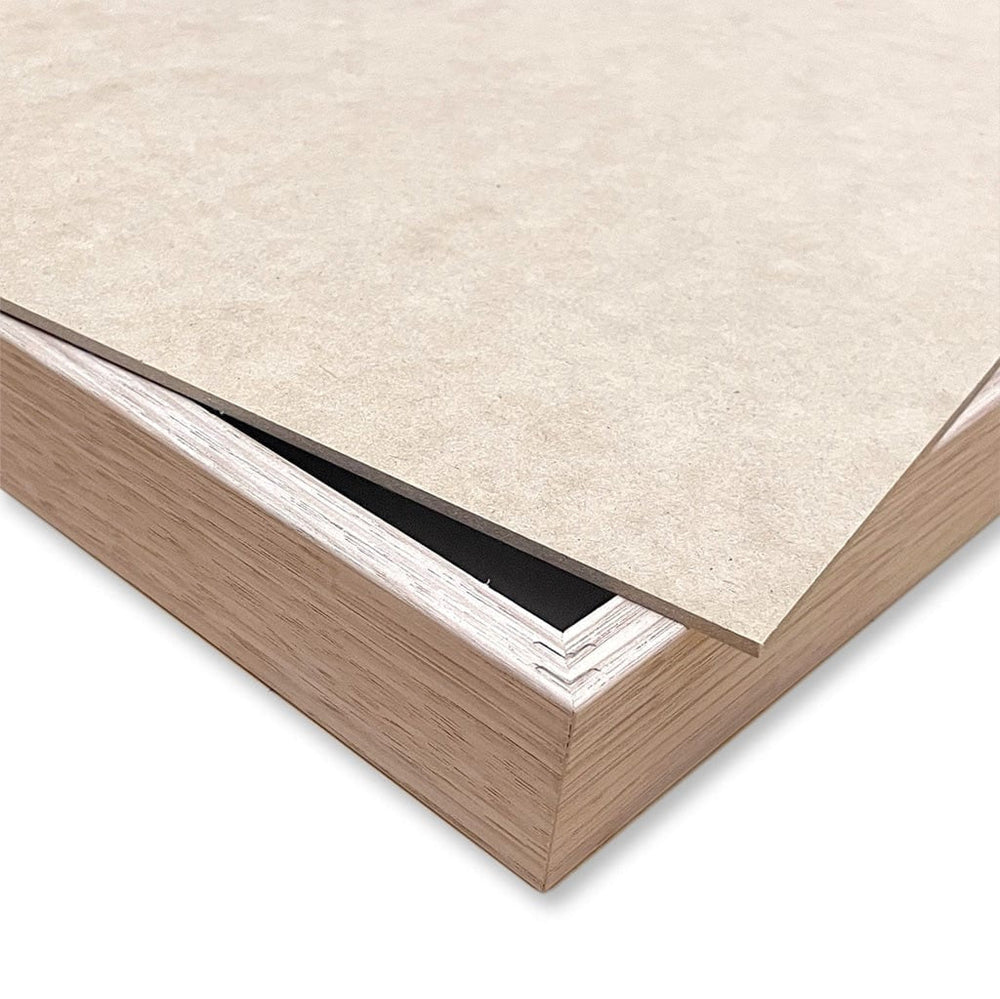
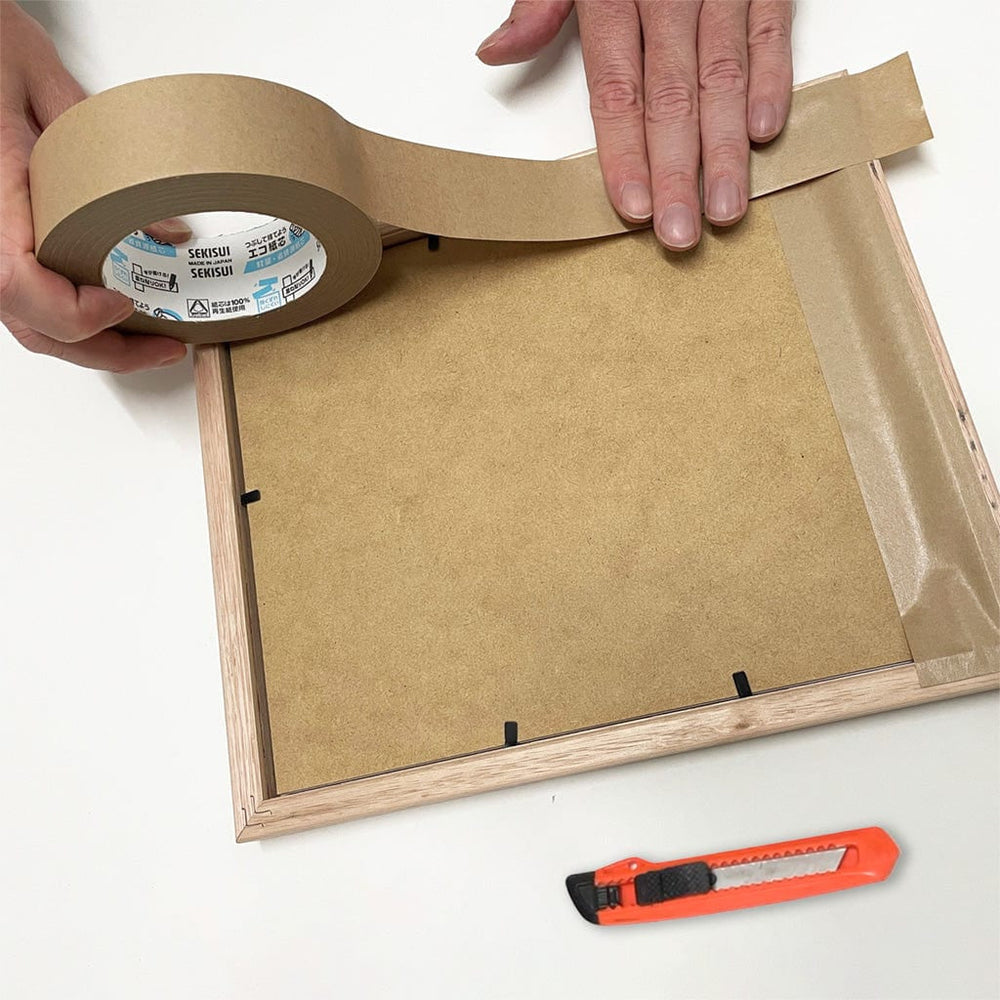
Step 3: Disassemble the Frame from the Back
Turn the frame face-down slowly and carefully. Working over cardboard or newspaper will help catch loose glass fragments.
- Release or remove the metal tabs or flexi-points from the back
- Gently lift out the backing board, mat board (if included), and artwork
- Inspect each layer for glass splinters and brush them away with a soft cloth
If you find the process too difficult or the glass is deeply embedded, it’s best to take the frame to your local custom picture framer for assistance.

Step 4: Clean Up Broken Glass Safely
Use care when cleaning up broken glass:
- Use a vacuum cleaner for small shards
- Use a damp paper towel or sponge to lift tiny slivers from the surface
- Dispose of gloves and any materials that contacted the glass, or shake them out thoroughly outside
Step 5: Dispose of Broken Glass Properly (Australia)
In Australia, broken picture frame glass should go in your red-lid general waste bin, not recycling. To protect waste handlers:
- Wrap glass securely in cardboard or newspaper
- Tape it shut and label it as "broken glass" if possible
- For larger pieces, take them to your local waste or recycling depot
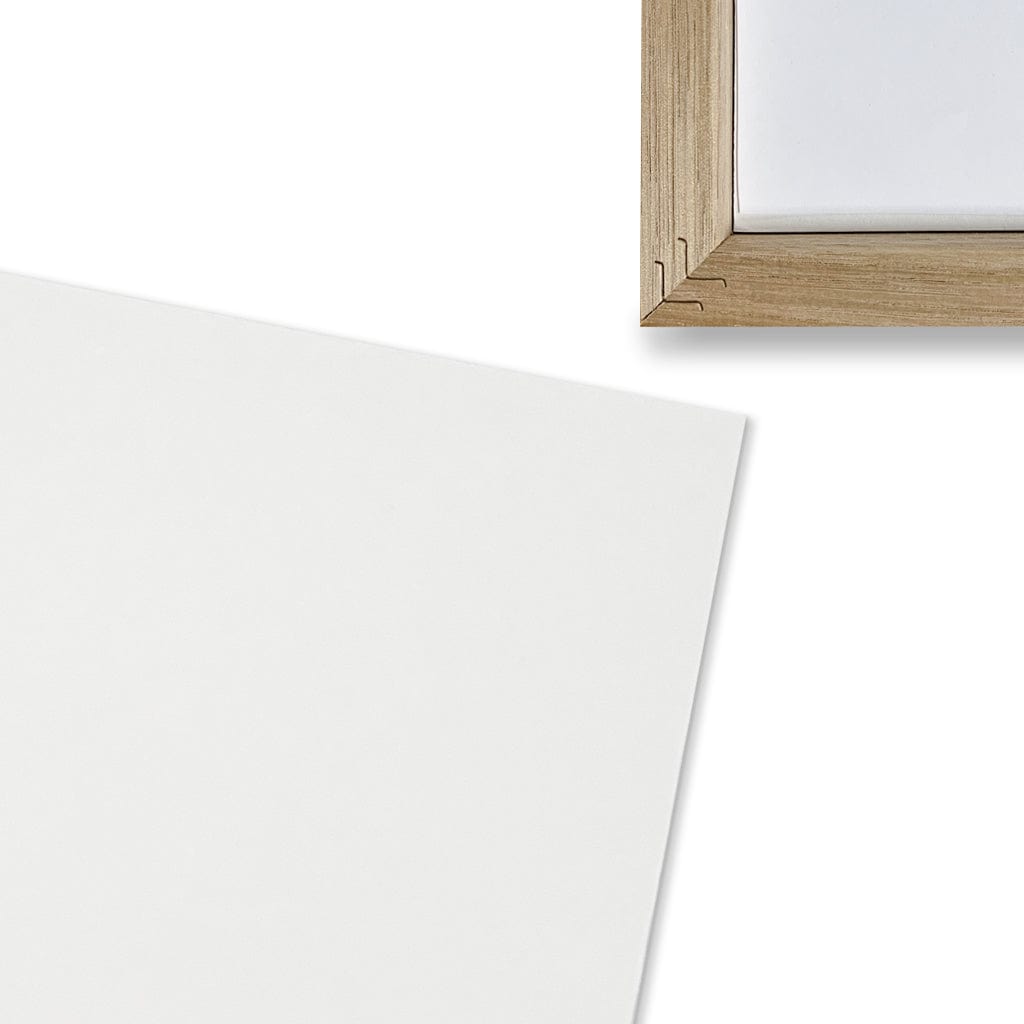
Step 6: Check the Frame Before Replacing the Glass
Before reglazing your frame, check its condition:
- Ensure the corners are tight and undamaged
- Check that the frame can safely hold new glazing
If the frame is warped or weakened, it may be safer to replace the entire frame rather than risk further damage.

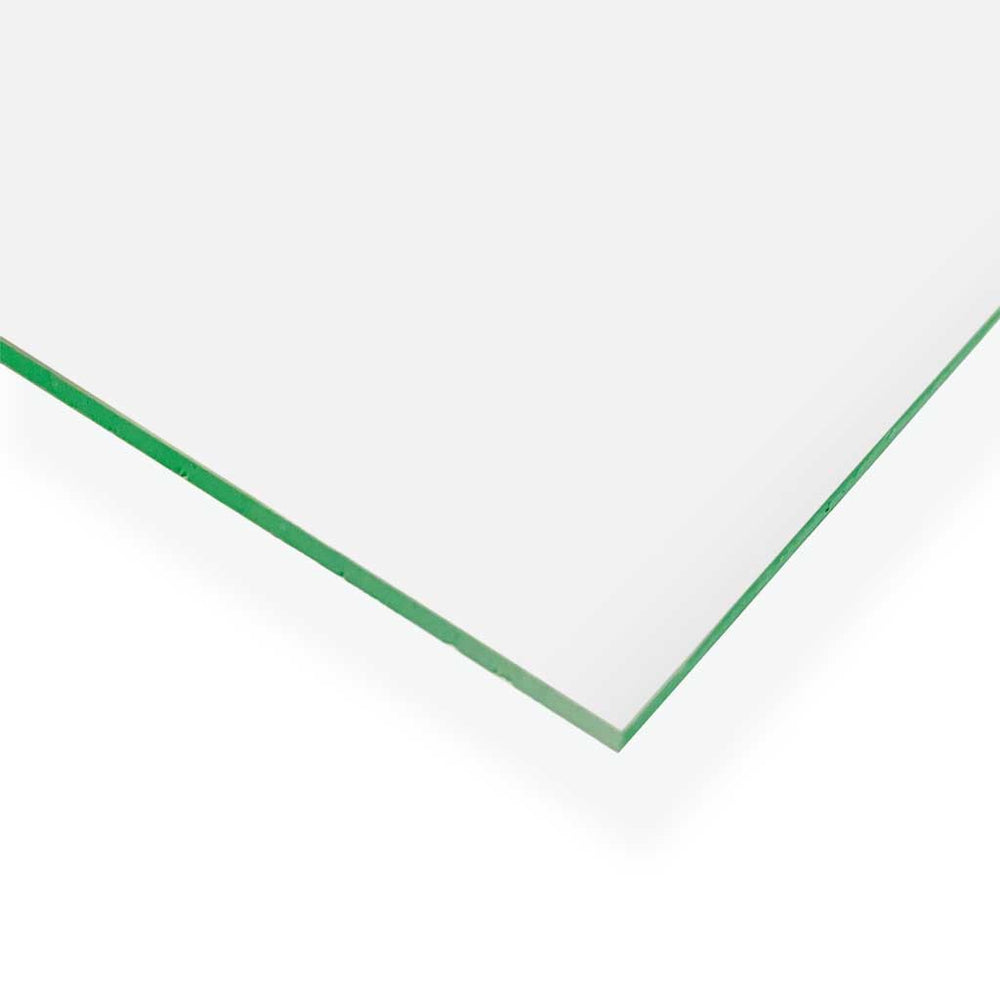
How to Replace Glass in a Picture Frame
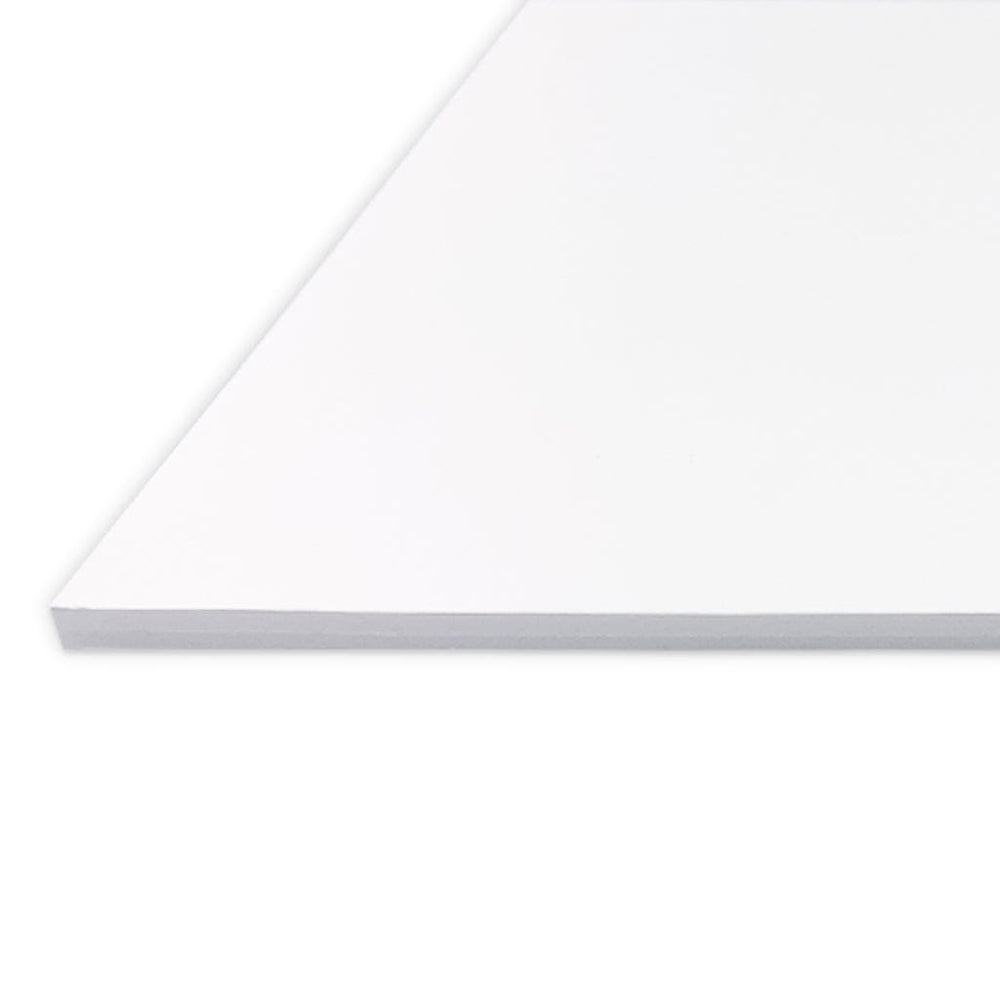
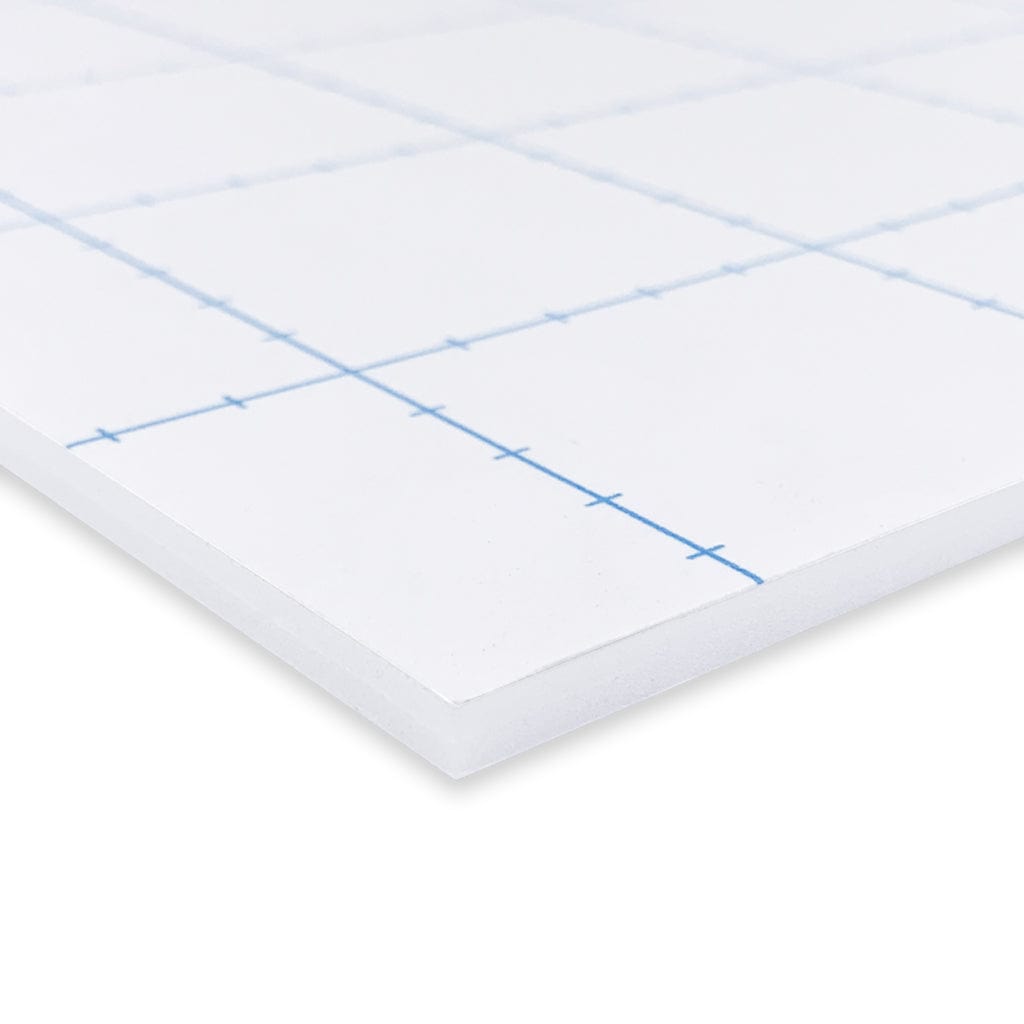
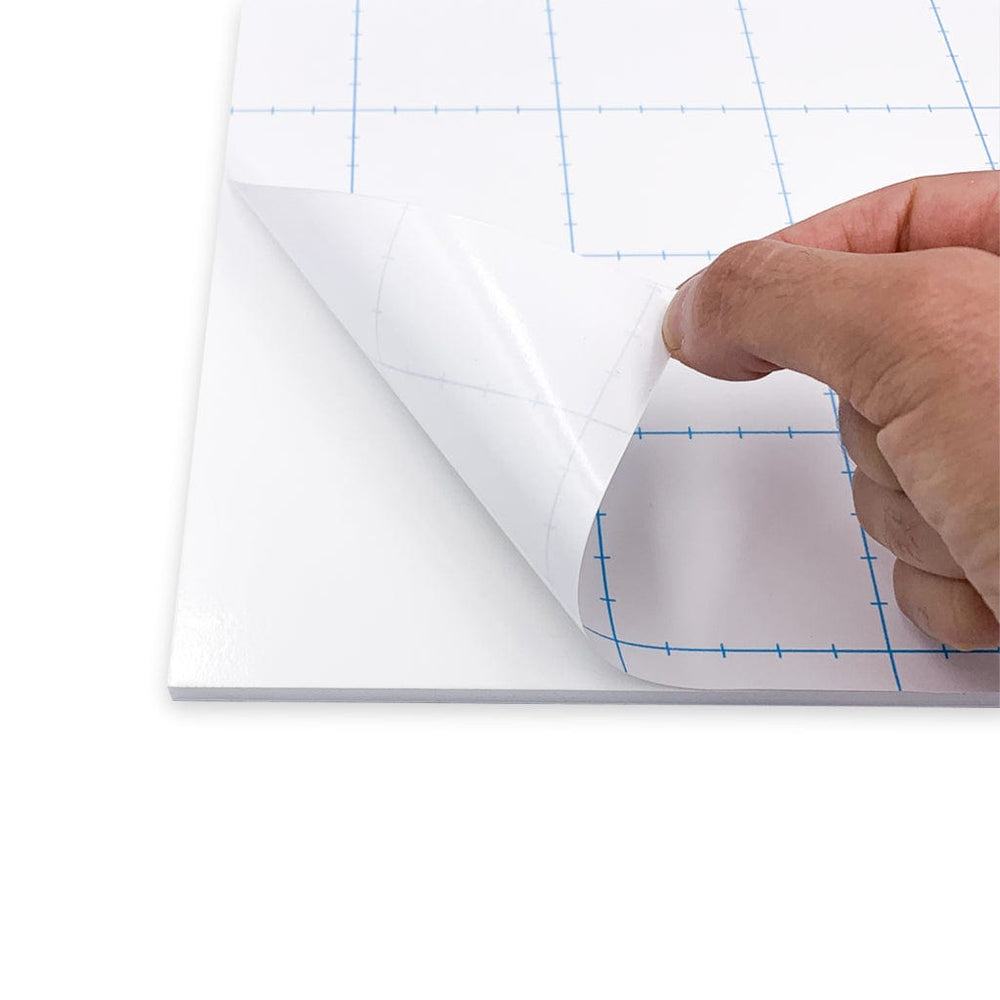
While we don’t recommend shipping 2mm glass due to its fragility and sharp edges, you can easily replace broken glazing with safer alternatives. At Profile Australia, we offer cut-to-size acrylic glazing that’s lightweight, clear, and shatter-resistant.
It’s ideal for standard-sized and many custom frames. Simply select your size and we’ll cut it to fit.

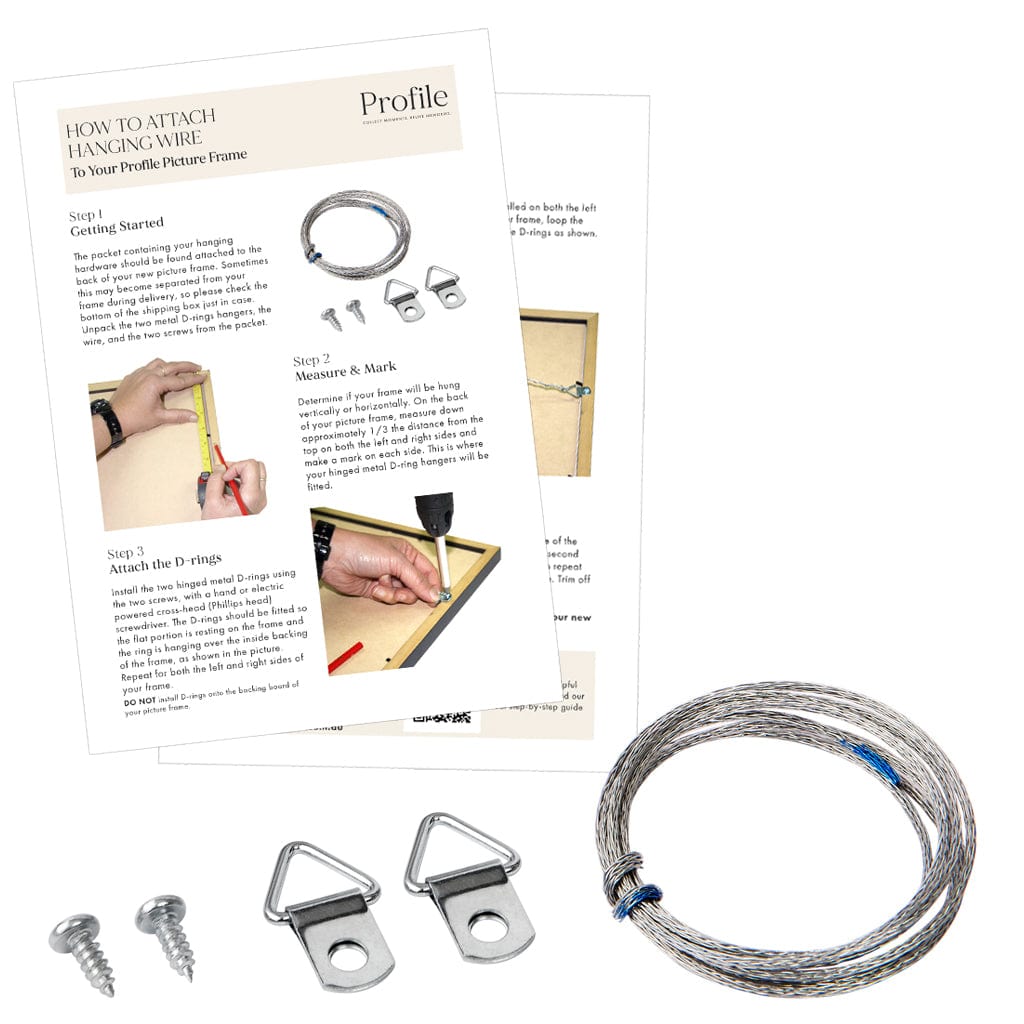
Need to Re-Secure the Backing?
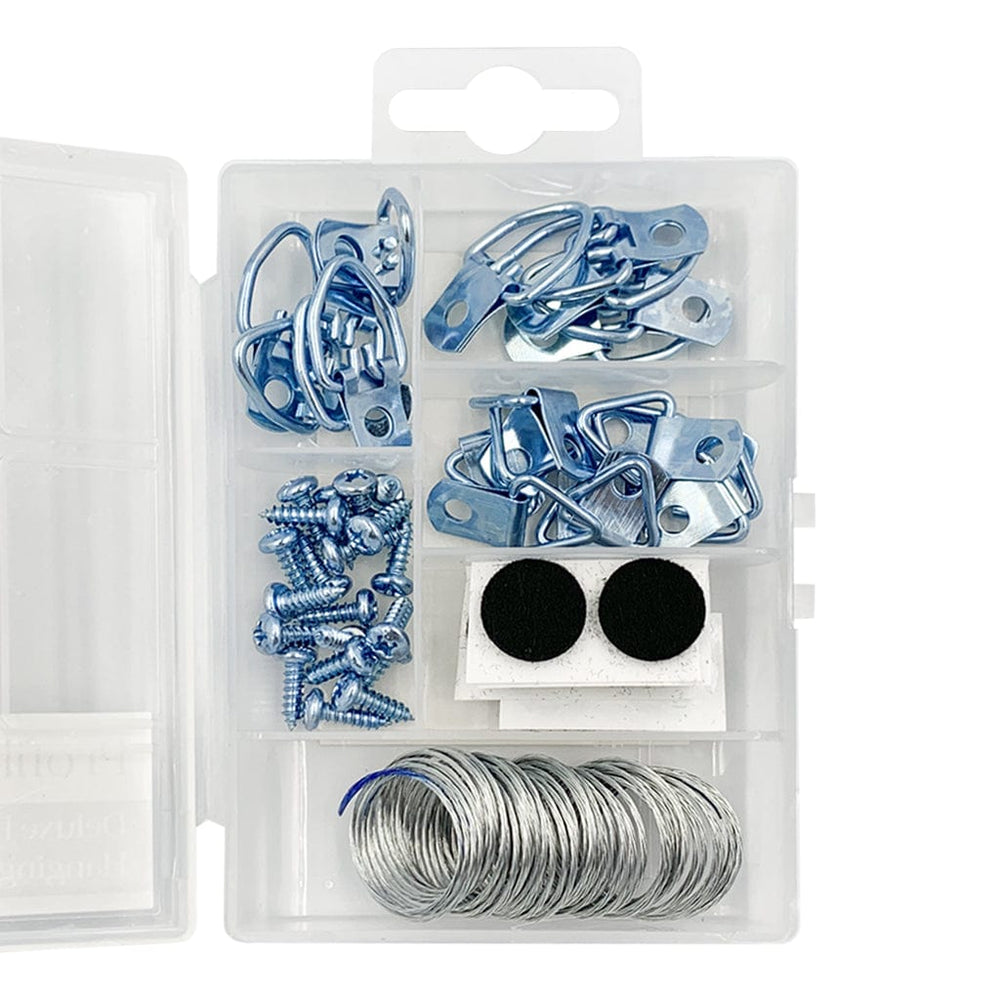
If you removed metal tabs or points during the disassembly, you could use glaziers points to reseal the frame. These small push-in points are easy to install and keep your glass, artwork, and backing securely in place.
Handle With Care, Replace With Confidence
Broken glass in a picture frame can be stressful, but with the right safety steps, you can protect yourself and your artwork. Whether you’re cleaning up cracked glazing or replacing it entirely, Profile Australia is here to help with practical solutions, including cut-to-size acrylic glazing and helpful framing accessories.