Table of Contents

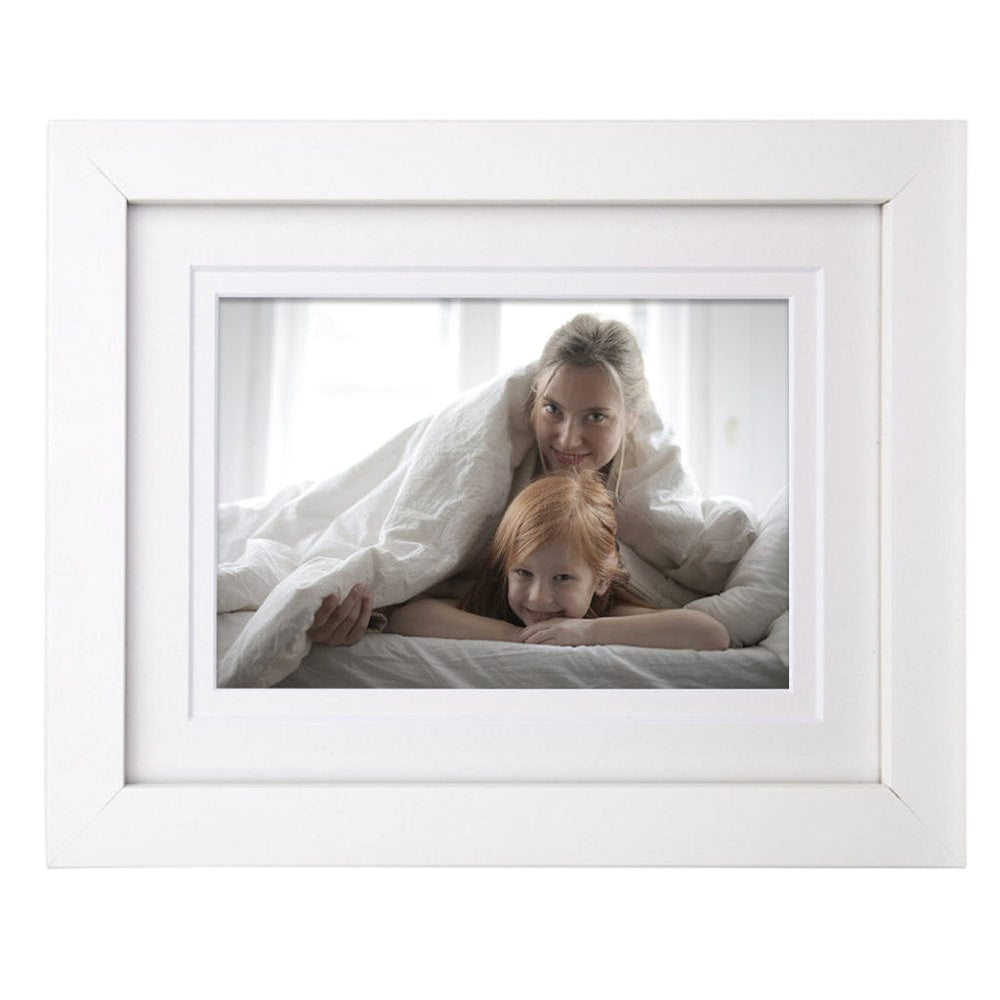
How Do You Insert Photos into an Unmatted Photo Frame?
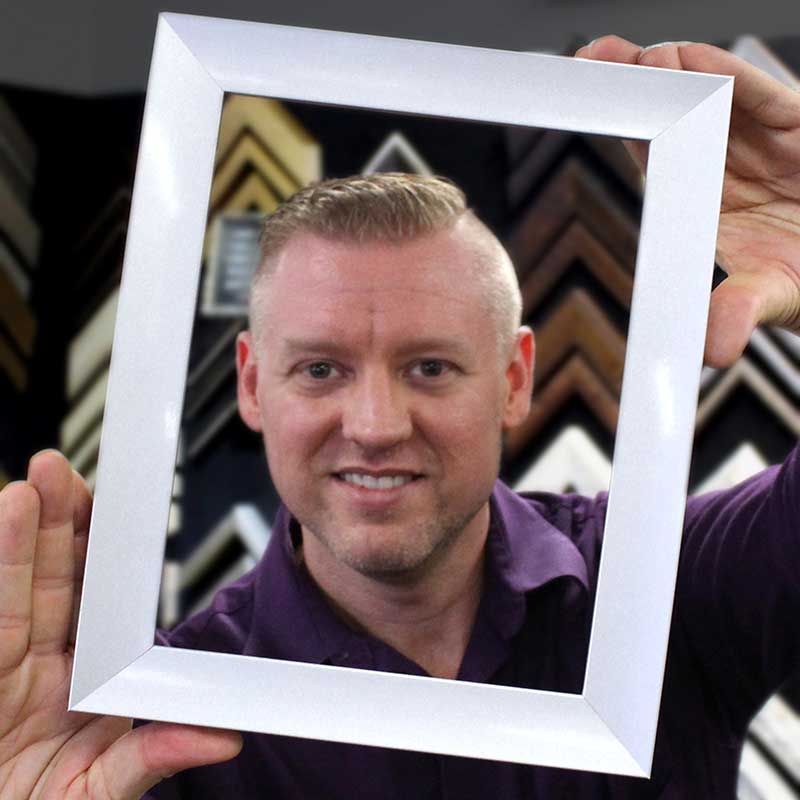
Are you looking for assistance on how to insert your photos into a unmatted photo frame? We have created a convenient step-by-step guide.
You can either refer to the handy video link below, or continue below to read through our visual step-by-step guide.
Getting Started
Items you'll require:
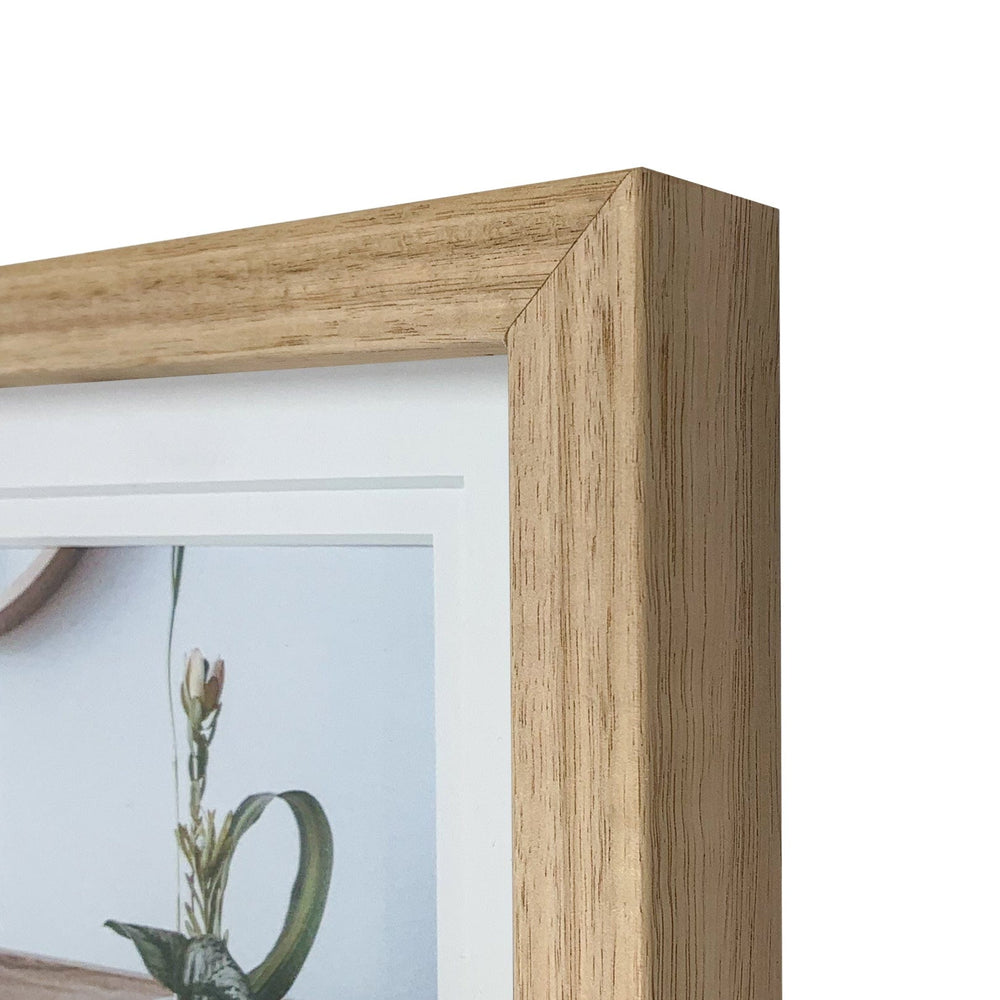
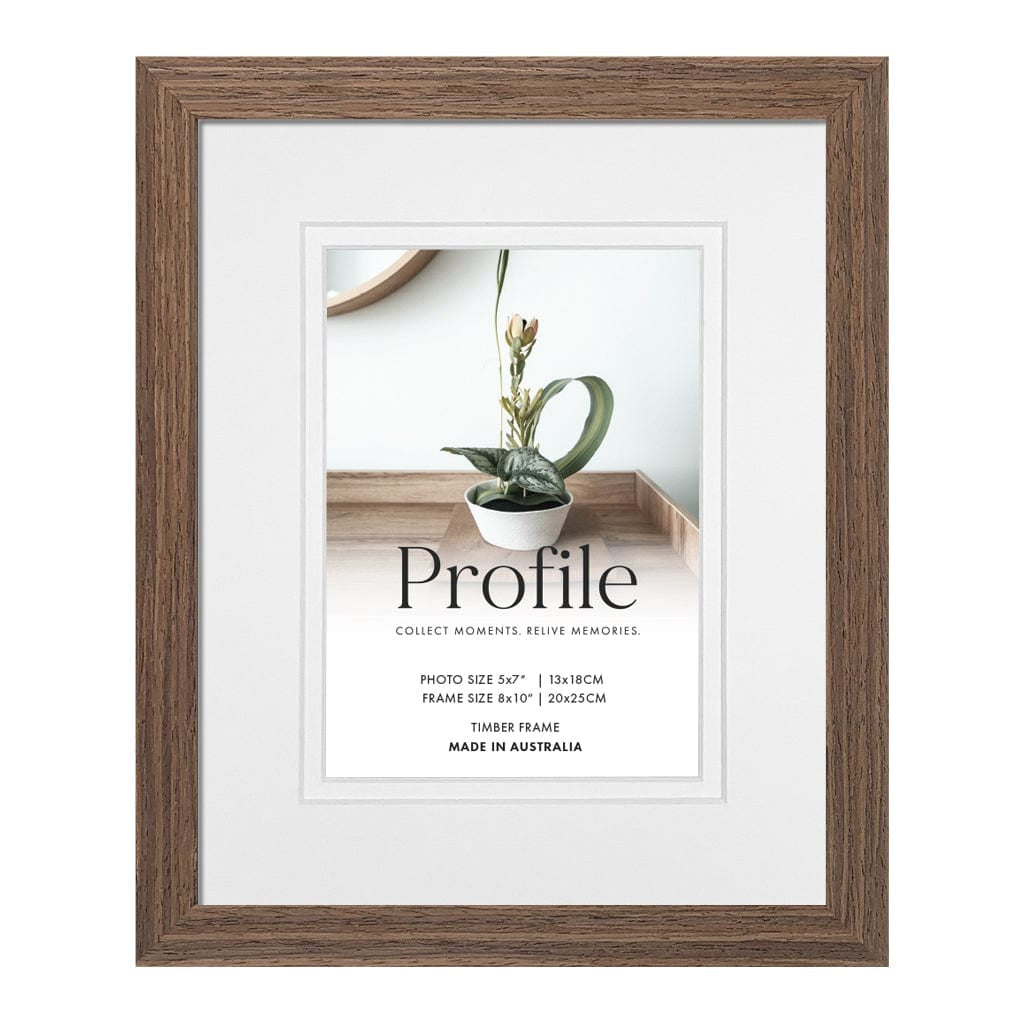
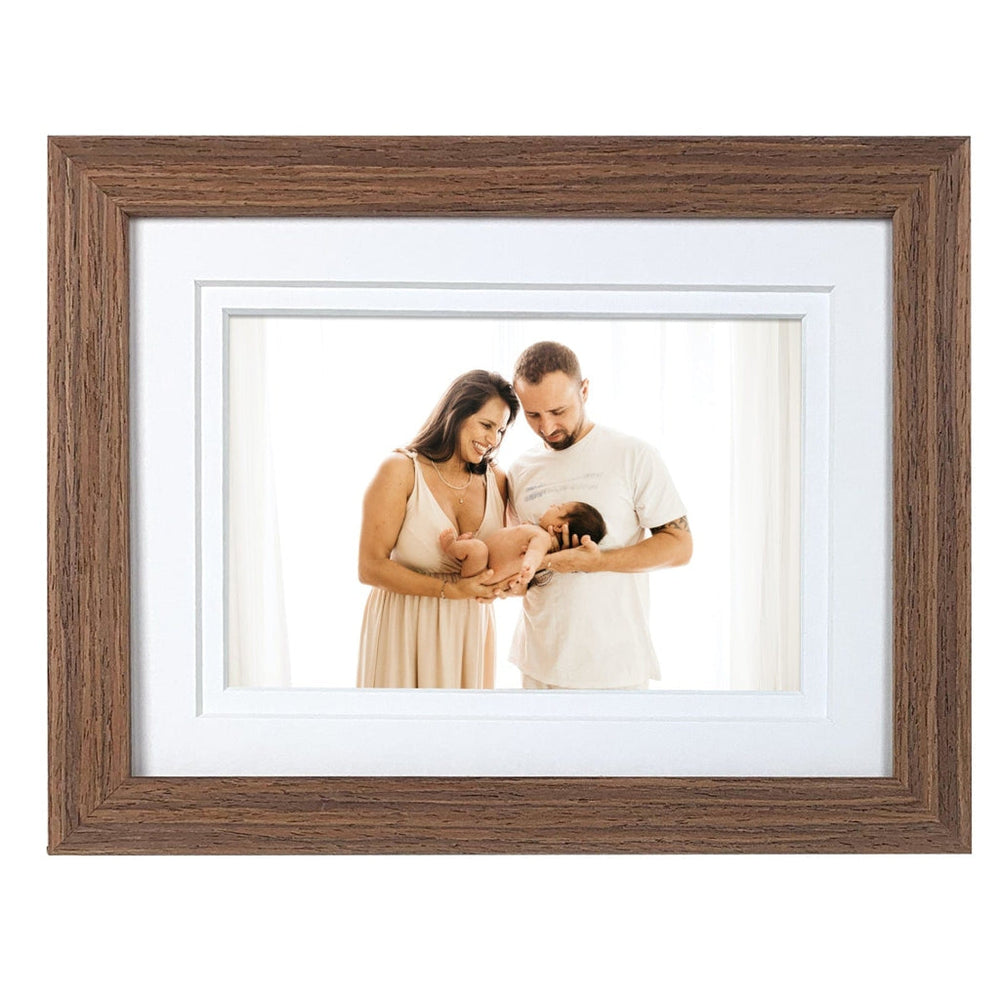
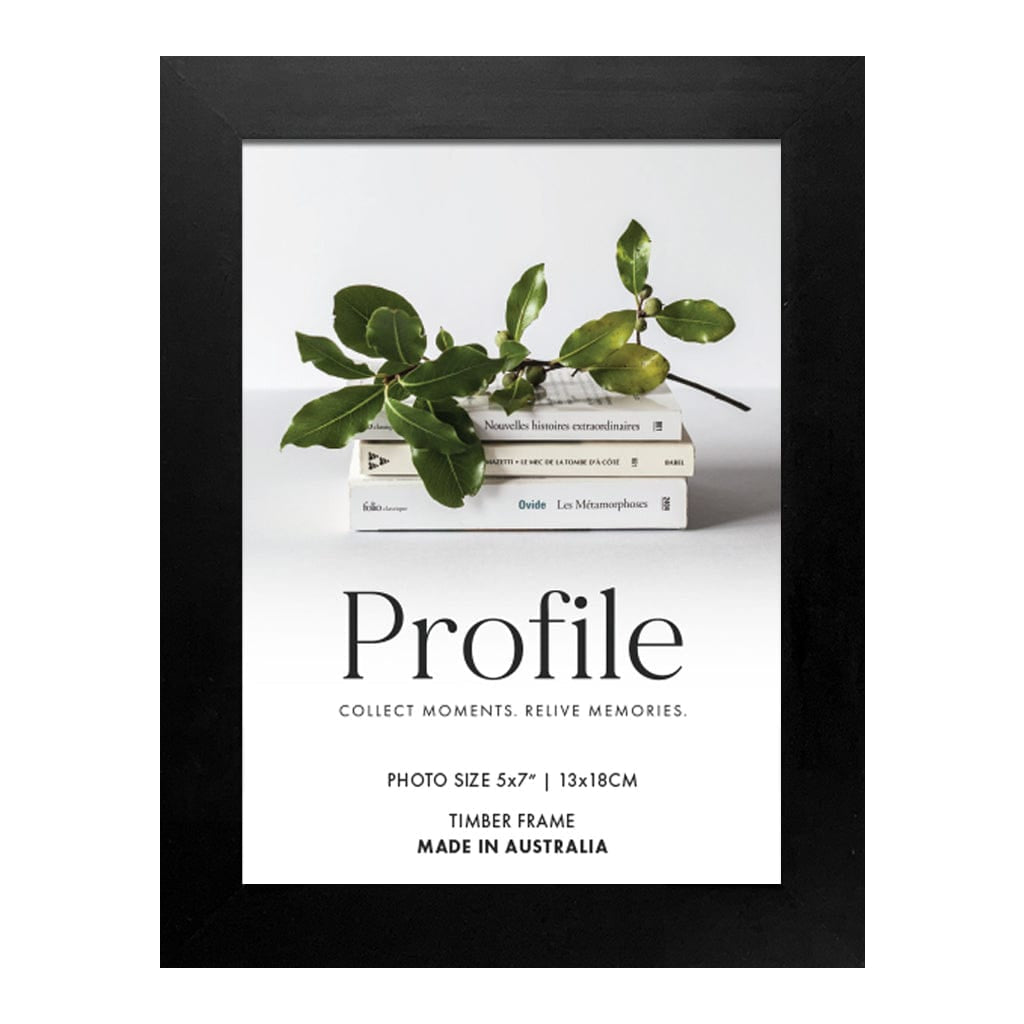
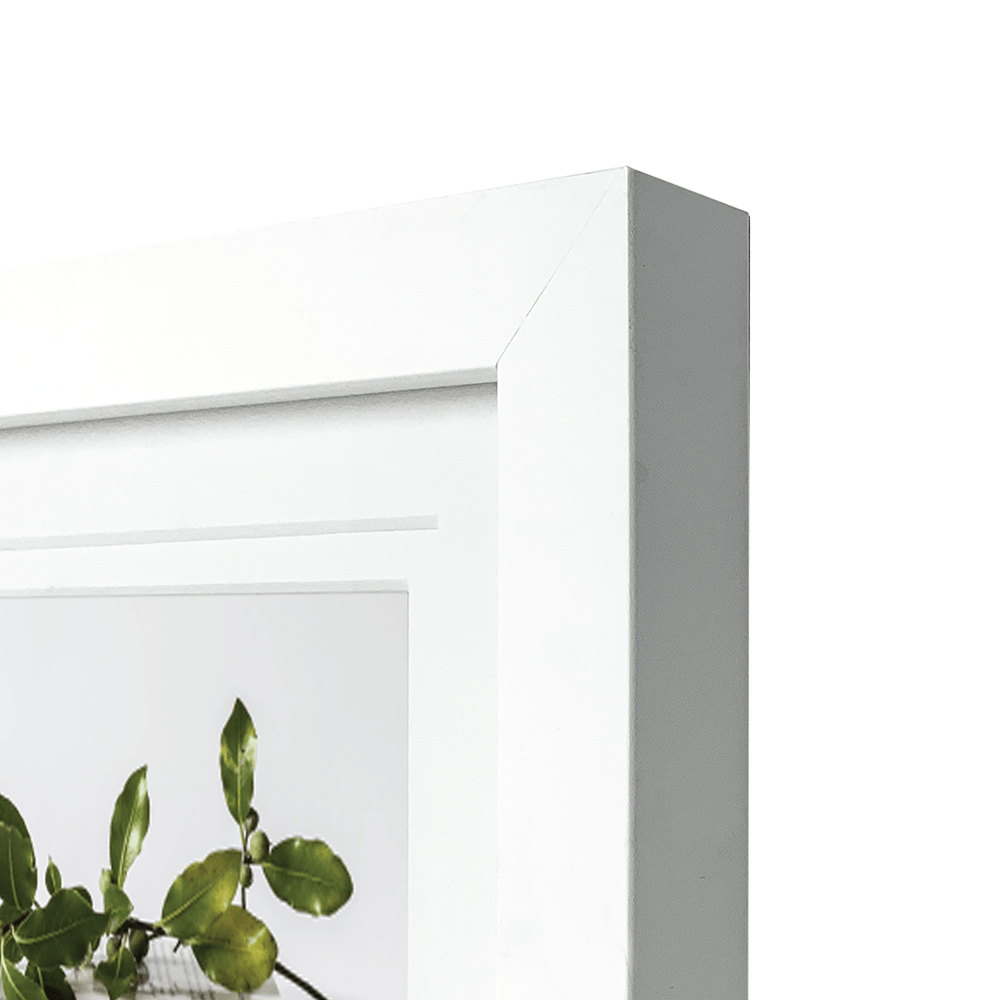
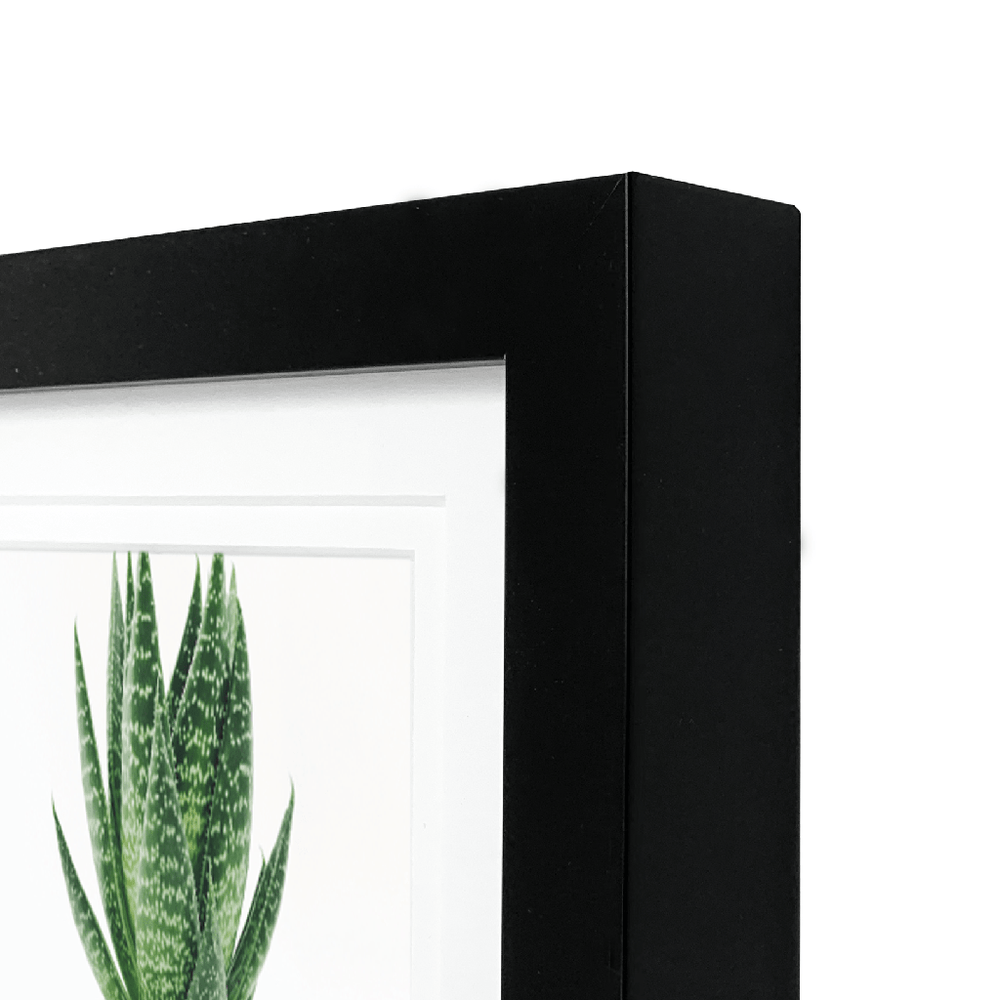
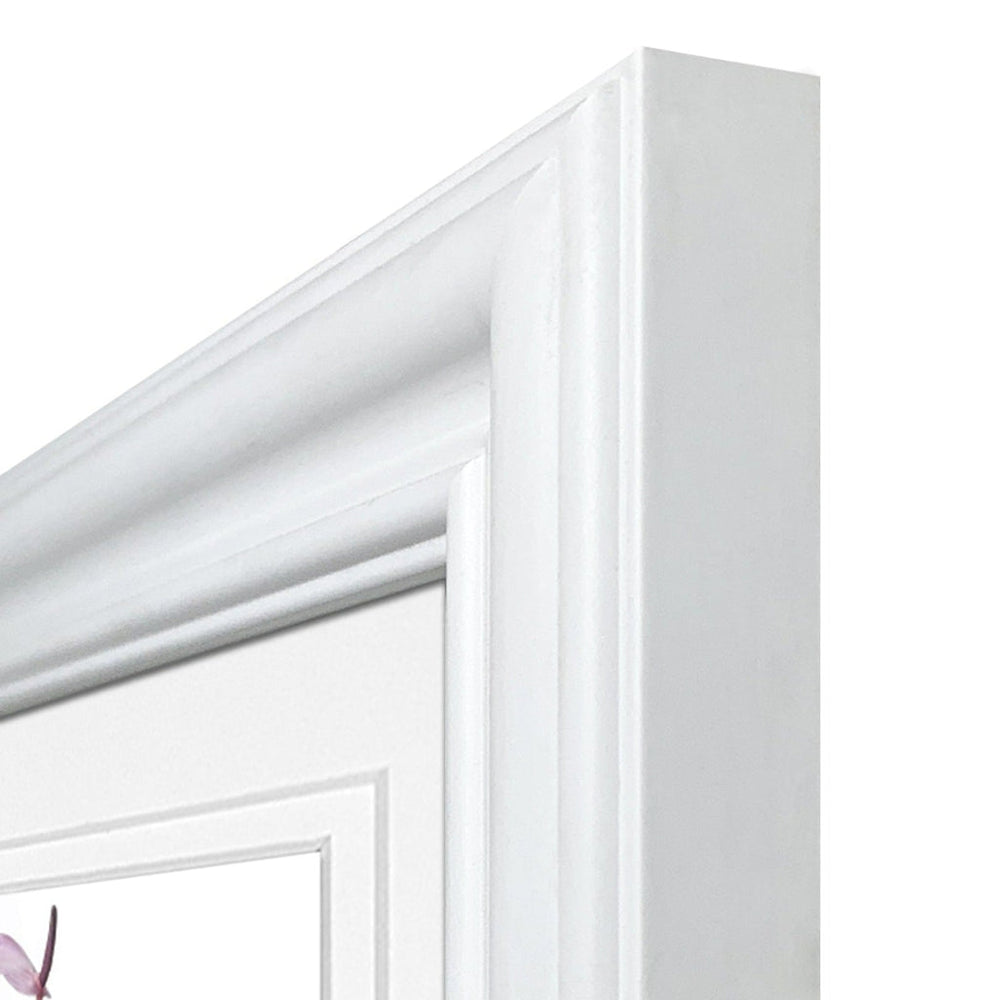
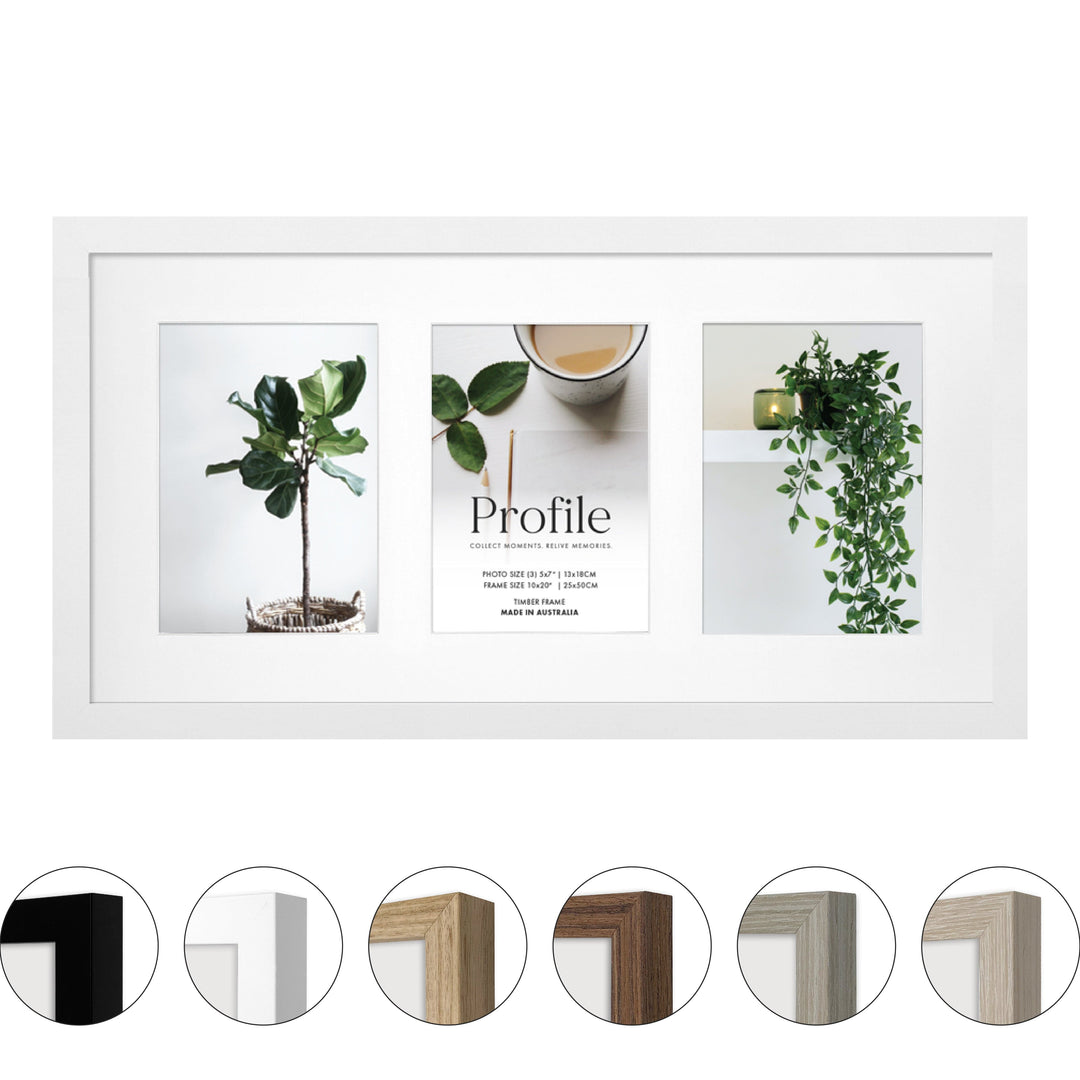
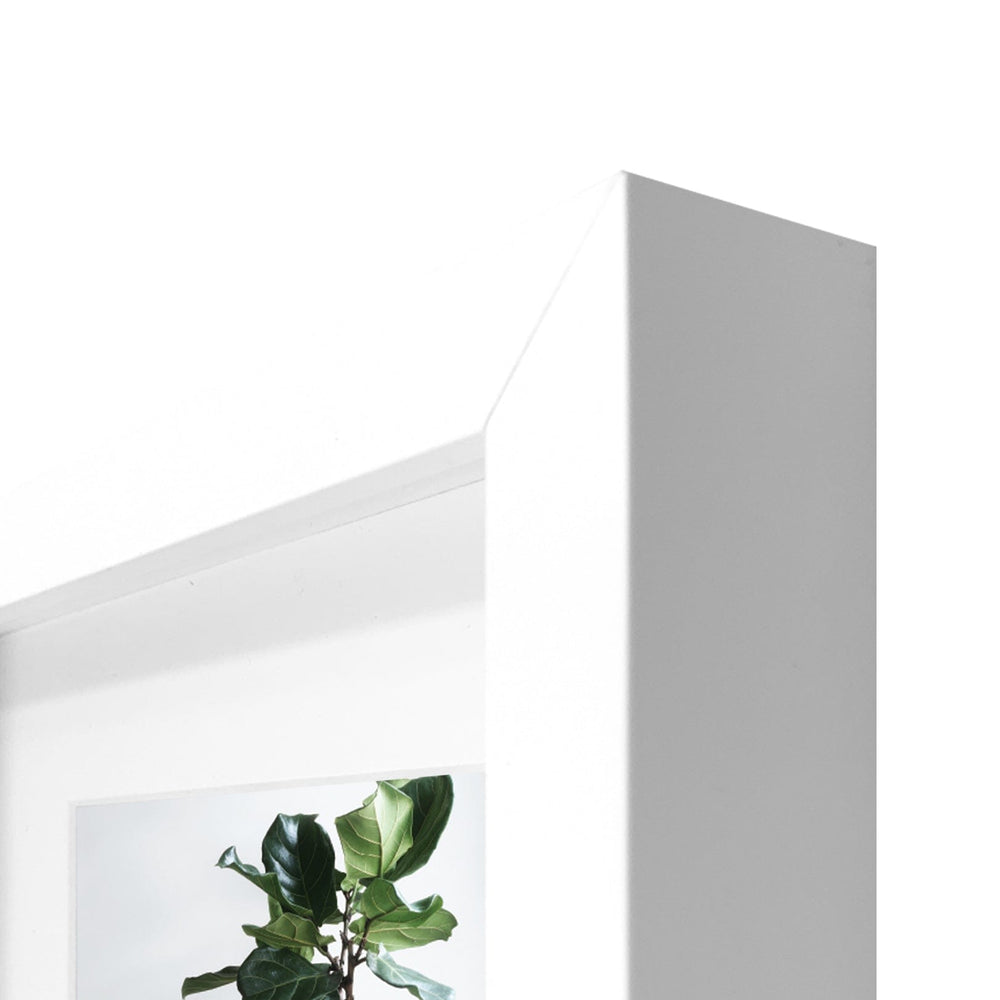
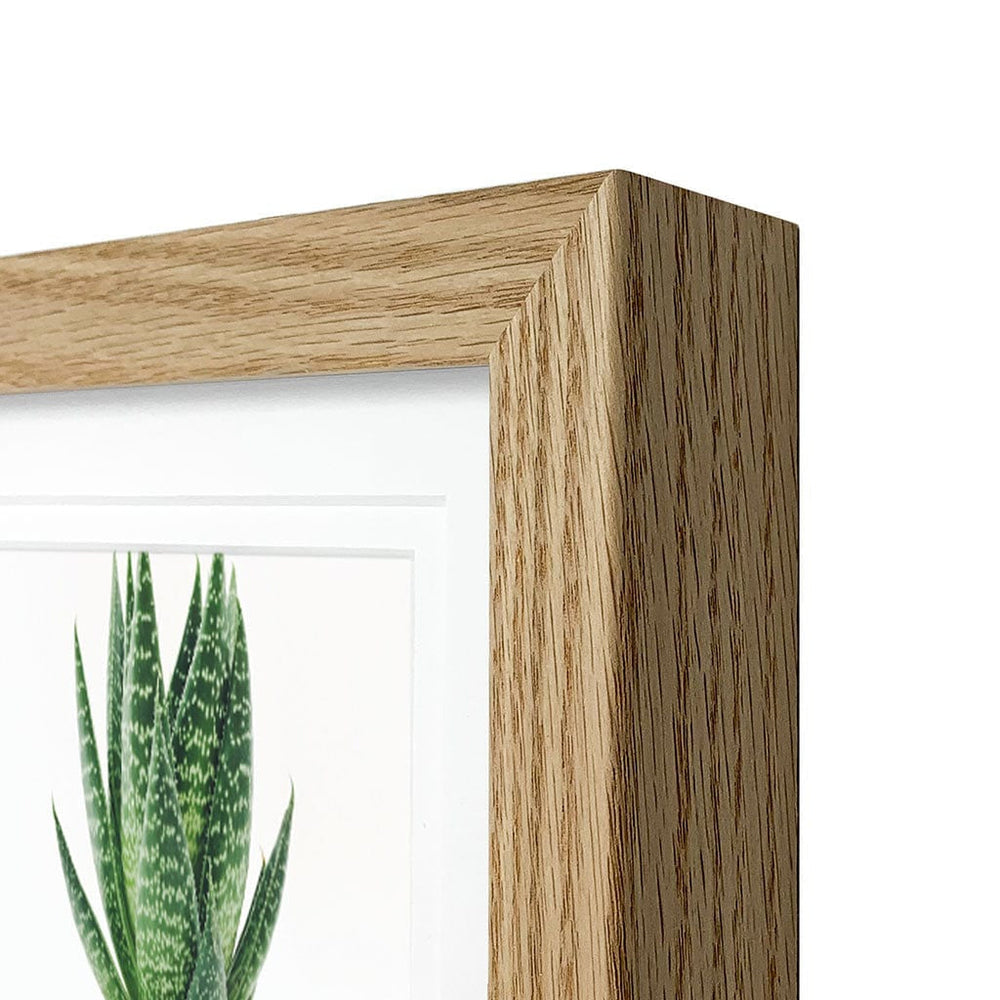
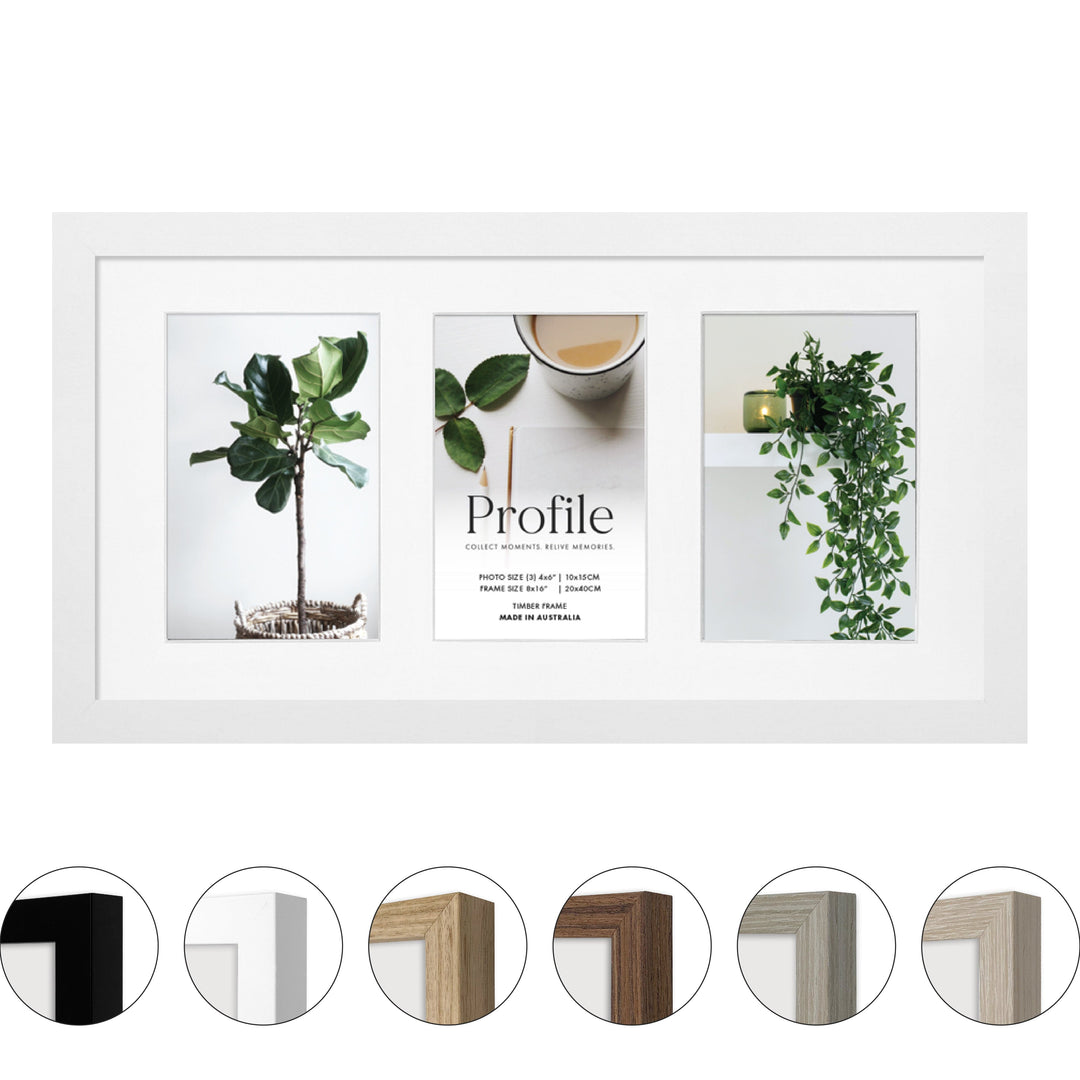
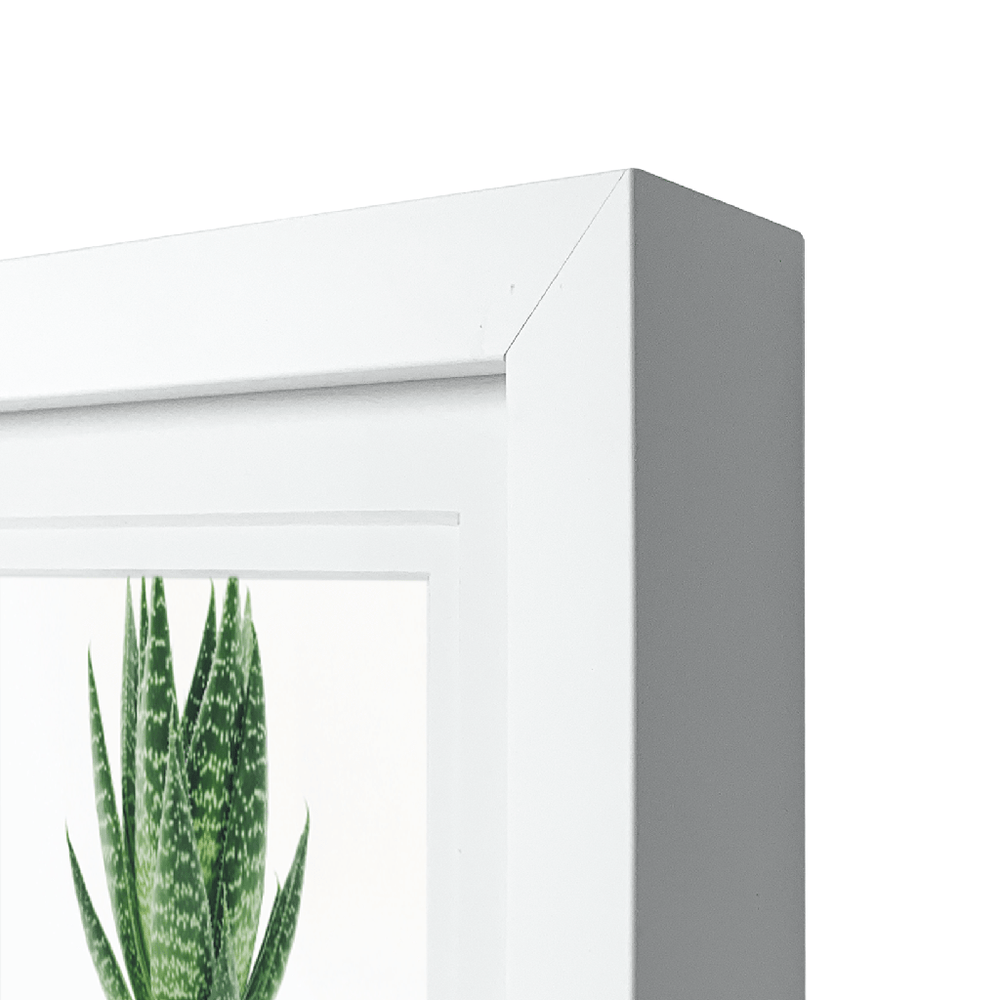
- Your photo frame
- Your photograph or artwork
- Some gloves (not essential, but will avoid fingerprints on the glass and on your photo)
- A lint free cloth (microfiber is good)
- A flat screwdriver or butter knife. (optional)
Tip: before you begin make sure the work space you are using is clean and clear of clutter to avoid scratching your frame. Some people lay a cloth or towel onto a table surface.
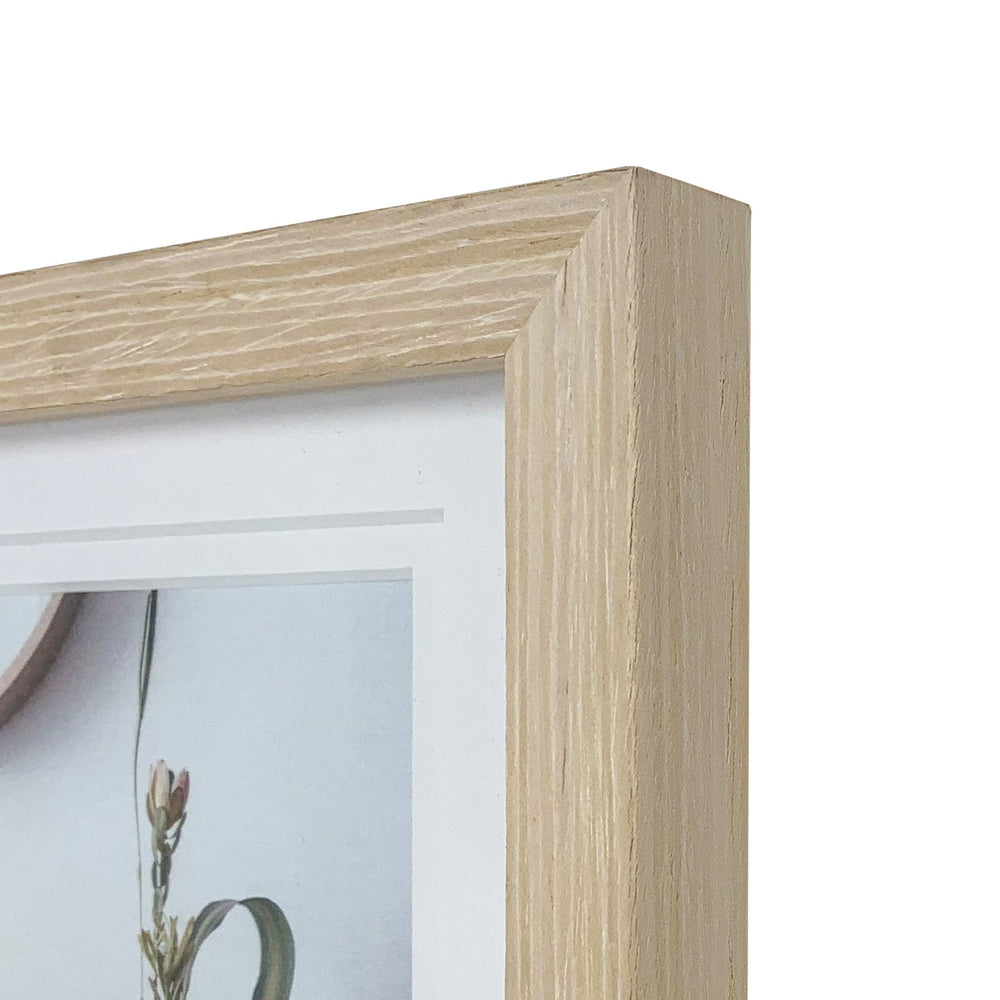
Step 1- Unwrapping the Photo Frame
Unwrap the photo frame (or picture frame) from its protective shrink-film and turn it over and place it face down on your protected working surface or table.

Step 2 - Remove the Backing Board
Use your finger nails, a butter knife, or flathead screwdriver to lift the flexible flip-tabs from a horizontal position so they now face vertically upwards. This will allow you to easily remove the backing board from the recess of the photo frame.

Step 3- Remove the Face Paper
Carefully remove the face paper from the photo frame. Take care that the glass does not fall out of the photo frame. Do not remove the glass from the photo frame.

Step 4 - Wipe the Frame Glass with a Lint-Free Cloth
Clean and remove any dust or finger prints from the glass inside the picture frame, if required.

Step 5 - Place Your Photo into the Photo Frame
Carefully place the photo into the picture frame face down, with the photo facing the glass.
Remember to change the hang clip on the MDF backing board to match the correct orientation of your photo.

Step 6 - Close the Back of Your Photo Frame
Use your fingers, a butter knife, or flathead screwdriver to close the flexible flip-tabs back to their original horizontal position. This will keep the MDF backing board in place inside the photo frame.

Step 7 - Final Check
Lay your framed photo onto a flat surface, and check the photo is aligned properly and sits straight. If not, remove the backing board and straighten the photo.
Check that the front of the glass of the photo frame is also clean and wipe off any finger prints or dust if required.

Your photo frame is now ready to display your precious memories.
We hope this information was helpful. If you have any questions or feedback, please feel from to contact us.
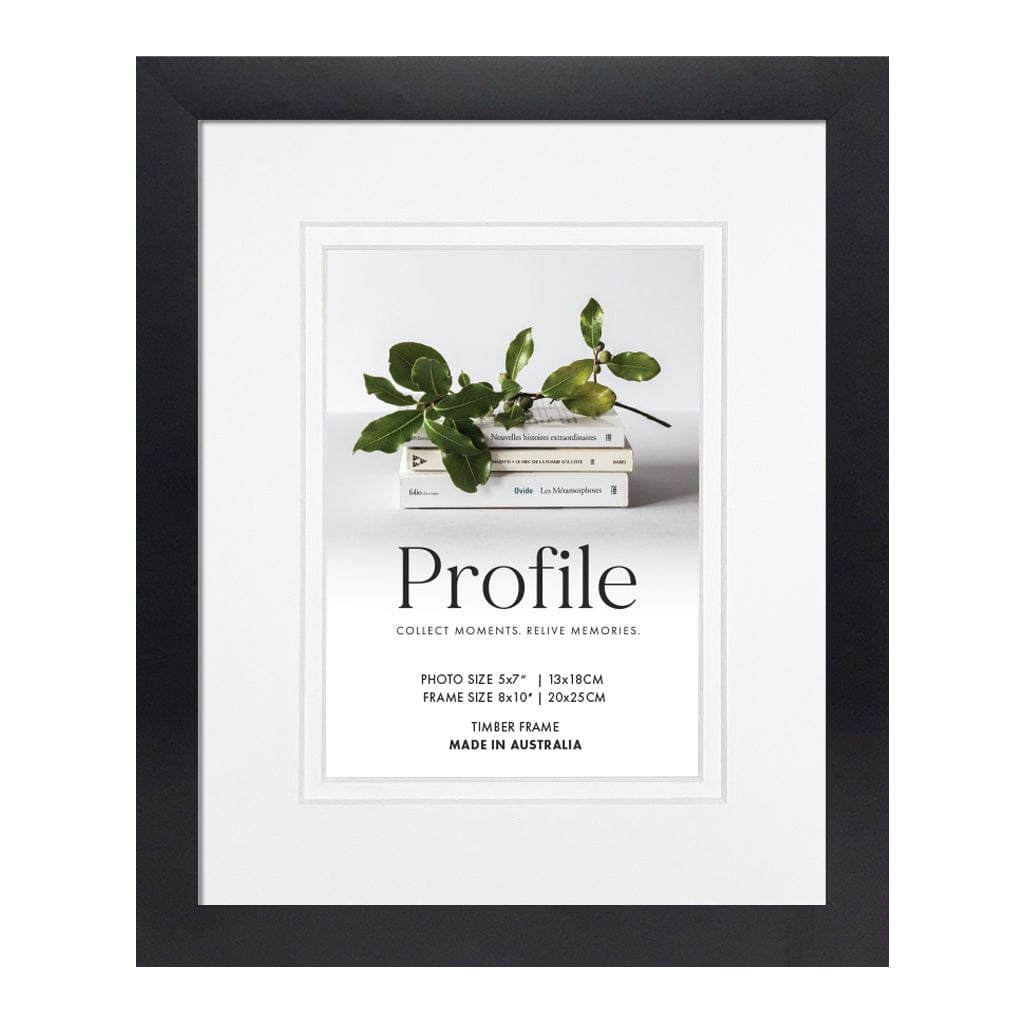
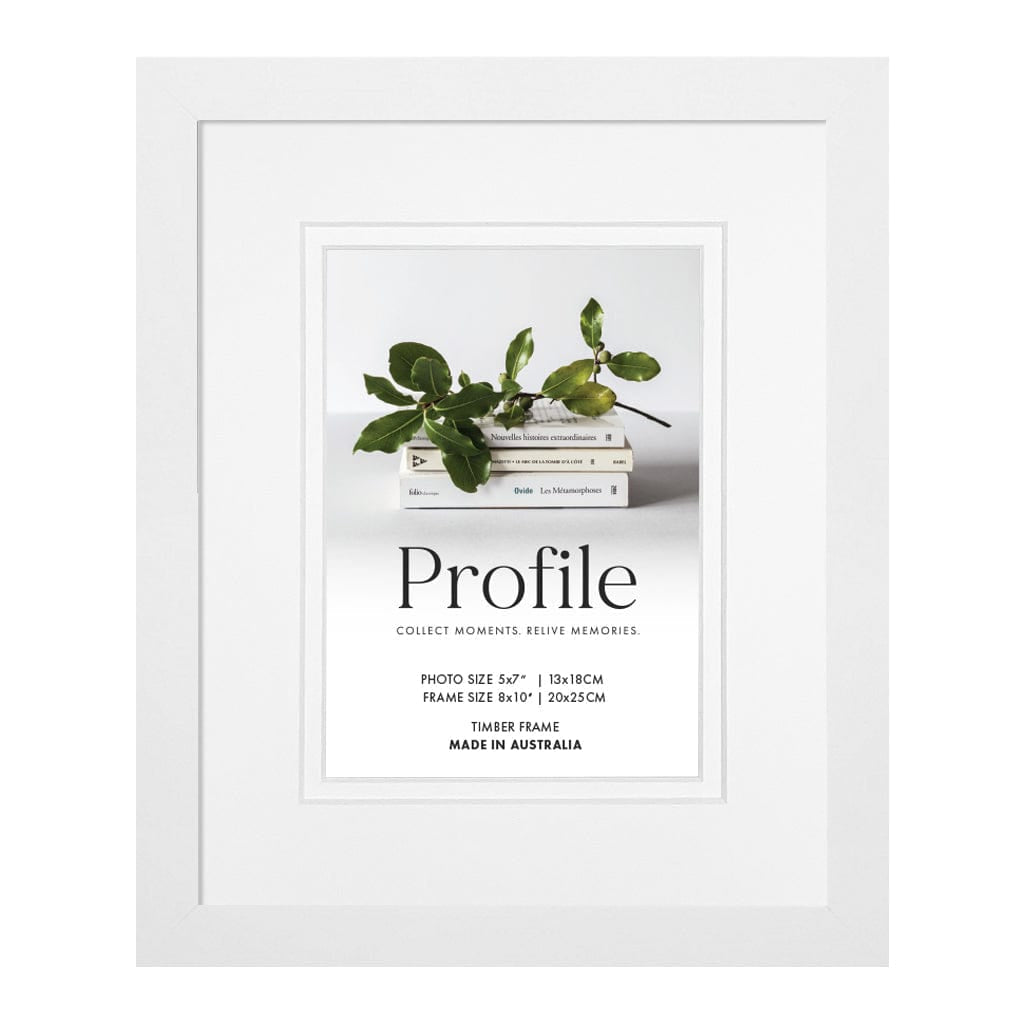
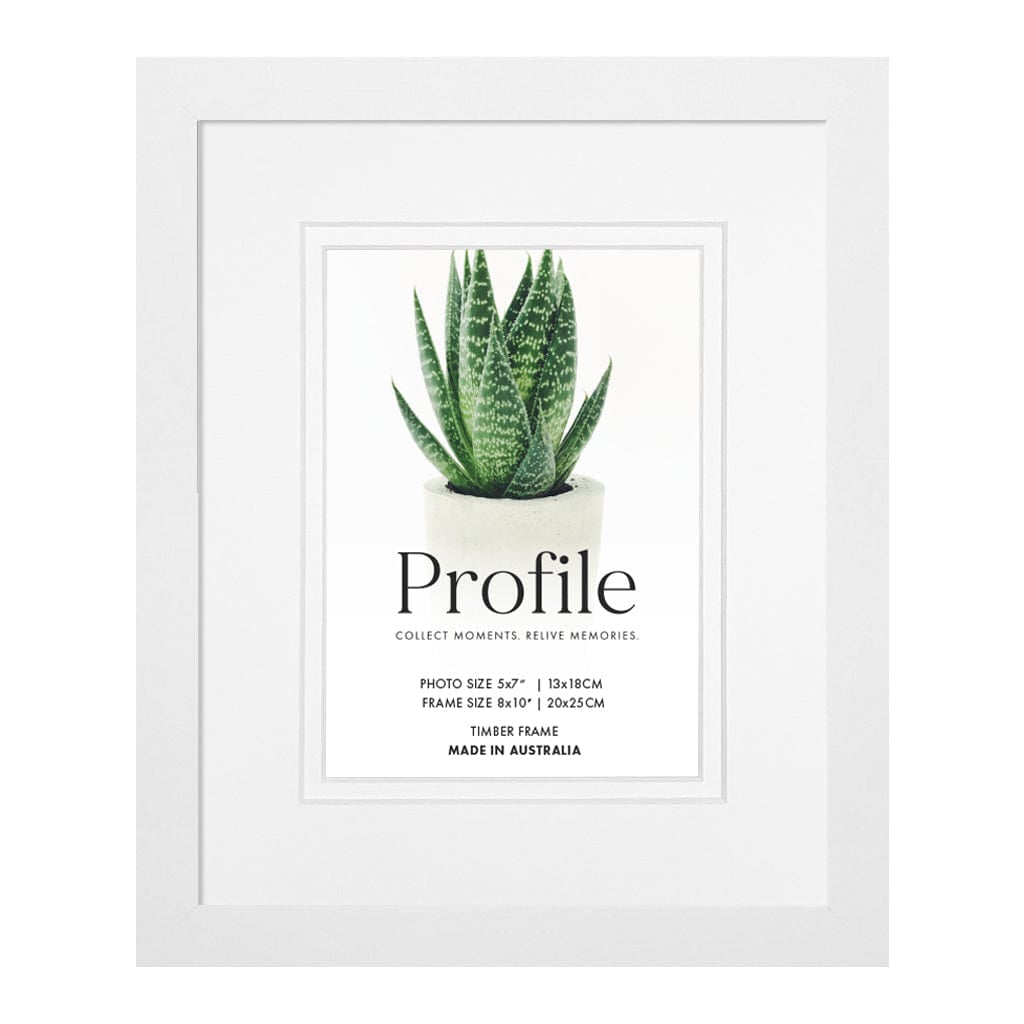
Shop Australia's Largest Range of Photo Frames Online with Profile
Explore the complete range of Picture & Photo Frames from Profile Australia. Whether you're looking for black frames, timber frames, natural oak frames, metal frames or even specialty frames like shadow-box frames and panoramic frames, we offer a full range of picture framing solutions in all types of shapes, styles and sizes.
All proudly made in Australia with eco-sustainable timbers and a lifetime guarantee!
Want to read more? You may also like: