Table of Contents
Old photo albums often hold more than just pictures - they hold memories, milestones, and family stories. But as time passes, adhesives can harden and paper can grow fragile, leaving many precious photos seemingly glued in place.
The idea of prying them loose can feel daunting, especially when every print is irreplaceable. This guide offers calm, step-by-step advice drawn from professional photo conservators, helping you remove stuck photos safely and preserve them for generations to come.
Before You Start - Assess and Back Up Each Page
Before touching a single photo, take a few precautionary steps to safeguard what you already have. Old albums can be unpredictable: pages may be brittle, adhesives discoloured, or photos bonded tightly to the paper beneath. Preparation gives you a safety net.
- Create a backup record: Take clear photos or scans of each album page in good light. This ensures you’ll have a digital copy even if a photo tears or remains stuck.
- Work in the right environment: Choose a clean, flat surface with bright, indirect lighting. Wash your hands or wear soft cotton gloves to avoid transferring oils.
- Check for fragility: Look closely at the page materials. Brittle paper or silvered photo surfaces are high-risk areas - these will need extra care.
- Plan your approach: Identify which pages are most important or at greatest risk so you can start with less valuable photos for practice.

Identify the Album Type and Adhesive You’re Dealing With
For a deeper understanding of album types and adhesives, you can also explore our related guide, Understanding Different Types of Photo Albums.
The way a photo was attached to its page often determines whether it can be safely removed. Understanding the album type will guide which tools or methods to use - and when to stop.
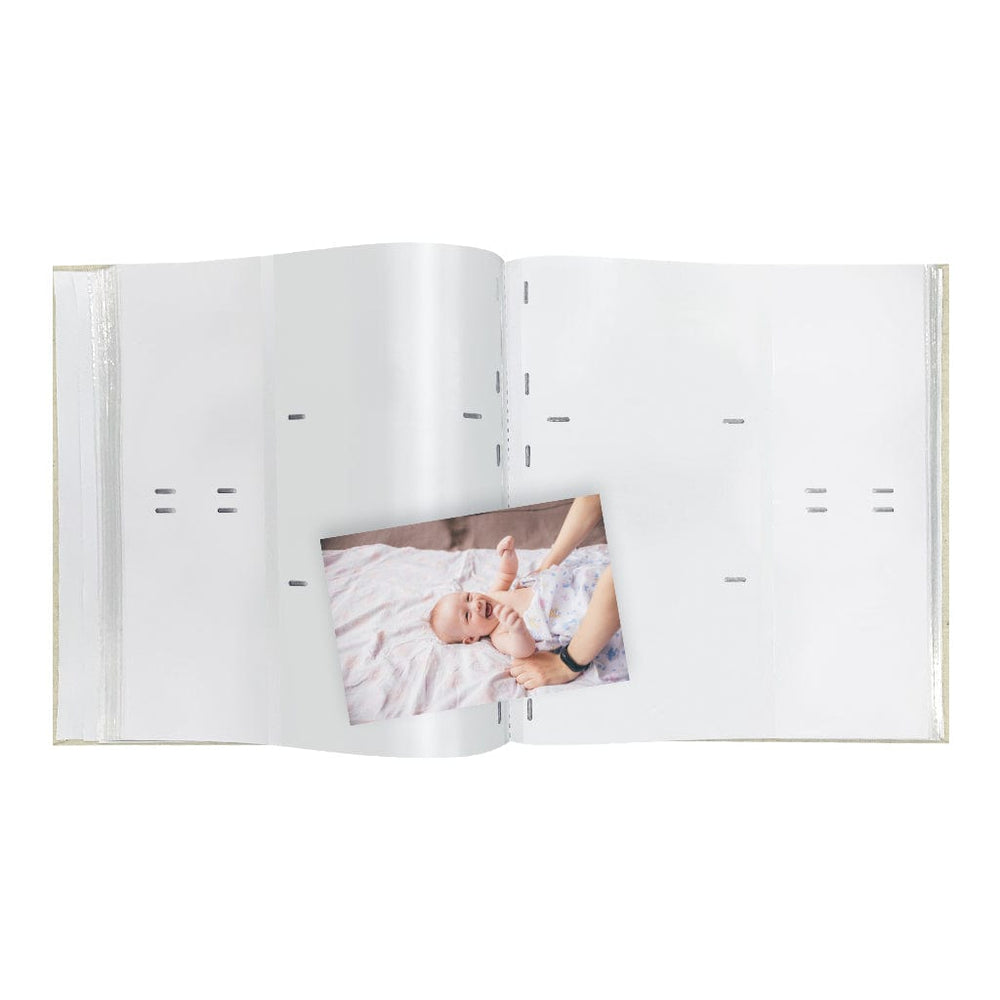
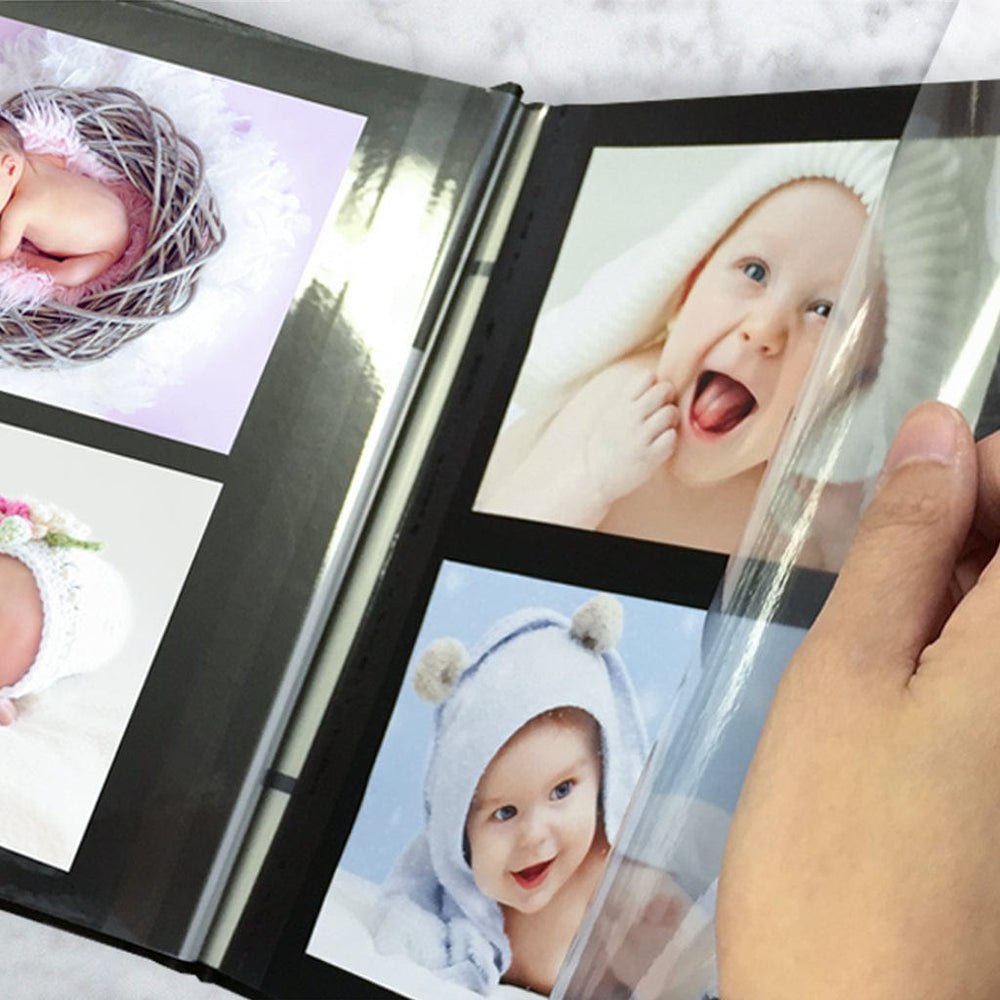
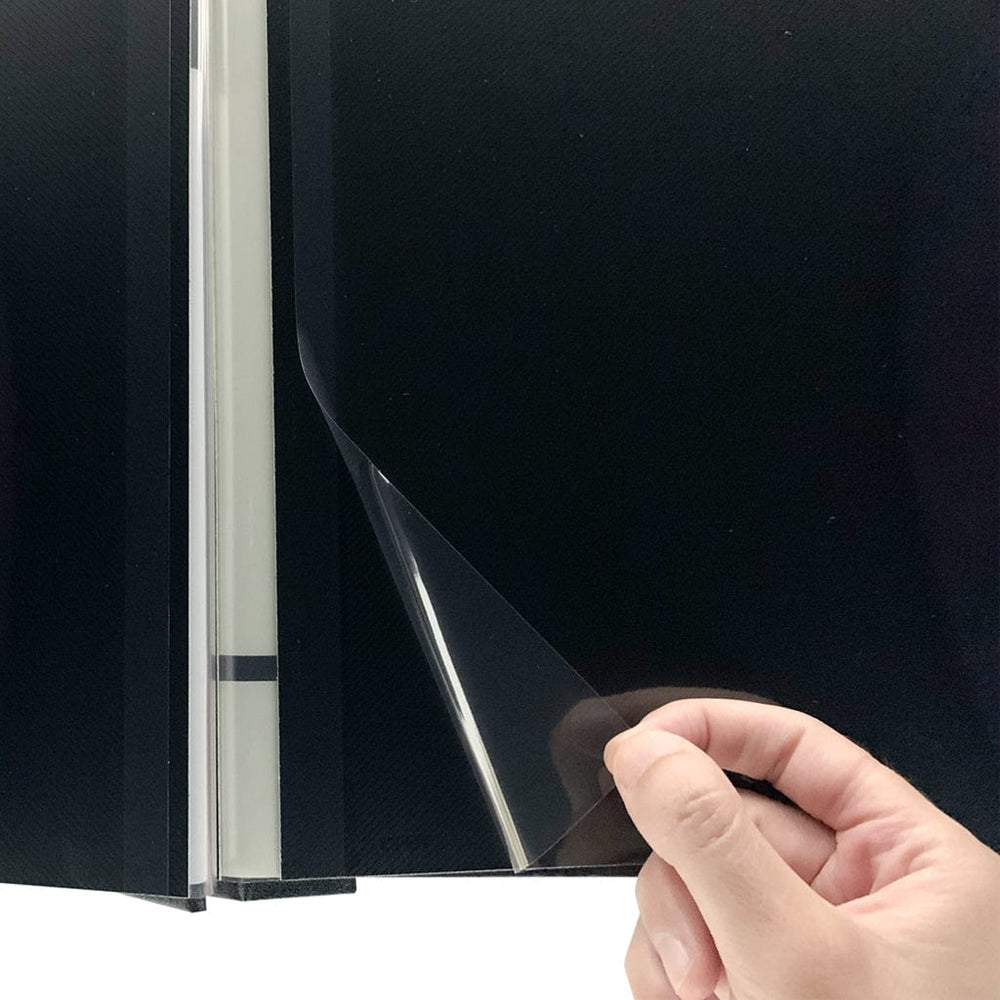
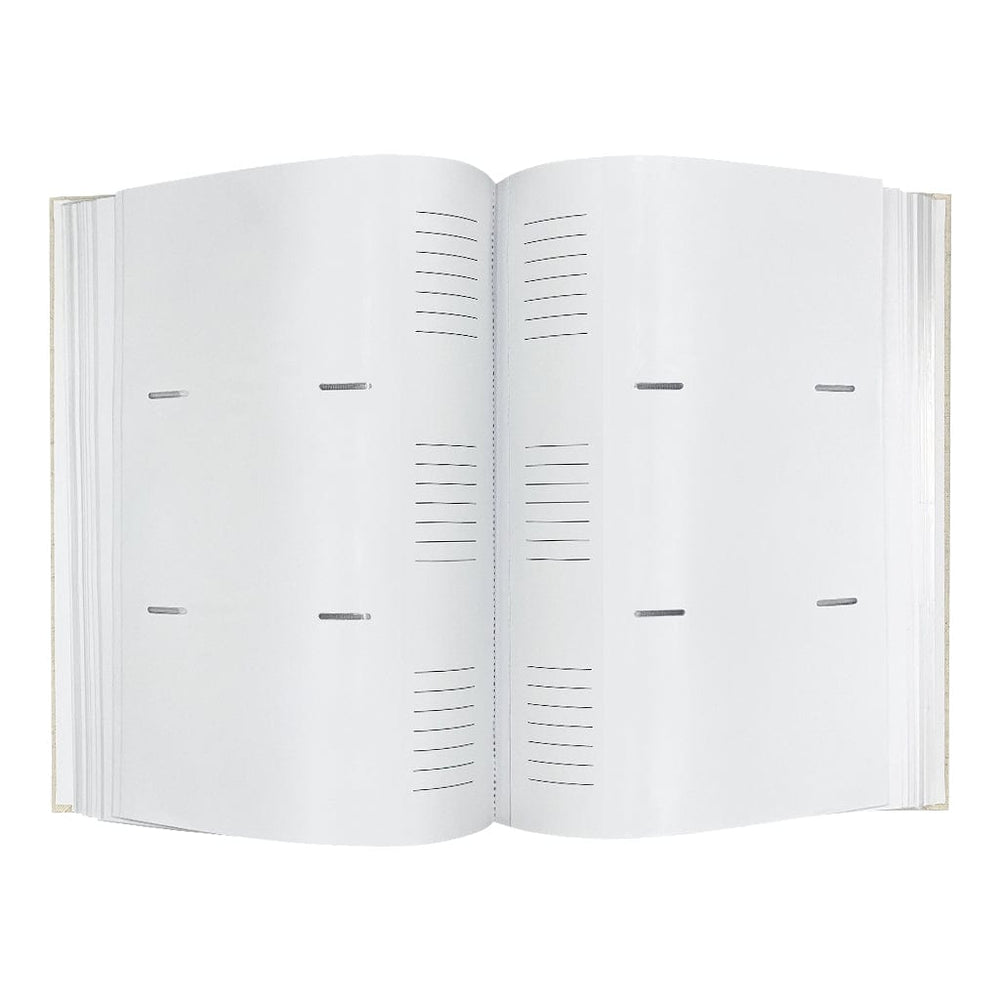
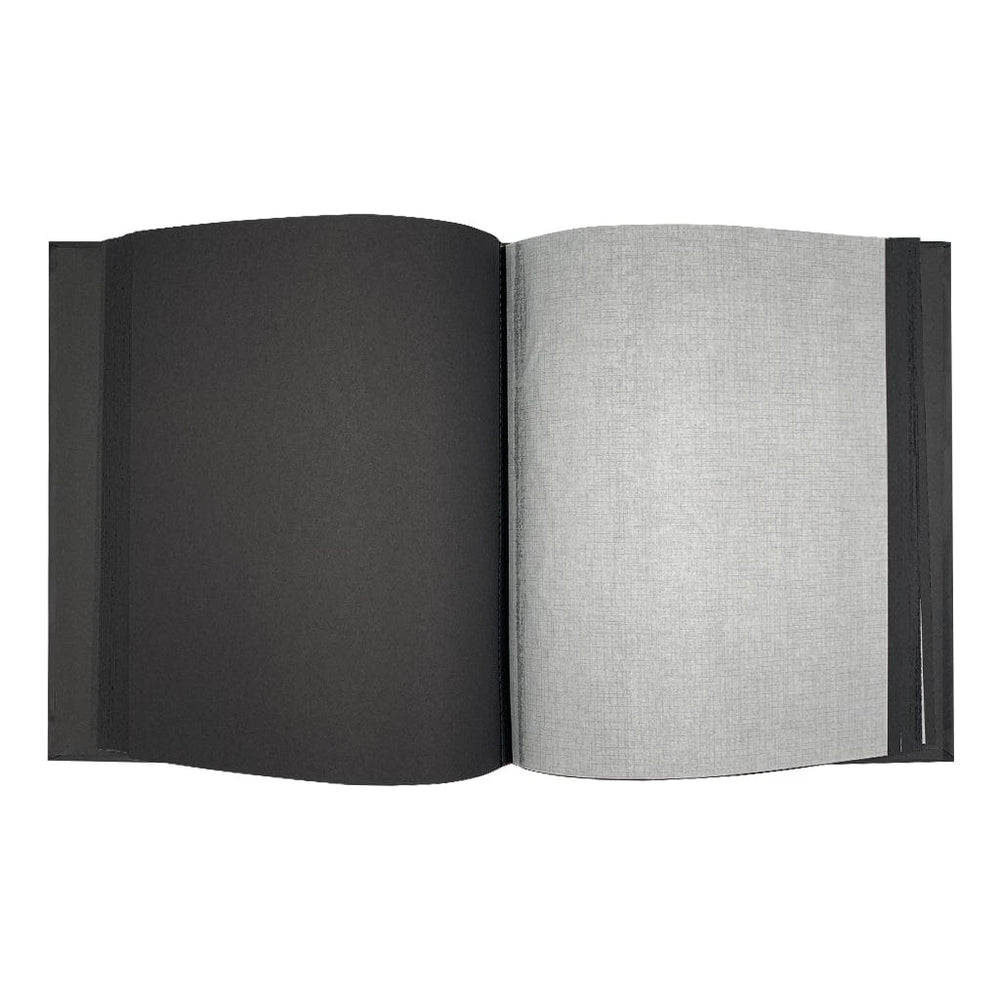
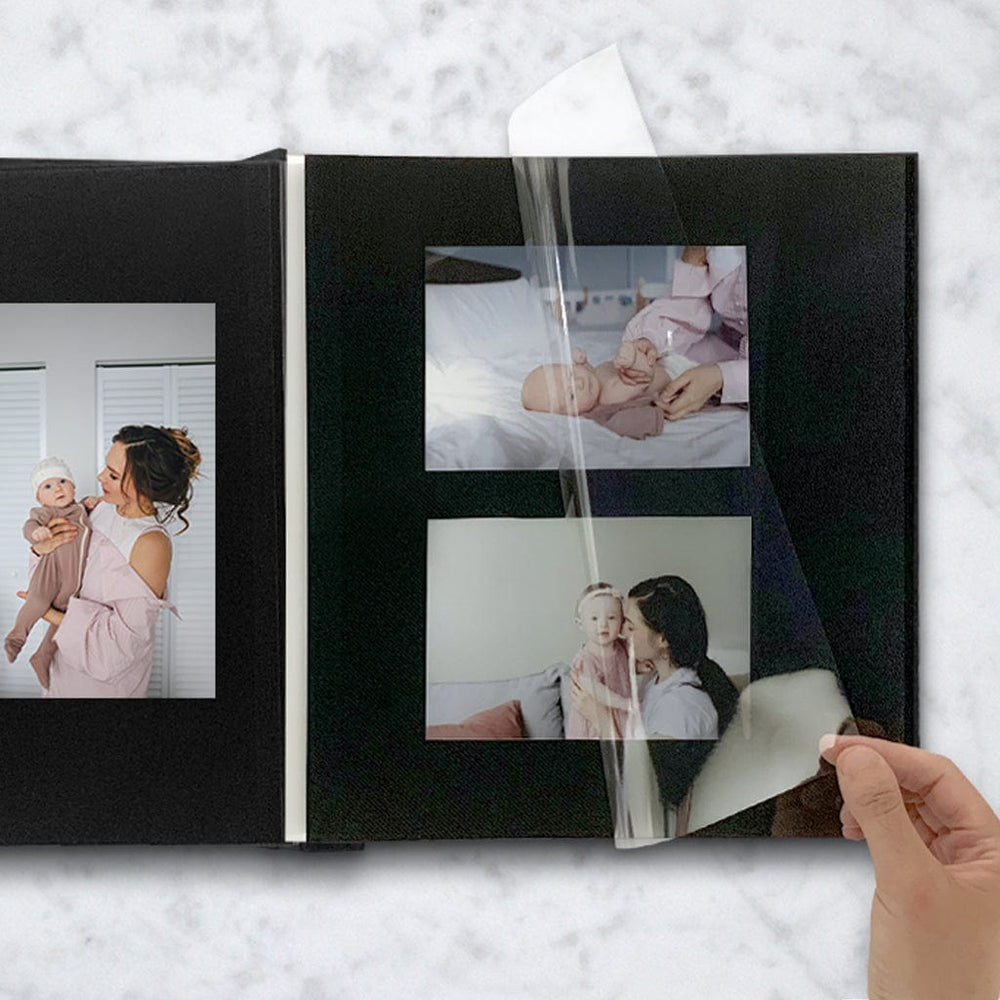
- Sticky or “magnetic” albums: These have tacky pages covered with a clear plastic overlay. The adhesive can yellow and harden with age, sometimes bonding permanently to the back of prints.
- Drymount albums: Photos are glued directly to plain pages using a heat-activated adhesive. These are more permanent and generally require advanced or professional methods for removal.
- Photo tabs or splits: Small double-sided adhesive squares or strips. Over decades, they may dry and become brittle, but some remain tenacious.
- Corner-mounted photos: The safest type - photos simply slide out of their corners and can be replaced without risk.
If you’re unsure, try lifting a corner of the album page (not the photo) to see how the layers are built. Older adhesives that have turned brown or sticky often indicate stronger bonds that need extra caution.

Gather the Right Tools - Gentle, Non-Invasive Helps
Having the right tools on hand will make each step easier and safer. These items help minimise pressure, support delicate edges, and prevent accidental damage.
- Dental floss or unwaxed thread: Ideal for sliding gently under a photo edge without cutting fibres.
- Micro-spatula or palette knife: A thin, flexible blade that helps separate layers with precision.
- Plastic card or bone folder: Useful for supporting the lifted area while working along an edge.
- Tweezers and cotton gloves: Keep fingerprints and oils away from the photo’s surface.
- Silicone release paper or baking paper: Prevents re-adhesion as you lift each section.
- Optional aids: A low-heat hair dryer, cotton swabs, and a microfibre cloth for light dust removal.
Work slowly and in good light, keeping your tools clean. The goal is to guide, not force-the less pressure you apply, the better.
Step-by-Step - Safe Techniques to Lift a Stuck Photo
Every photo and adhesive behaves differently, so patience is key. Start with the simplest method and only progress to advanced techniques if needed.
- Test one corner first: Choose a less important photo to practice on. Gently lift a single corner using dental floss or the tip of your spatula.
- Use a gentle sawing motion: Move the floss or tool in small back-and-forth motions to slowly separate the adhesive. Support the photo as you go.
- Pause if resistance increases: Forcing a lift can tear the image or paper fibres. If you feel resistance, stop and switch to another edge.
- Work in small sections: Progress a few millimetres at a time. If needed, place silicone paper under freed areas to prevent sticking.
- For adhesive tabs or splits: Try inserting the floss under the tab area and sliding toward the centre. Avoid pulling the photo upward.
If the photo doesn’t budge after gentle effort, don’t push further.
For detailed techniques on adhesive types, you may find our guide Ways to Mount a Photo Album useful. Some adhesives form permanent bonds over time. In those cases, you can try controlled low heat or consult a conservator before risking damage.

Advanced Methods - Controlled Heat and Adhesive Removers (Use With Caution)
If gentle lifting doesn’t work, there are more advanced options to try - but these come with greater risk. Always test first on a corner or less important print. Avoid these methods altogether if the photos are historically valuable, irreplaceable, or show signs of damage such as cracks or discolouration.
Controlled, Low Heat
Applying gentle warmth can soften certain pressure-sensitive adhesives just enough to ease the bond.
- Prepare the workspace: Place baking paper or silicone release paper around the target area to protect nearby prints.
- Set your dryer: Use a hair dryer on the lowest heat and airflow settings.
- Warm from the page side: Hold the dryer 20-30 cm away and move it slowly over the back of the page for 10-20 seconds.
- Lift gently: Stop heating and test an edge using dental floss or a micro-spatula. Alternate warming and lifting in small increments until the photo releases.
If the image surface becomes glossy, tacky or begins to curl, stop immediately and allow the page to cool.
Adhesive Removers
Certain aged adhesives can respond to small, spot-applied solvent treatments. This technique should only be attempted if you’re comfortable working carefully and in a well-ventilated area.
- Choose the mildest option: A tiny amount of heptane-based rubber-cement thinner or a citrus (d-limonene) remover can work on some pressure-sensitive adhesives. Avoid acetone or household solvents.
- Apply sparingly: Using a cotton swab, dab the solvent on the album page’s edge (never on the photo surface). Allow a few seconds for it to soften.
- Test the lift: Gently insert floss or a spatula and see if the adhesive releases. Continue millimetre by millimetre.
- Blot and air dry: Remove any residue with a dry swab and let the photo air for several minutes before handling.
If any discolouration, haze, or bleeding appears, stop immediately. These are signs that professional intervention is needed.
Last Resort - Remove the Page Section Intact
When the adhesive is too strong to release safely, consider keeping the photo attached to its page backing. Use a sharp craft knife and a ruler to cut the page around the photo, leaving a 5-10 mm border. This preserves the original bond without stressing the image. The entire section can then be stored in an archival sleeve or mounted within a conservation mat.

When to Stop and Call a Conservator
Even the most careful attempts can reach a point where proceeding risks irreversible damage. If a photo is buckling, cracking, or of significant sentimental or historical value, it’s best to consult a photo conservator.
These professionals use specialised tools, solvents, and humidity chambers designed to lift adhesives without harming emulsions. While the process can be expensive, it’s the safest option for irreplaceable images and treasured heirlooms.
You can find a qualified professional through the Australian Institute for the Conservation of Cultural Material (AICCM), which lists trained conservators across Australia.
After Removal - Flattening, Cleaning and Digitising
For tips on mounting photos again safely, it may help to browse our Photo Mounting Accessories Collection for a range of different adhesives and mounting options.
Once your photos are safely removed, stabilising and preserving them properly is just as important as the removal itself.
- Flatten gently: If a photo curls or warps slightly, place it between two clean sheets of paper and rest a light book on top for a few days. Avoid using heat or pressing irons.
- Clean only if safe: Use a dry, soft microfibre cloth to lightly remove surface dust. Do not use water, solvents, or wipes, as moisture can cause permanent damage.
- Digitise your photos: Scan or photograph each image at a high resolution. Save copies in at least two secure locations - such as cloud storage and an external hard drive.
- Store in archival materials: Slip each photo into acid-free sleeves or place them in an archival photo album. Keep them in a cool, dry, and dark environment away from direct sunlight.
This is also the perfect time to review your storage habits and plan new, safer albums. Using archival-quality materials will ensure your memories stay intact for decades.
For more detailed guidance on proper storage methods, see our related article - The Best Way to Store Photo Albums.

Better, Safer Ways to Mount Photos in Future Albums
Once you’ve rescued and digitised your photos, it’s worth investing in safer, archival-quality methods for storing and displaying them. The right materials protect against future damage and make rearranging simple.
- Use photo corners: These are the most conservation-friendly option because they hold each print in place without adhesives touching the photo. If you need to remove or reposition an image later, it lifts easily without residue.
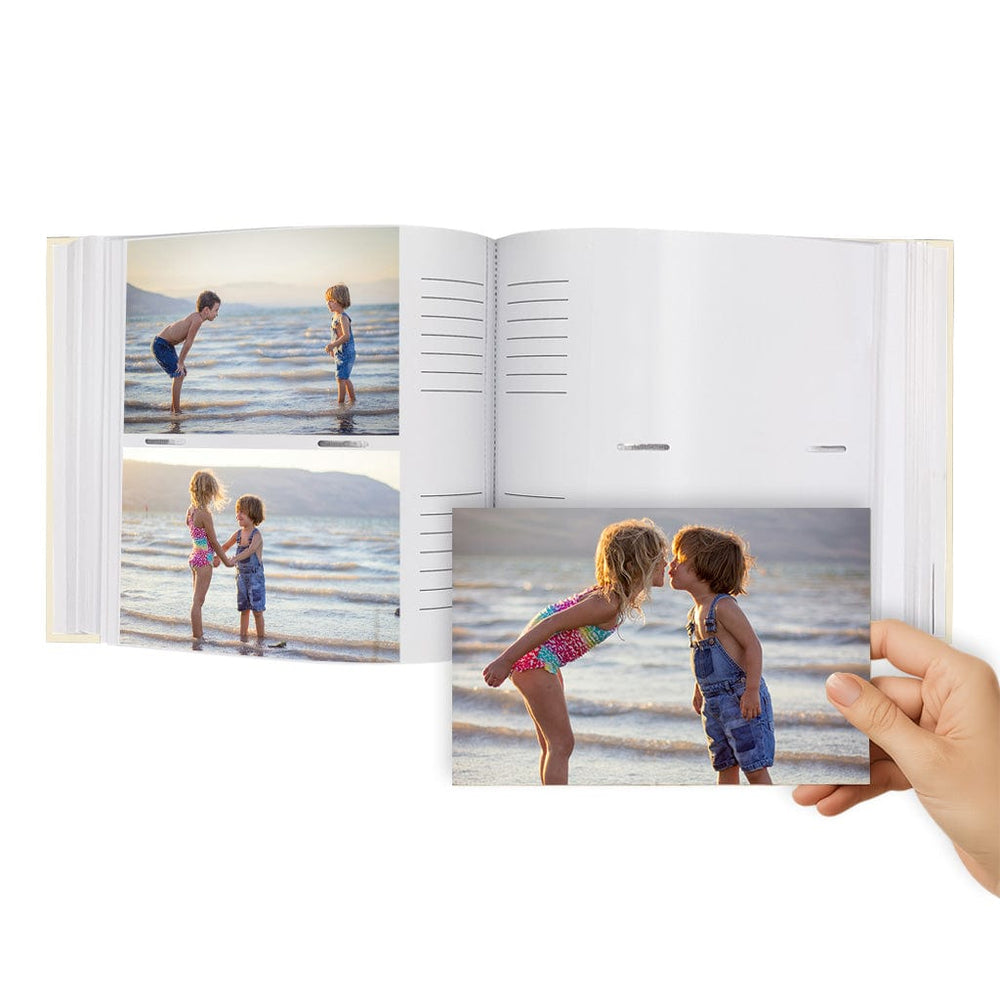
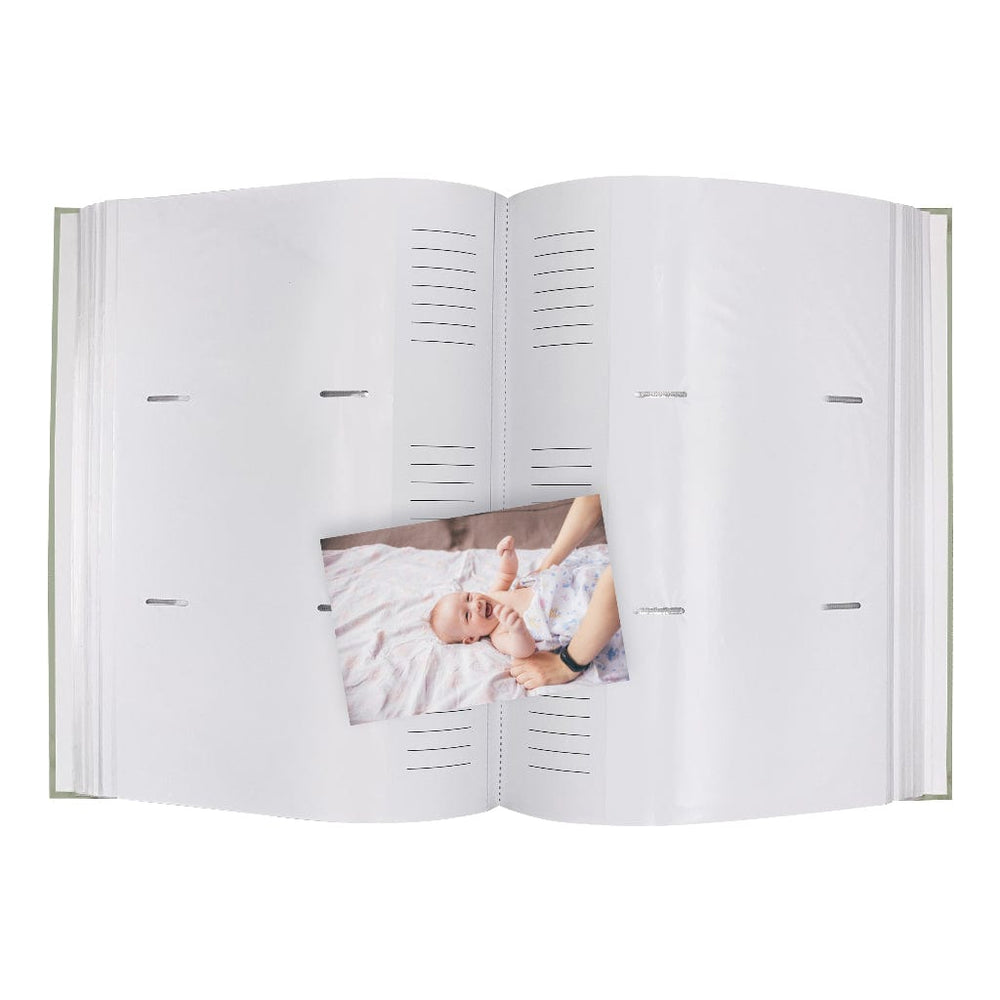
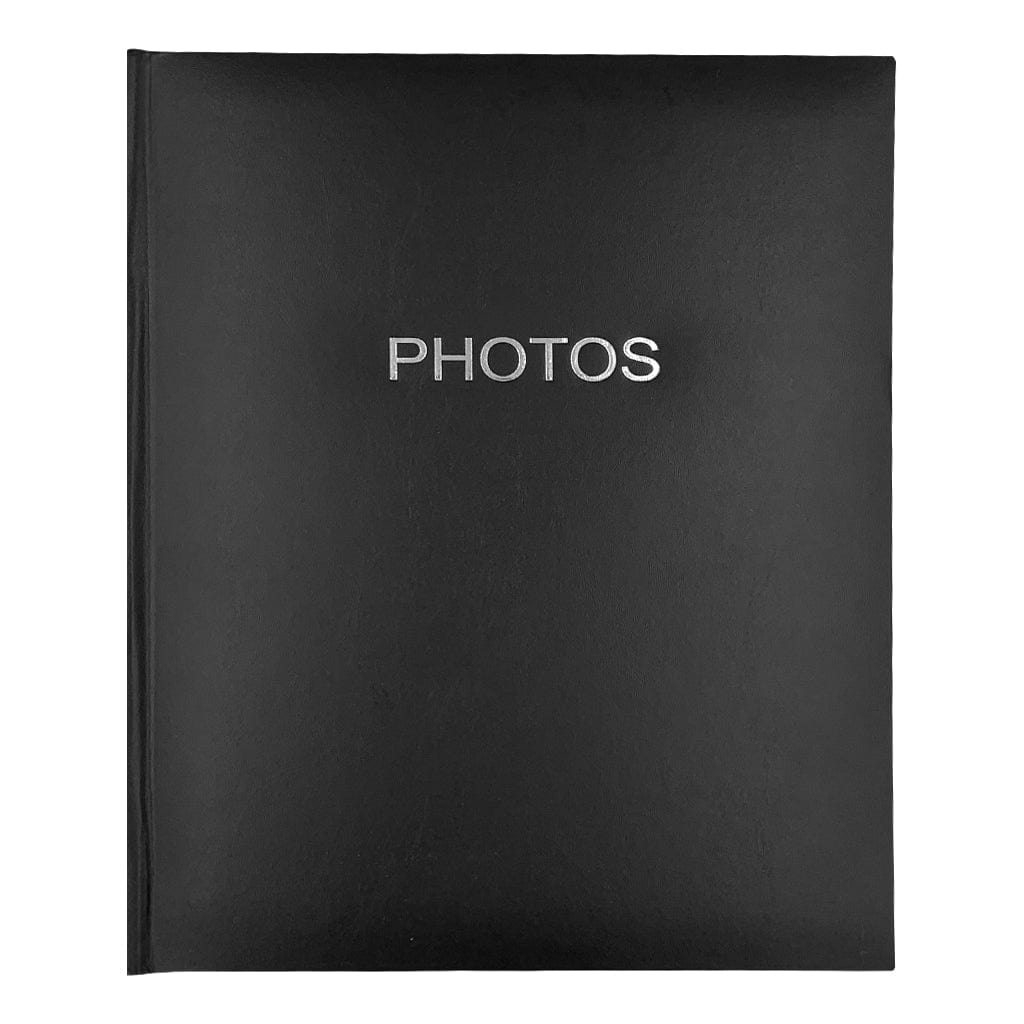
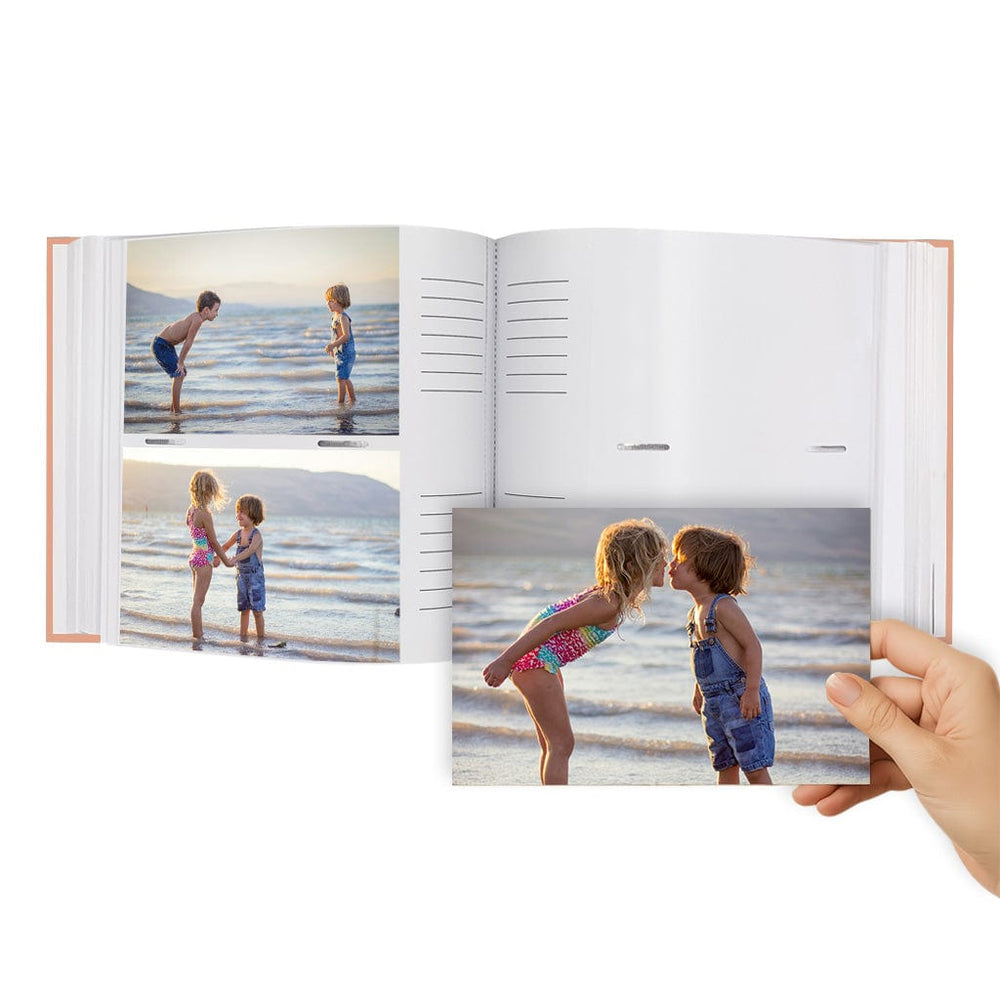
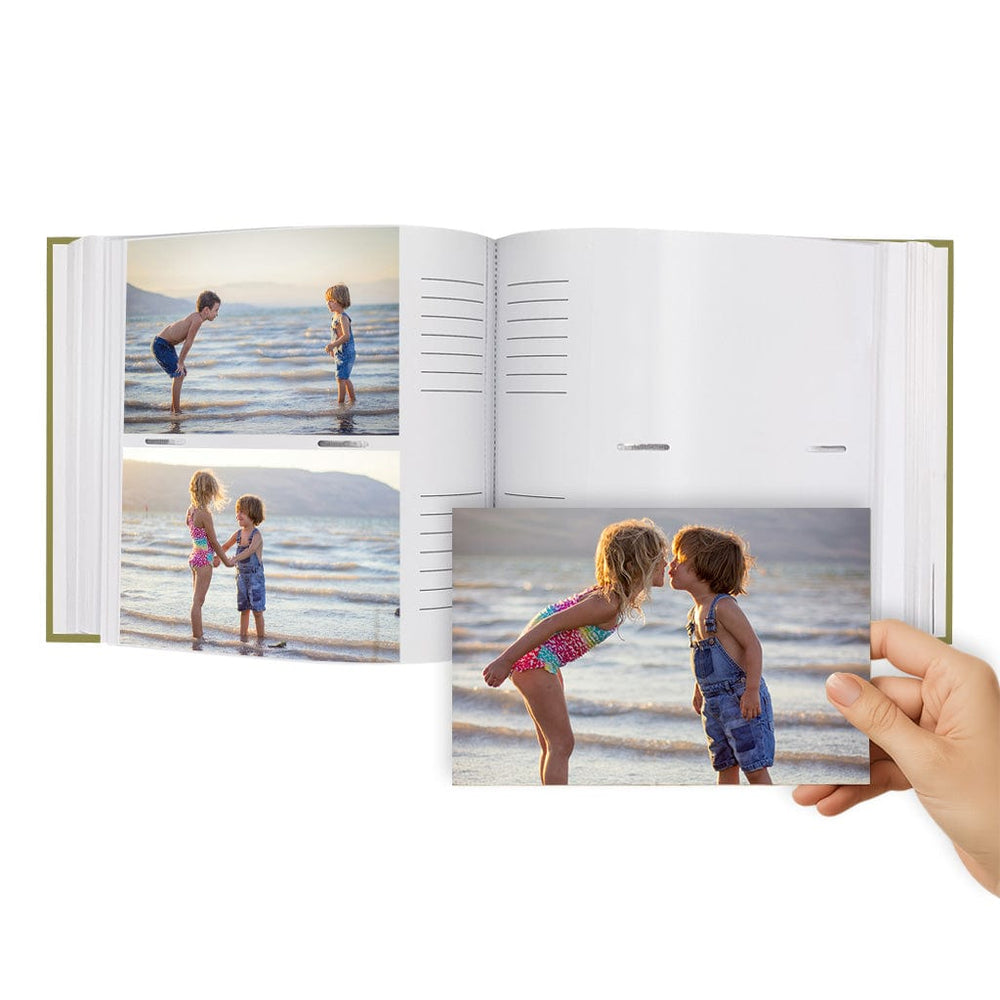
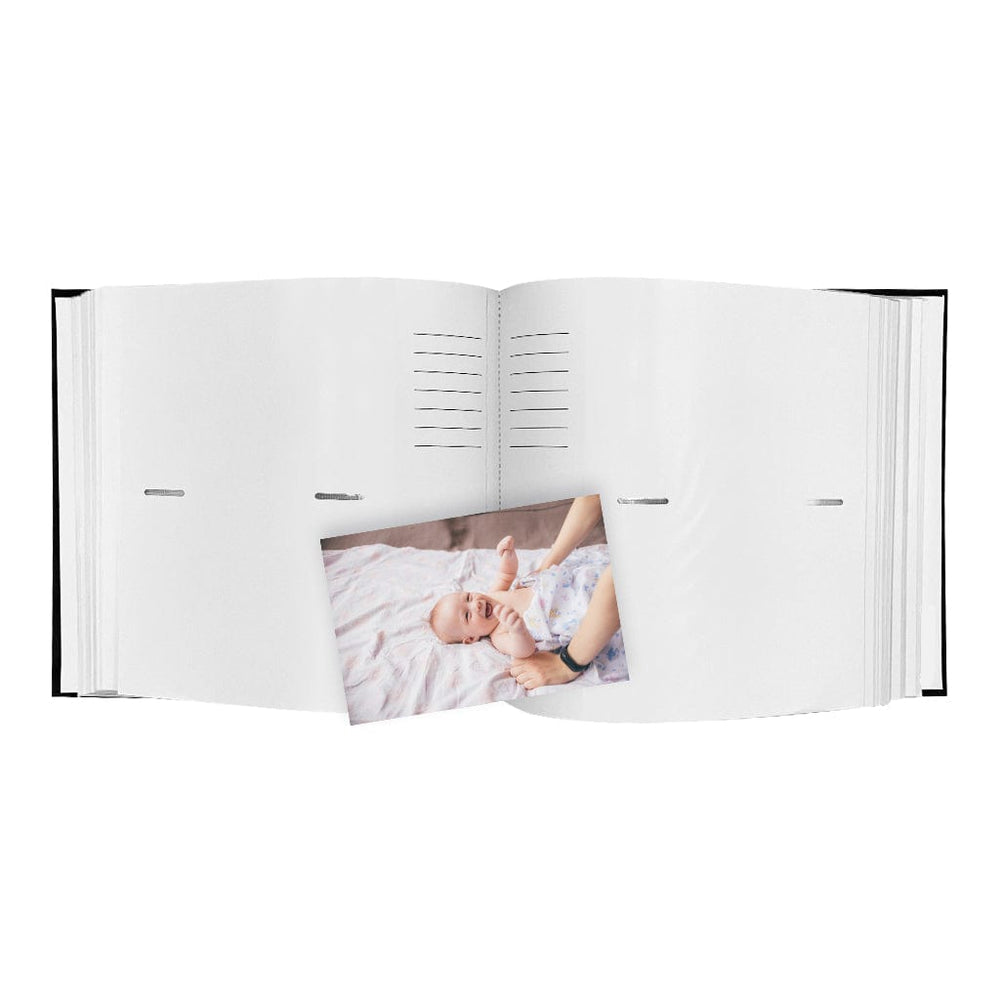
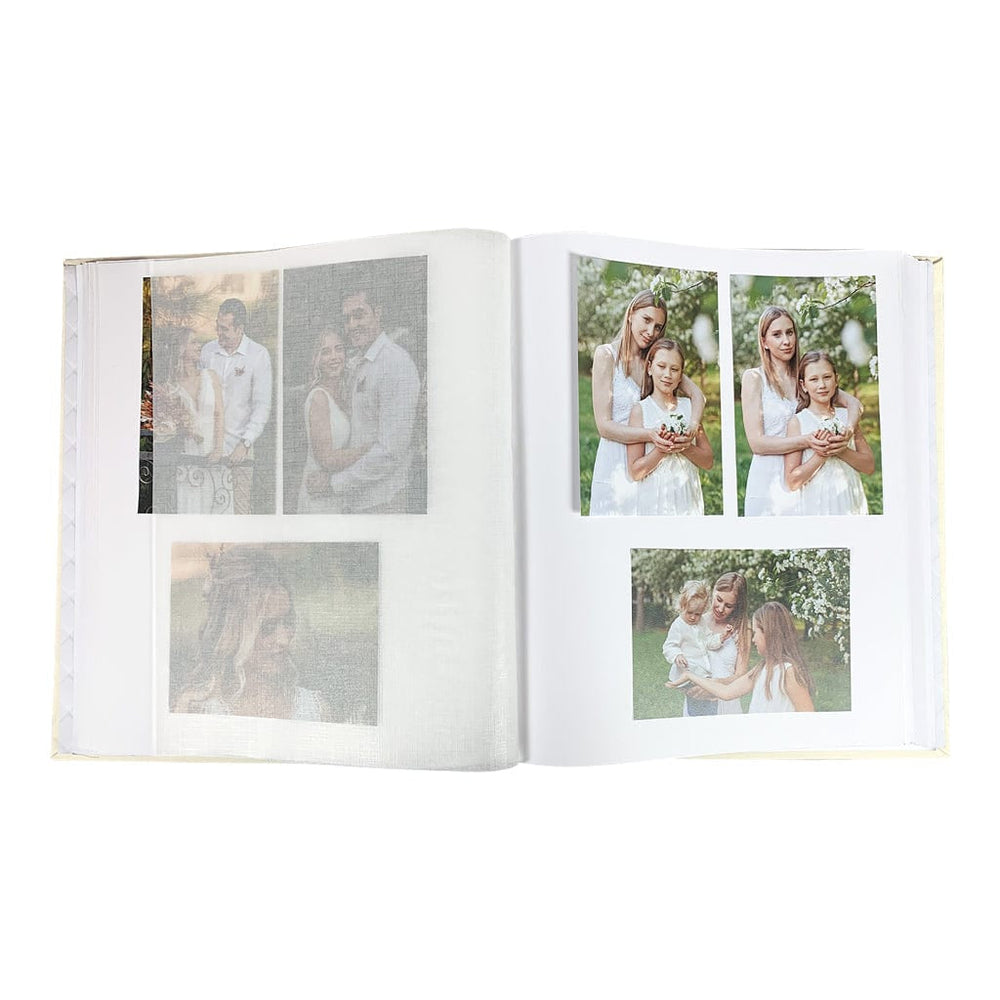
- Choose slip-in photo albums: These albums feature clear sleeves for quick, mess-free storage. They’re ideal for everyday prints and can be found in various sizes to suit 6x4 or 5x7-inch photos.
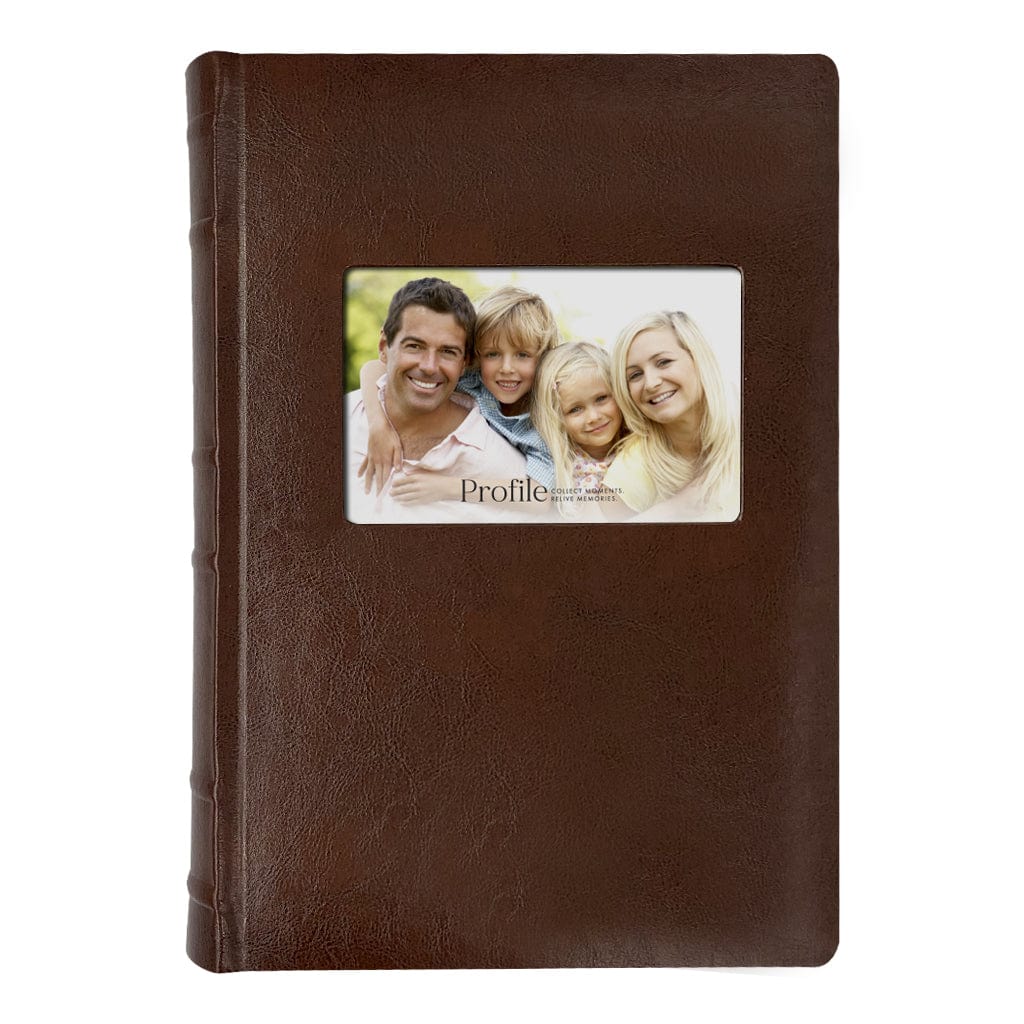
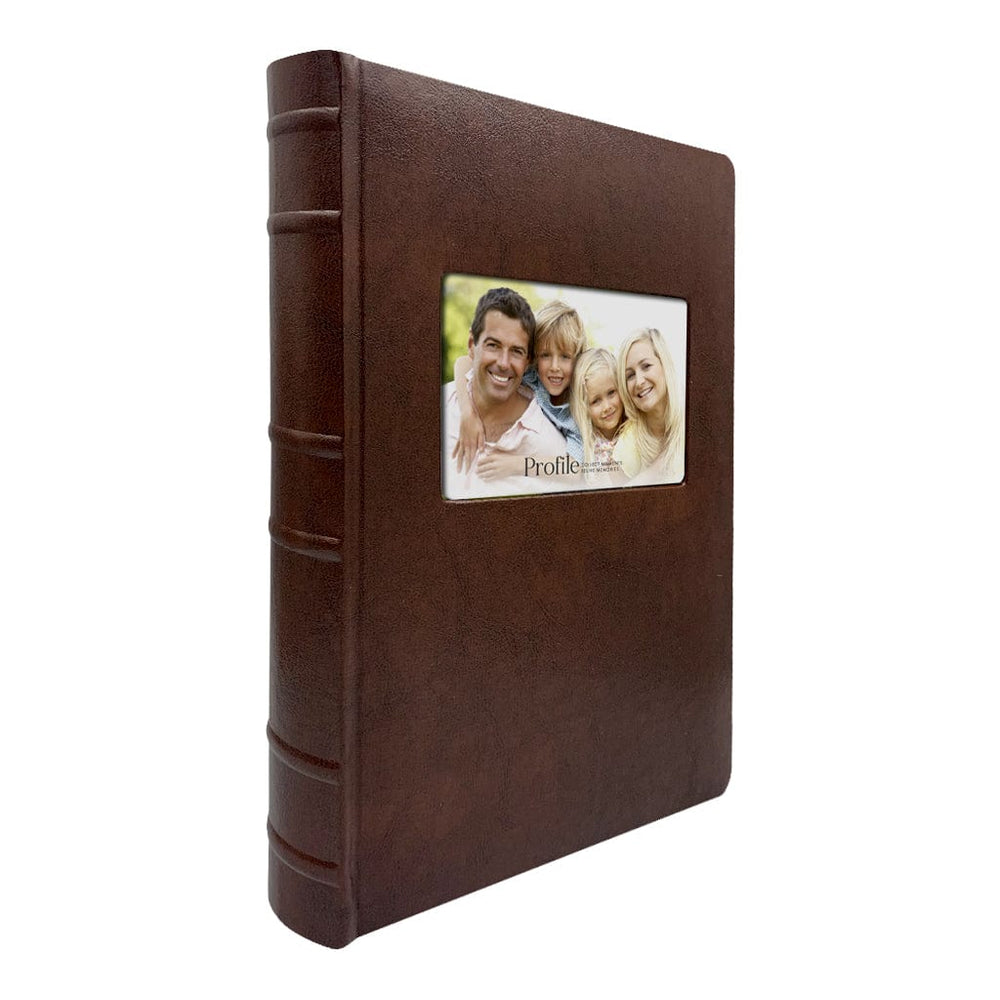
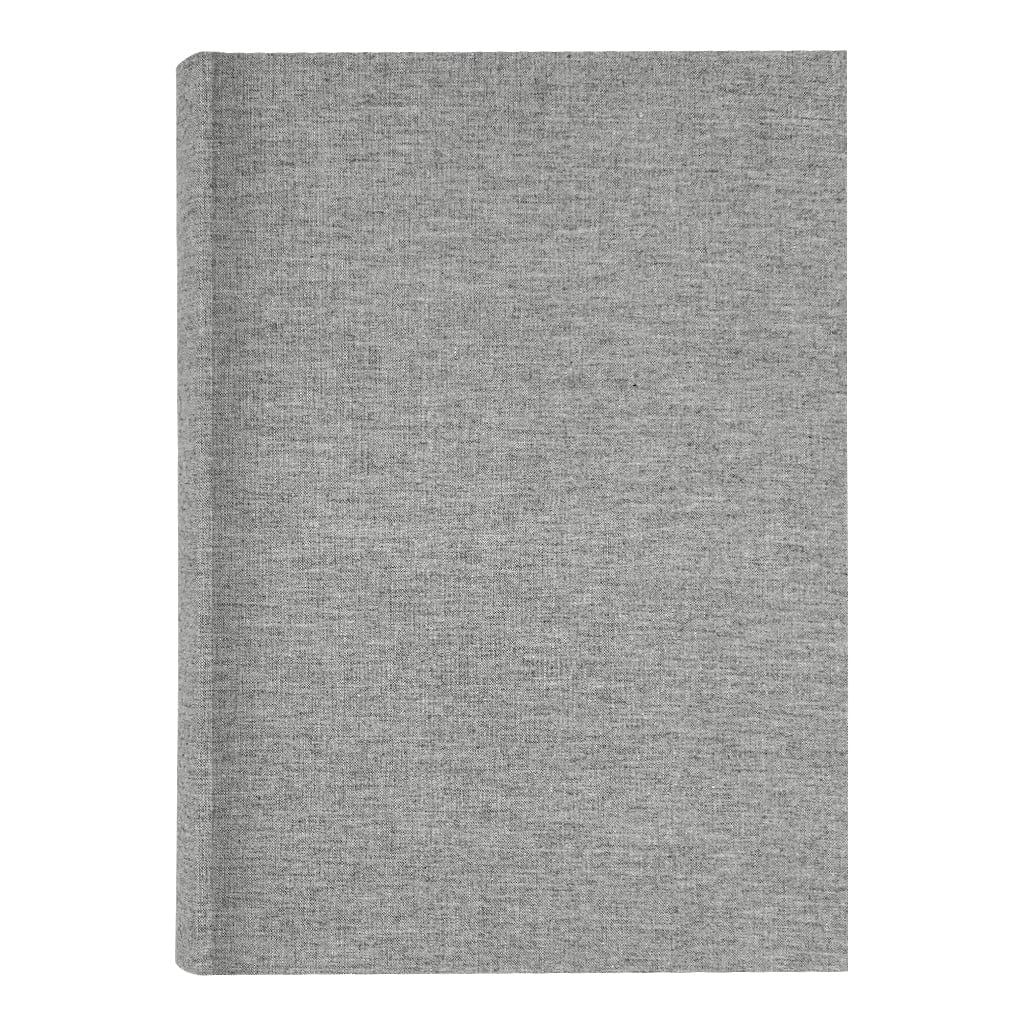
- Select acid-free drymount albums carefully: When you want a more permanent layout, choose albums with true archival, acid-free pages and use minimal, photo-safe adhesive. Label each page with archival pens to avoid ink transfer.
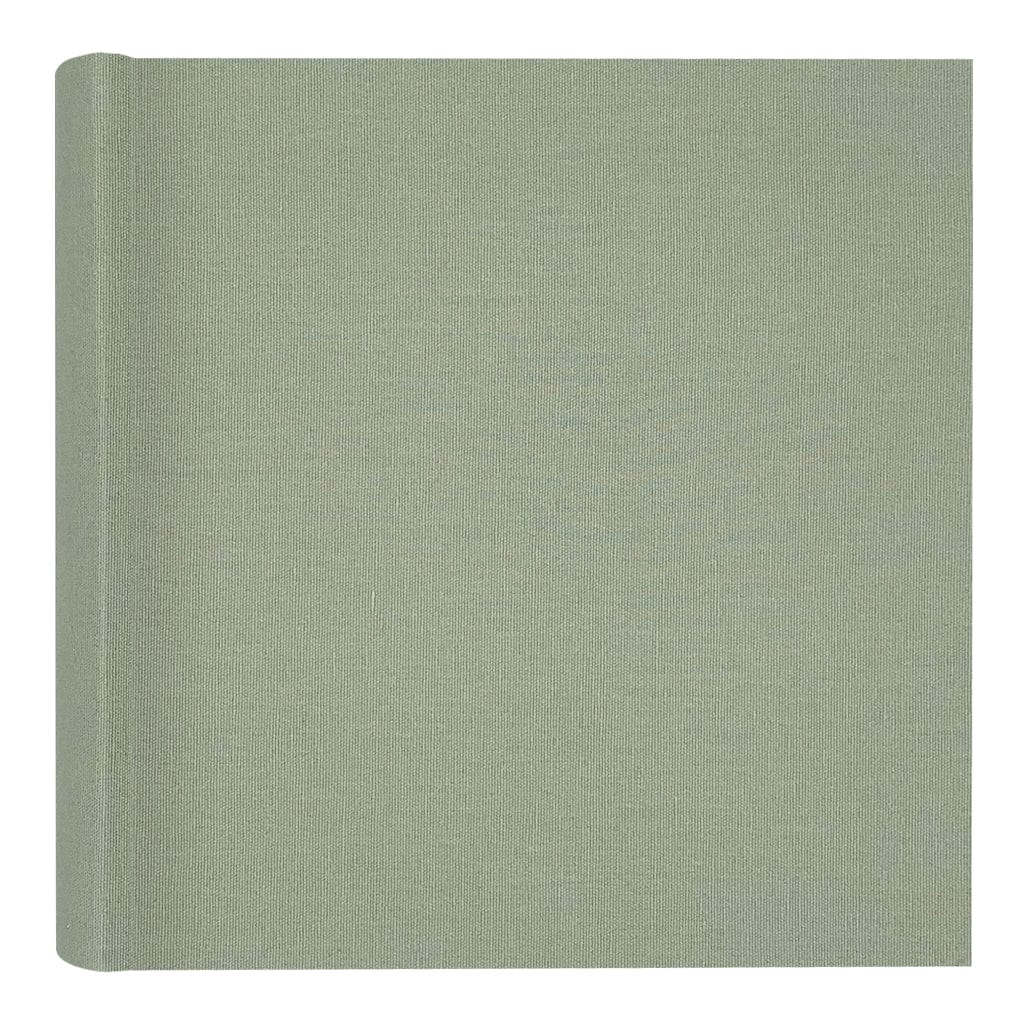
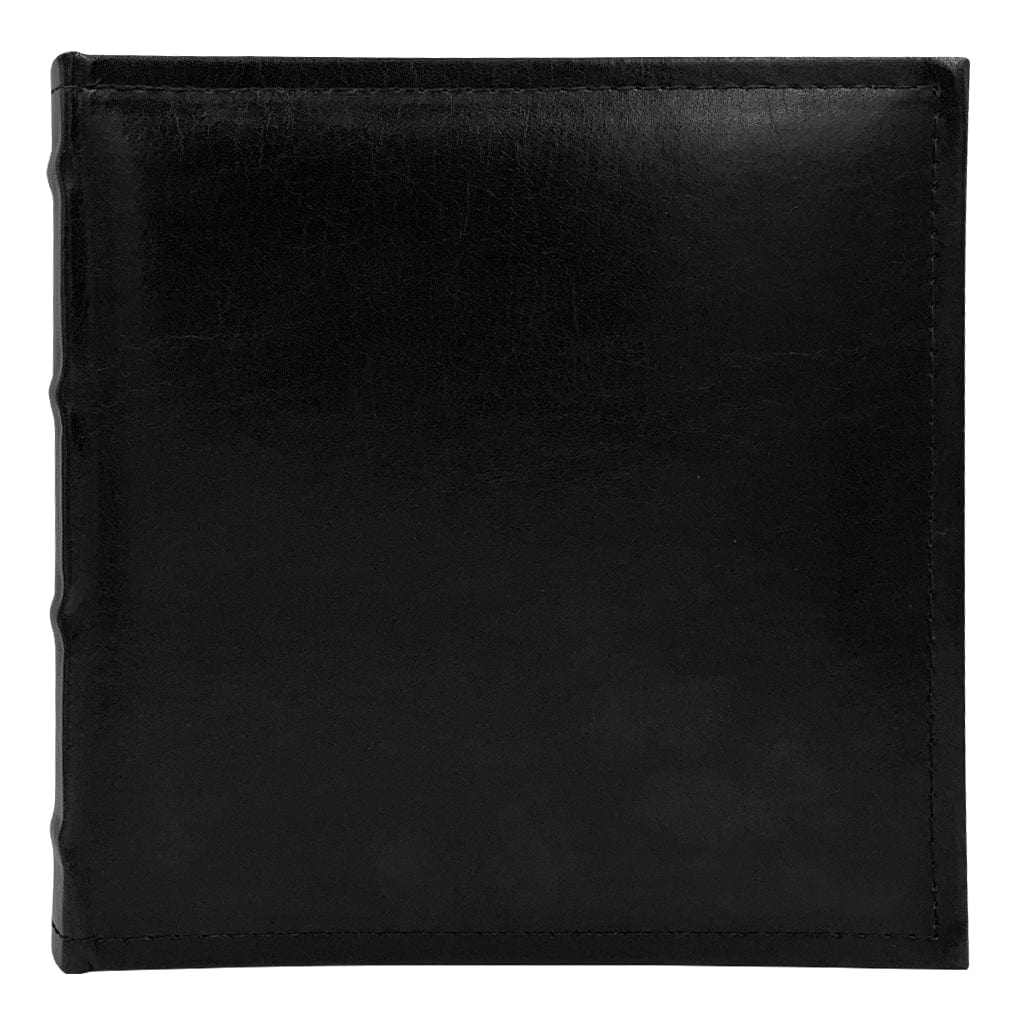
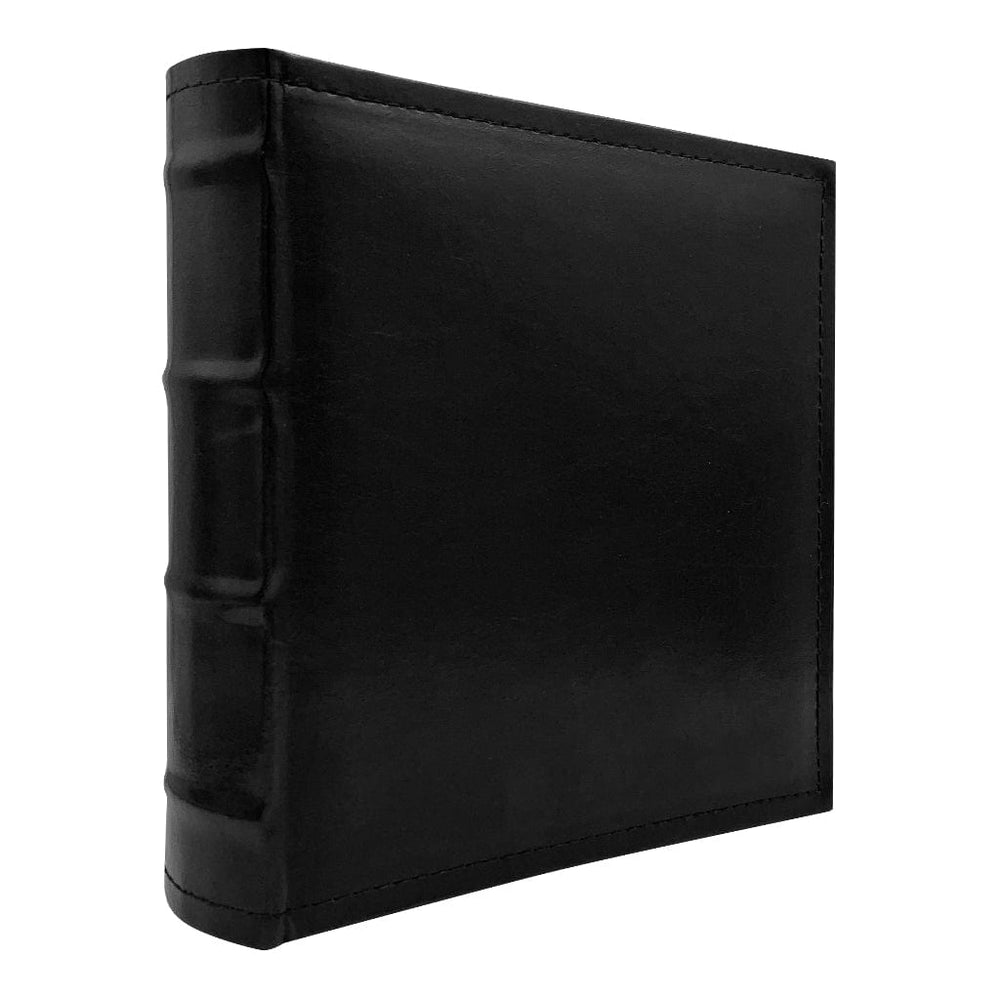
For a lasting keepsake, look for albums labelled “photo-safe” or “acid-free.” You’ll find these in the Profile Photo Albums Collection, along with archival photo corners and other preservation accessories. Choosing these materials helps ensure that today’s memories remain clear and intact for the generations who come after you.
Preserve Your Memories for the Future
Preserving old photo albums is as much about patience as it is about technique. Each image represents a fragment of family history - one that deserves gentle care. By taking time to assess each page, use non-invasive tools, and progress cautiously, you can often rescue your photos without damage. When in doubt, stop and seek professional advice rather than risk tearing a cherished image.
Once your photos are safely removed and stored in archival-quality albums, you can rest easy knowing that your memories are secure for future generations.
Explore the range of archival photo albums and accessories available at Profile Australia to find trusted, photo-safe options for every stage of your preservation journey.