Table of Contents
Have you discovered an old photo stuck to the glass of a photo frame ? You're not alone. Over time, moisture and pressure can cause a photo to adhere tightly to the glass surface.
While this situation can be frustrating, it’s often possible to remove the photo with care. In this guide, we’ll explain what causes this issue, how to safely release the photo, and how to prevent it from happening again.
Before You Start: Take These Precautions
Make a Copy First
There’s always a risk of damage when removing a photo stuck to glass. Before attempting anything, take a high-resolution photograph or scan of the image as a backup. This allows you to restore or reprint it later if necessary.
To photograph the framed photo, shoot in soft natural light, ideally near a window on a cloudy day. Minimise glare by angling the camera and using a polarising filter if you have one. Alternatively, use a flatbed scanner set to at least 600dpi. Be aware that the additional glass layer may reduce sharpness slightly.
Consider Consulting a Conservator
If the photo has high sentimental or financial value, you may prefer to seek help from a professional photo conservator. They can use controlled processes to separate the print safely. To find an expert in Australia, visit the AICCM website.

Safety First
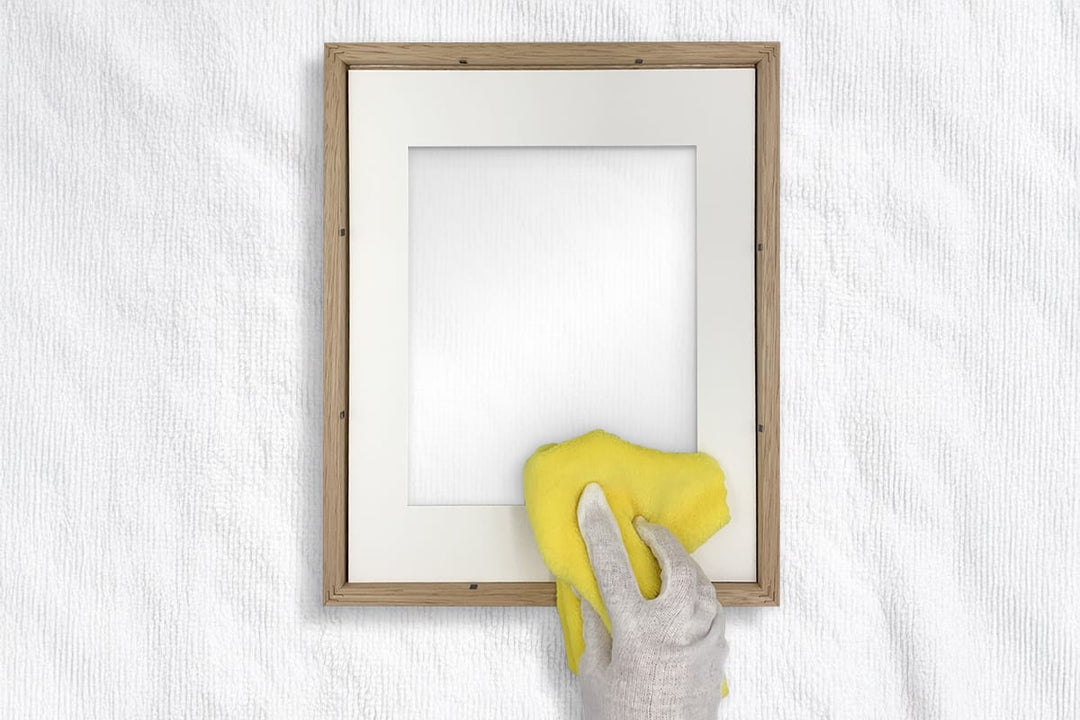
Always work in a safe environment. Wear cut-resistant gloves and closed-toe shoes. Avoid applying force, as this could break the glass. Place the frame on a clean, flat surface with a soft cloth or cardboard underneath to catch any debris.
Method 1: Use Gentle Heat
Applying mild heat can help loosen the emulsion and reduce adhesion.
- Set a hair dryer to low heat.
- Hold it about 15 to 20 cm from the glass and warm the surface for 3 to 5 minutes.
- Gently test one corner of the photo to see if it begins to lift.
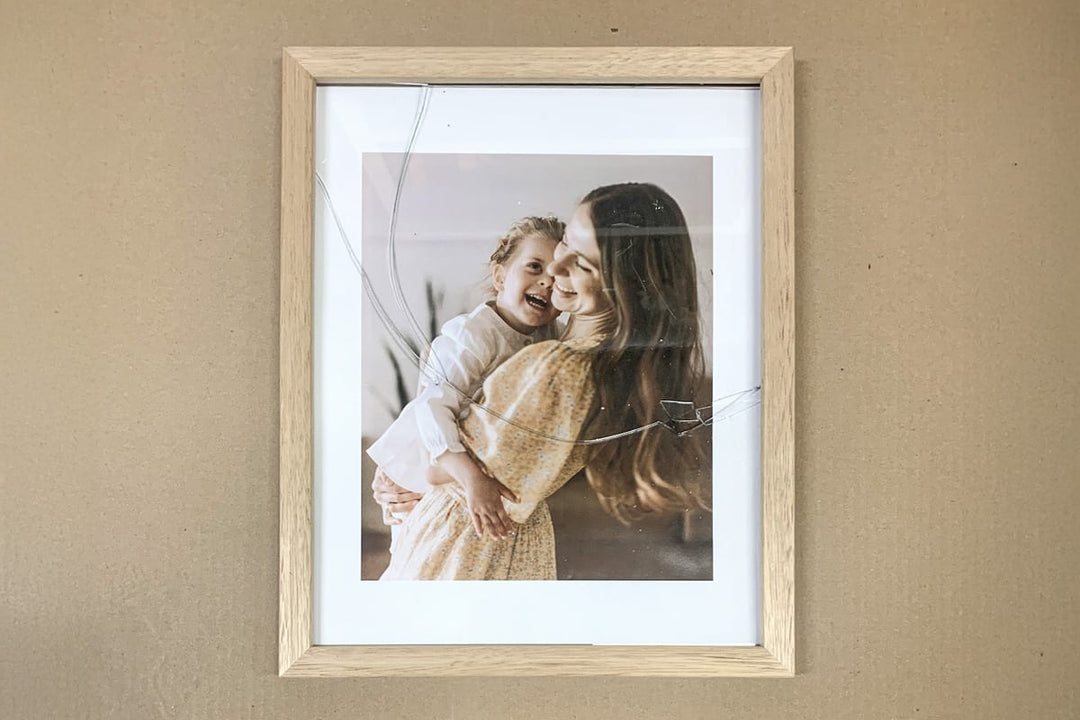
What Can Go Wrong
Excess heat can distort the emulsion or cause the glass to crack. If the photo begins to buckle or the glass heats unevenly, stop and try another method.

Method 2: Try the Freezer
Extreme cold can make the adhesive or gelatin binder contract and become brittle, which may allow the photo to release.
- Place the entire frame in the freezer for 2 to 4 hours.
- Remove it and gently test a corner of the photo to see if it lifts.
- Do not pry forcefully. If it resists, move on to another method.
Method 3: Cold Water Soaking
This is one of the safest and most effective techniques, often used by professional conservators.
- Use distilled water if available to minimise chemical contaminants.
- Fill a shallow tray with cool (not warm) water.
- Submerge the photo and glass completely, image side up.
- Check every 10 to 15 minutes to see if separation has started.
This process may take 20 minutes or several hours depending on the materials and conditions. Let the water do the work. Do not pull to hard or peel the photo prematurely.
After Removal
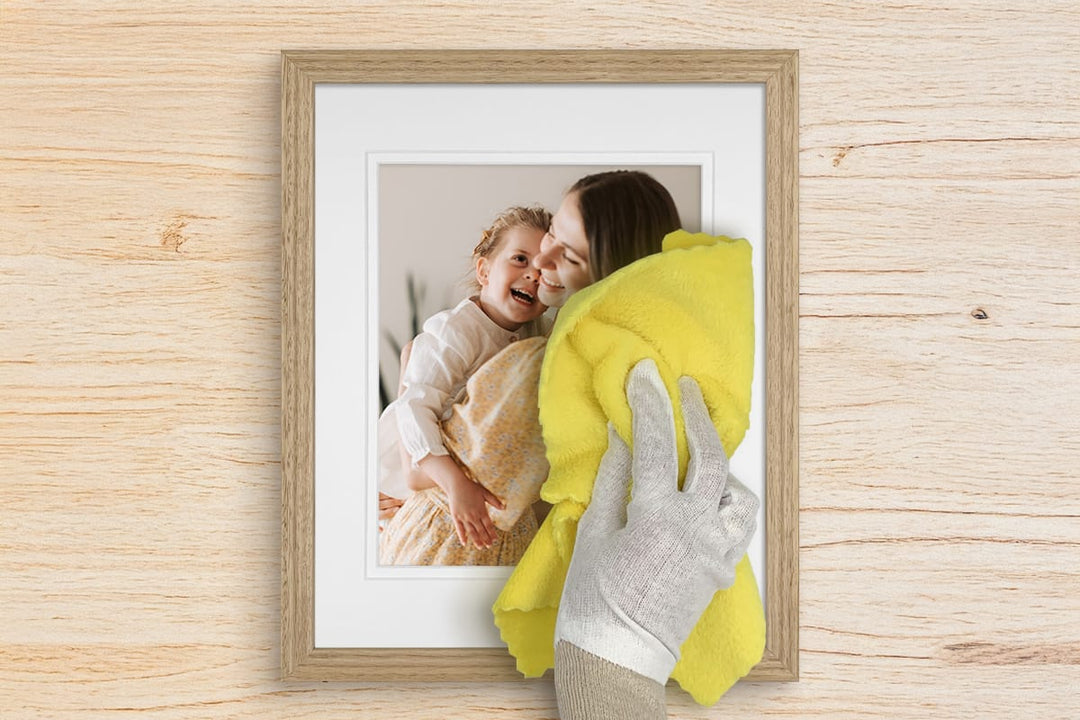
Once separated, place the photo face-up on paper towels and allow it to dry slowly. If the print curls, flatten it later under a clean book with additional layers of absorbent paper.
What Can Go Wrong
Using warm or hot water can cause the gelatin binder to swell too quickly, leading to image loss or emulsion lift.

Method 4: Mechanical Separation
This method is only recommended if the photo has already begun to lift and the risk of damage is low.
- Place the frame face down on a clean surface.
- Insert a plastic card (like a loyalty card) carefully between the glass and the photo.
- Slide slowly and evenly. Stop immediately if you feel resistance.

What Not to Do
Avoid these common mistakes, which could permanently damage your photo:
- Do not use boiling or hot water.
- Do not scrape the photo with a razor blade or sharp object.
- Do not bend or flex the glass to break the adhesion.
Why Do Photos Stick to Glass?
Photos can become bonded to glass when exposed to humidity, temperature changes, or condensation. If the photo is in direct contact with the glass, moisture can activate the gelatin binder in the emulsion layer, causing it to adhere strongly.
Modern photo prints often contain gelatin or resin-based coatings, which are particularly vulnerable to moisture. Once stuck, the photo essentially "laminates" itself to the glass, making removal difficult.
How to Prevent This in the Future
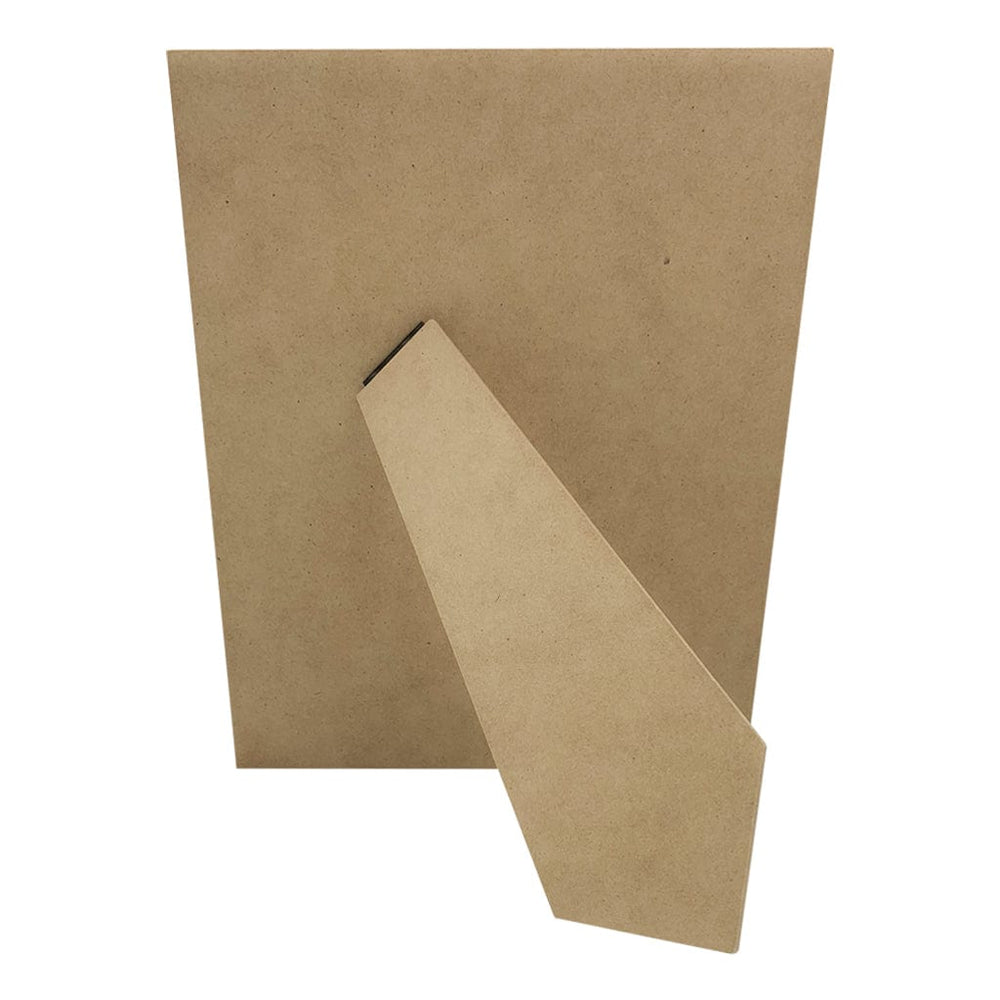
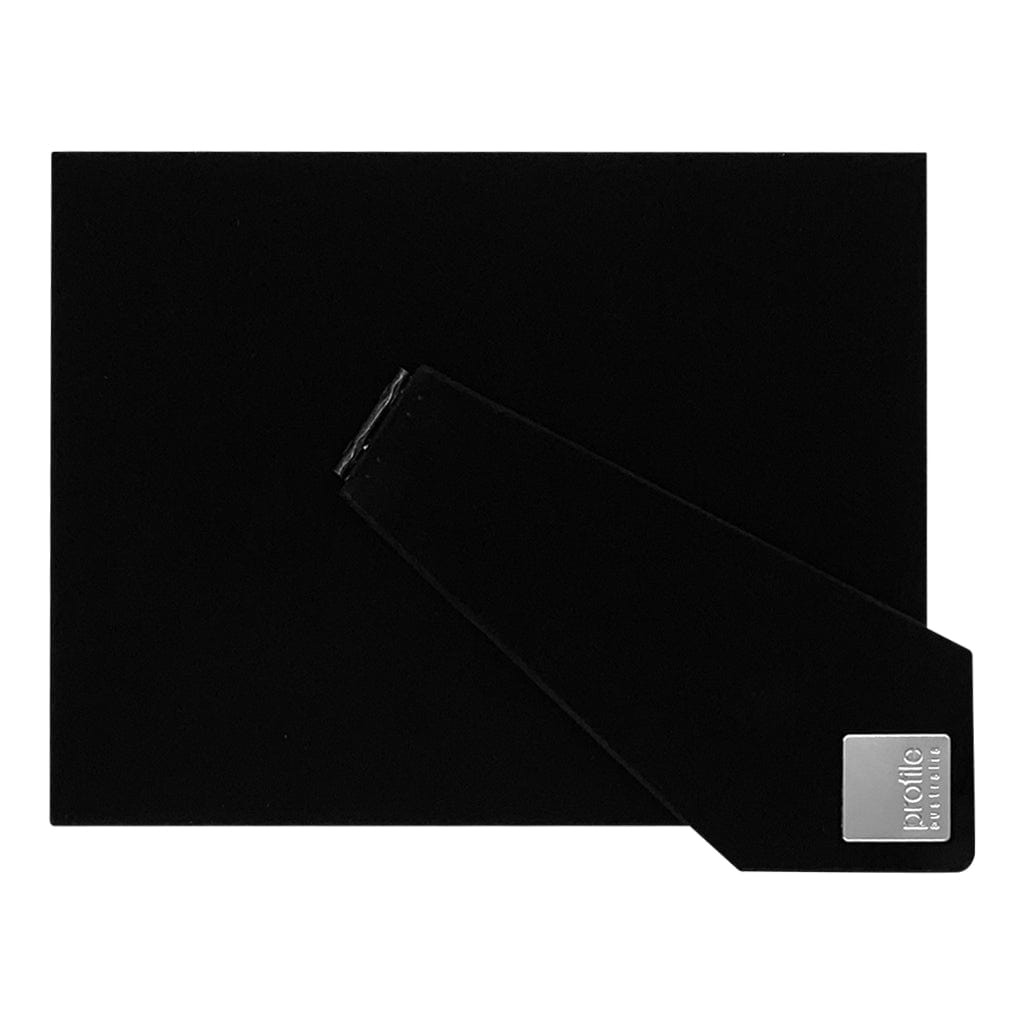
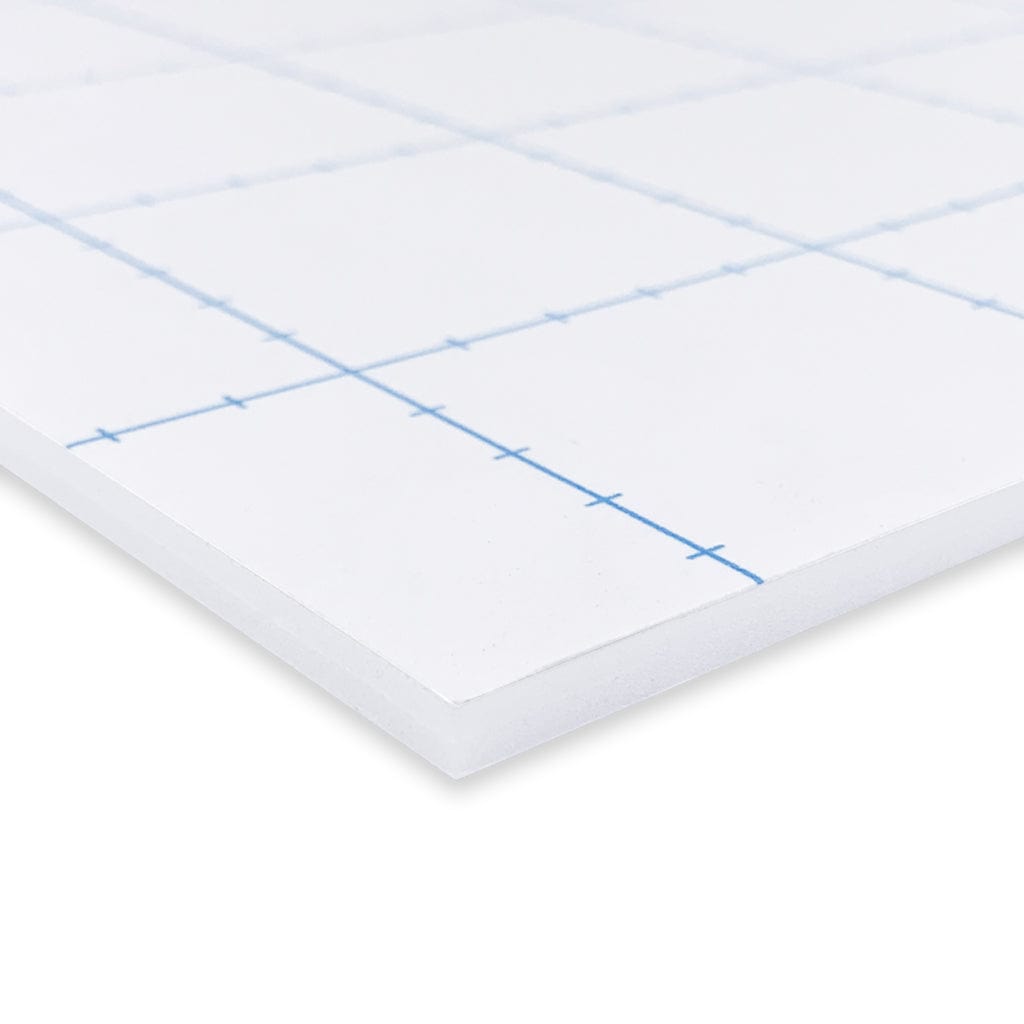
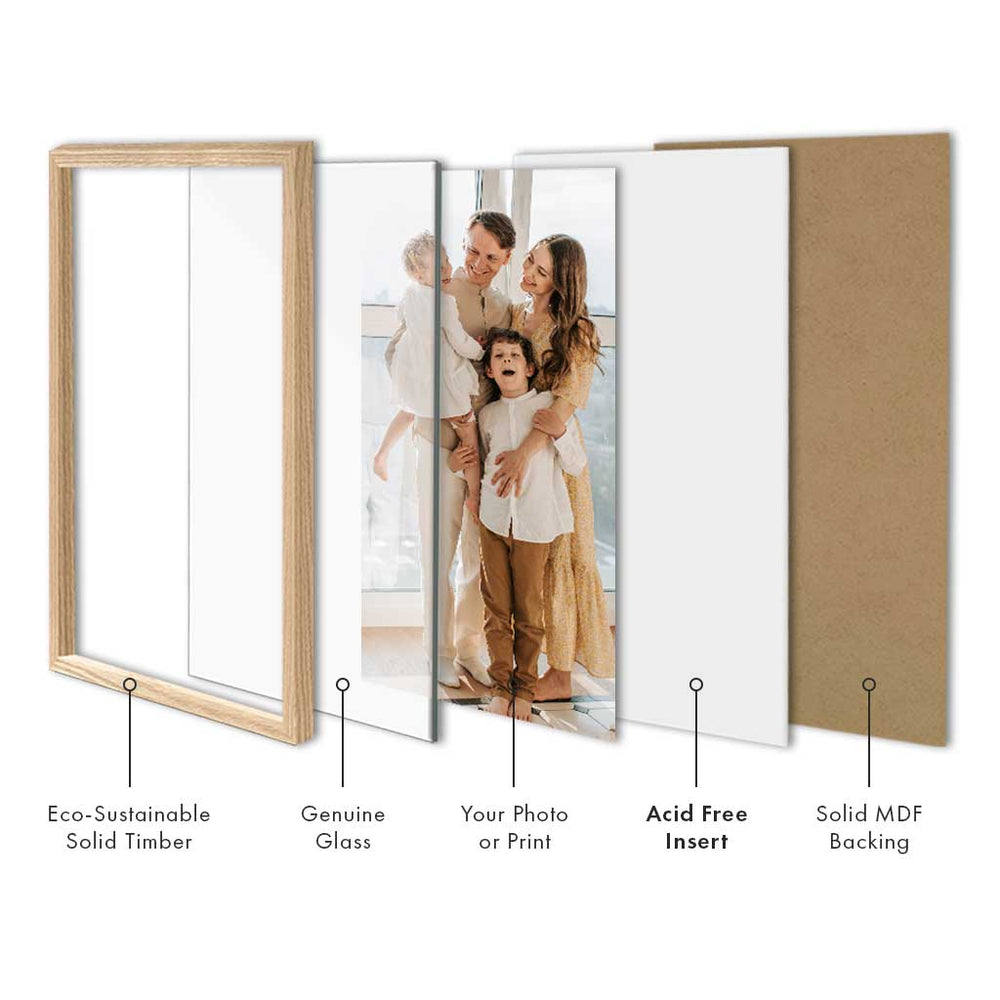
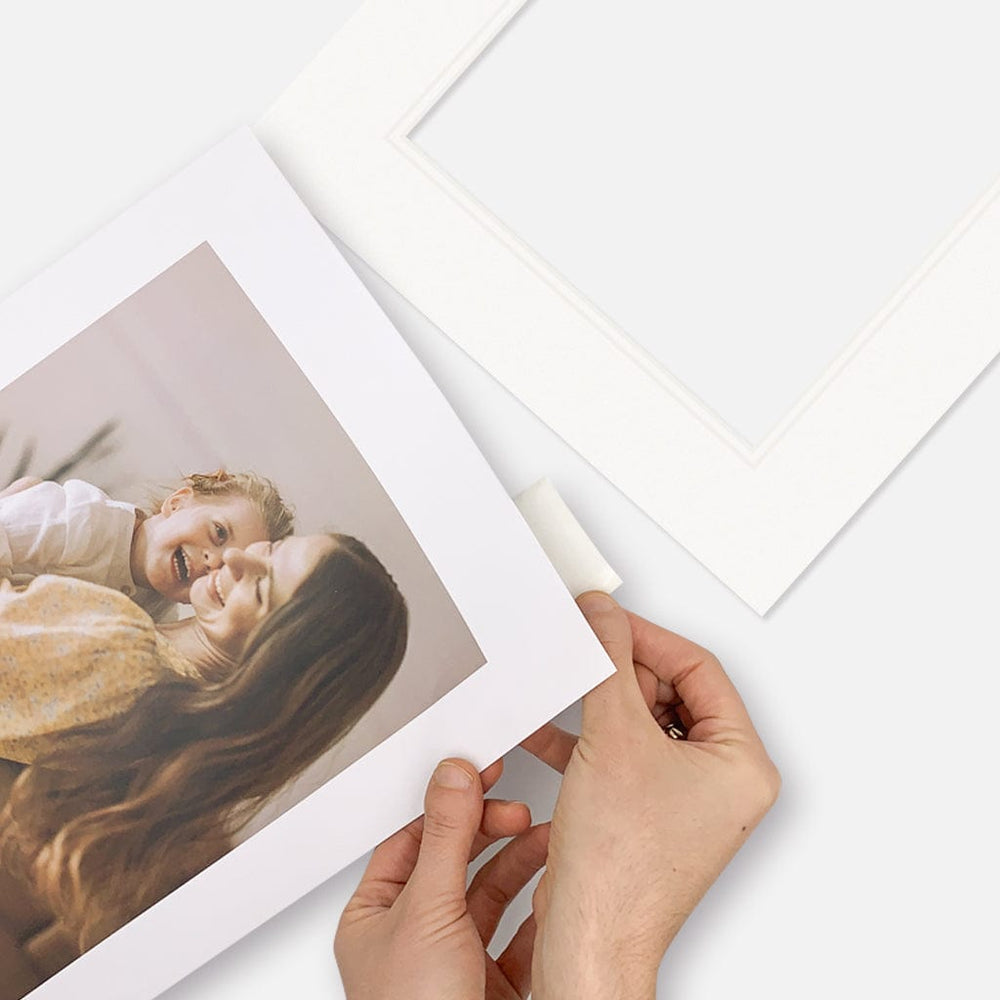
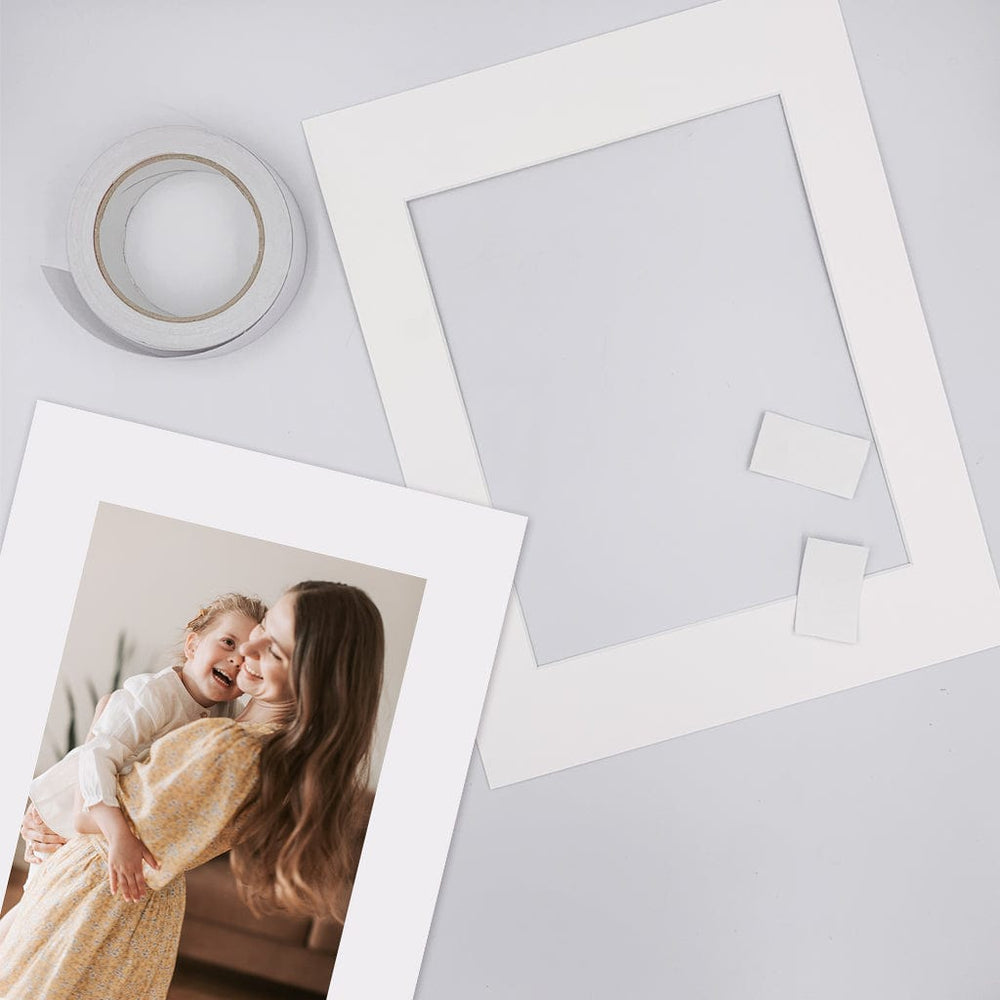
Use a Mat Board
The most effective prevention method is to ensure the photo never touches the glass. A mat board creates a small air gap that protects the image surface. A recommended safe distance is 2-3mms.
- Want to learn more? Read our guide on mat boards to see how they can protect and enhance your photos.
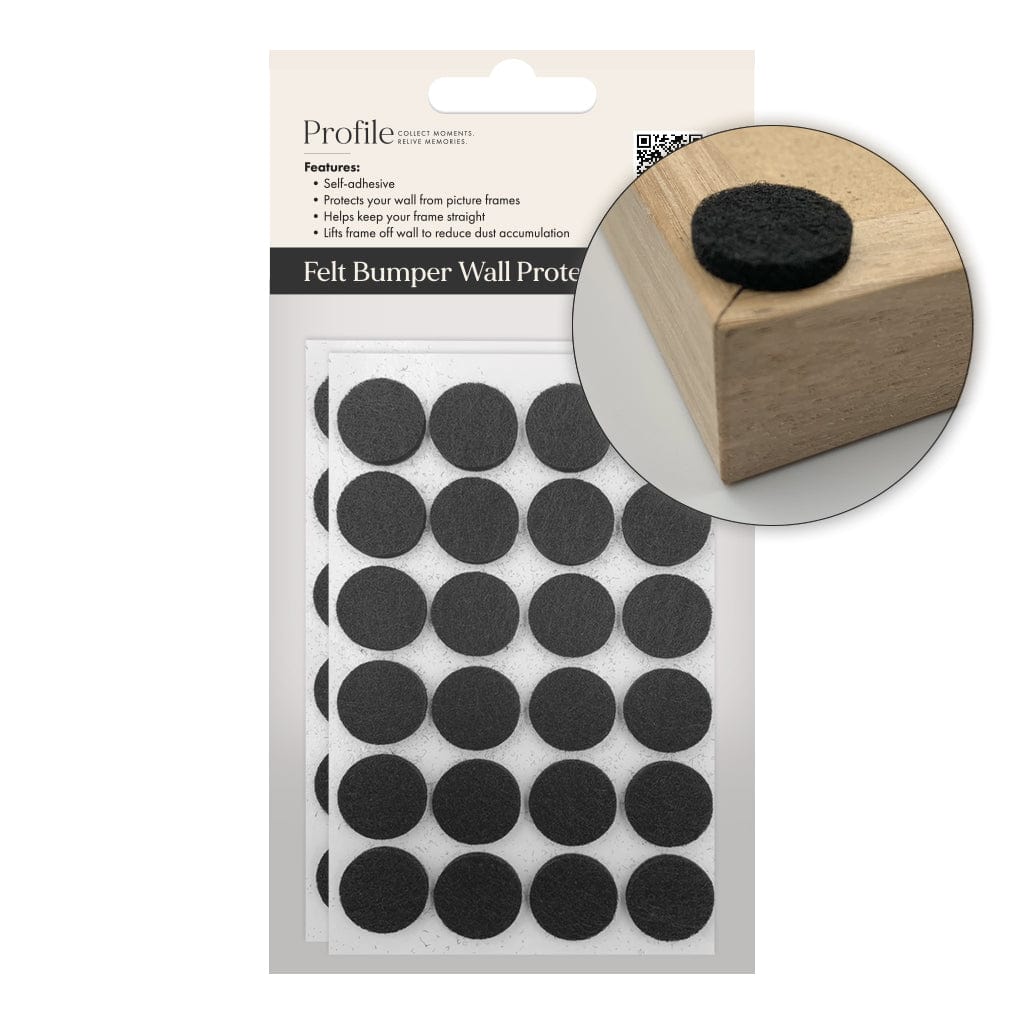
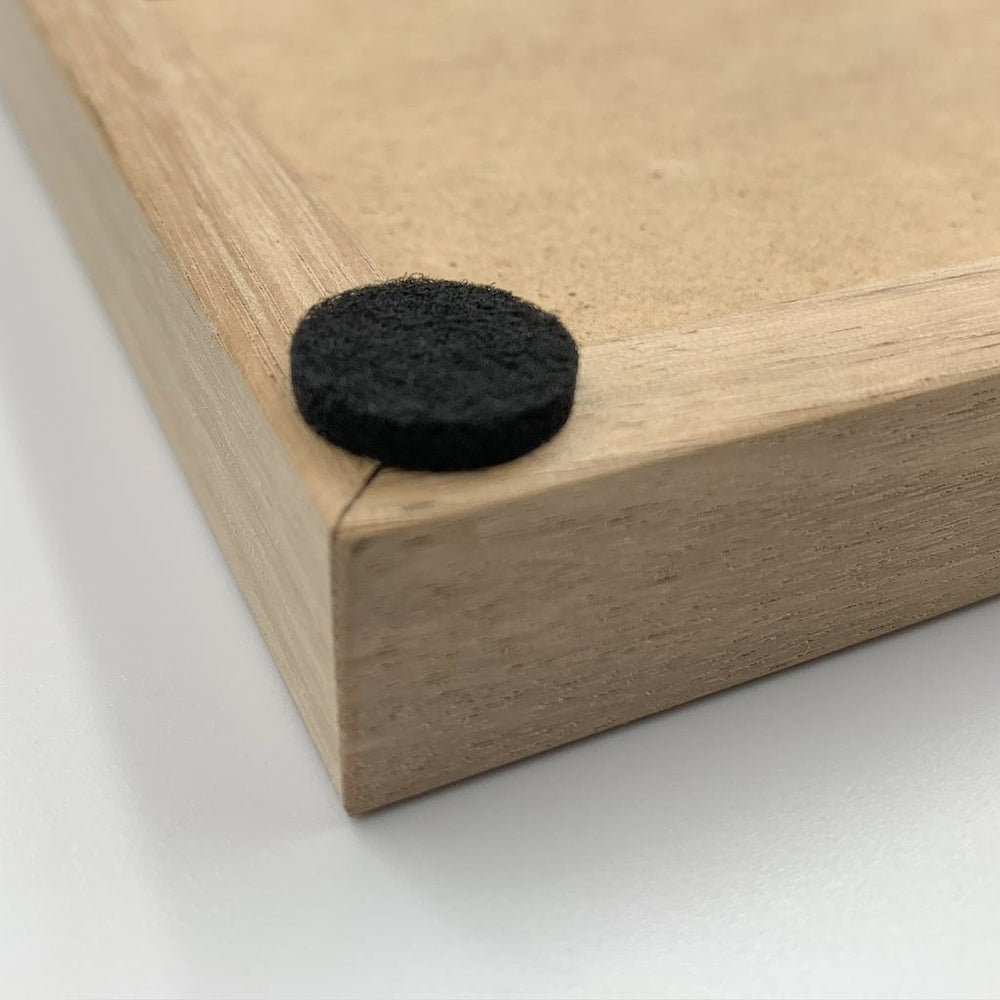
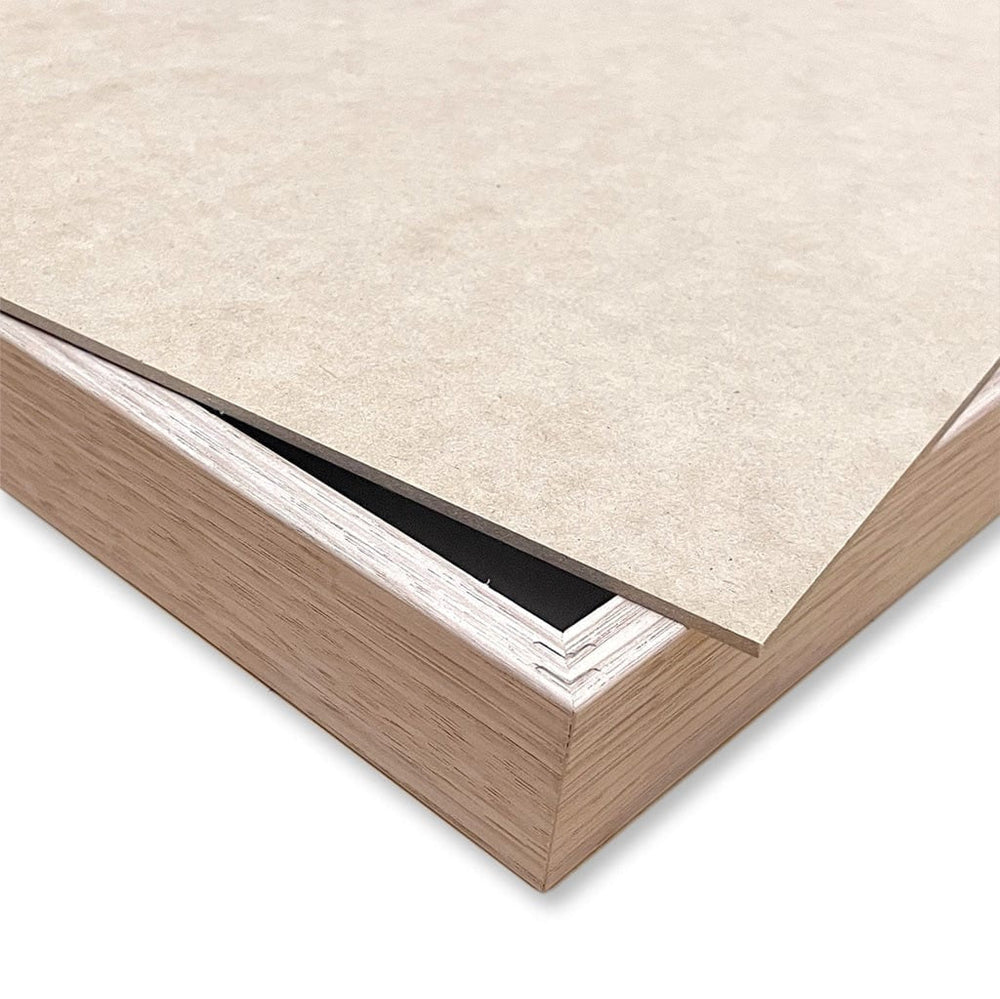
Use Spacers for Borderless Prints
For photos without a mat, sometimes custom framers can install hidden spacers inside the frame rebate. These keep the glazing slightly lifted and prevent direct contact with the print.
Control Display Conditions
Keep framed photos out of direct sunlight and avoid placing them on exterior walls or near heating and cooling sources. Stable humidity and temperature reduce the likelihood of condensation forming inside the frame.
Patience Pays Off
Removing a photo stuck to glass requires a careful approach. With the right method and a bit of patience, it’s often possible to separate the image without damage. Start with the least invasive option, and only proceed if you’re confident it’s safe to do so.
If the photo is important to you, consider scanning it first or contacting a conservator for support. And when reframing, always use a mat board or spacer to protect your photos in future.
For photo-safe mat boards, helpful framing advice, and quality photo frames, visit Profile Australia.