Table of Contents
Framed pictures are often among the most precious and fragile items in a home. Whether it’s a poster frame, a family photo, or a piece of framed artwork, careful packing is essential to avoid broken glass, dented corners, or damaged memories.
In this guide, we’ll show you how to safely pack your framed pictures for moving, using materials you can find around the home or at your local hardware or packing store. These tips apply whether you’re moving across town or shipping frames in the mail.
What You’ll Need
- Soft packing paper or tissue paper
- Cardboard corner protectors
- Bubble wrap (large bubble for outer layer)
- Sturdy cardboard sheets or corrugated boards
- Removable masking tape or painter's tape
- Strong packing tape
- Permanent marker (for labelling)
- Flat picture or mirror boxes (optional for added protection)
Step 1: Clean and Inspect the Frame
Before packing, check your frame for any existing damage, loose fixings, or fragile edges. Lightly clean the glass and wipe down the surface. This will prevent trapped dust or particles from scratching the frame in transit.

Step 2: Use the X-Tape Method for Glass
To minimise the risk of glass shattering, apply removable painter’s tape or masking tape in an "X" shape or grid pattern across the front. This won’t stop the glass from breaking if dropped, but it can help hold shards in place and prevent further damage to the artwork or photo.

Step 3: Wrap the Frame in Paper First
Lay the frame face down on clean packing paper or tissue paper. Wrap it completely, folding in the sides neatly, and secure with packing tape. Avoid newspaper, as the ink can transfer onto the frame or backing.
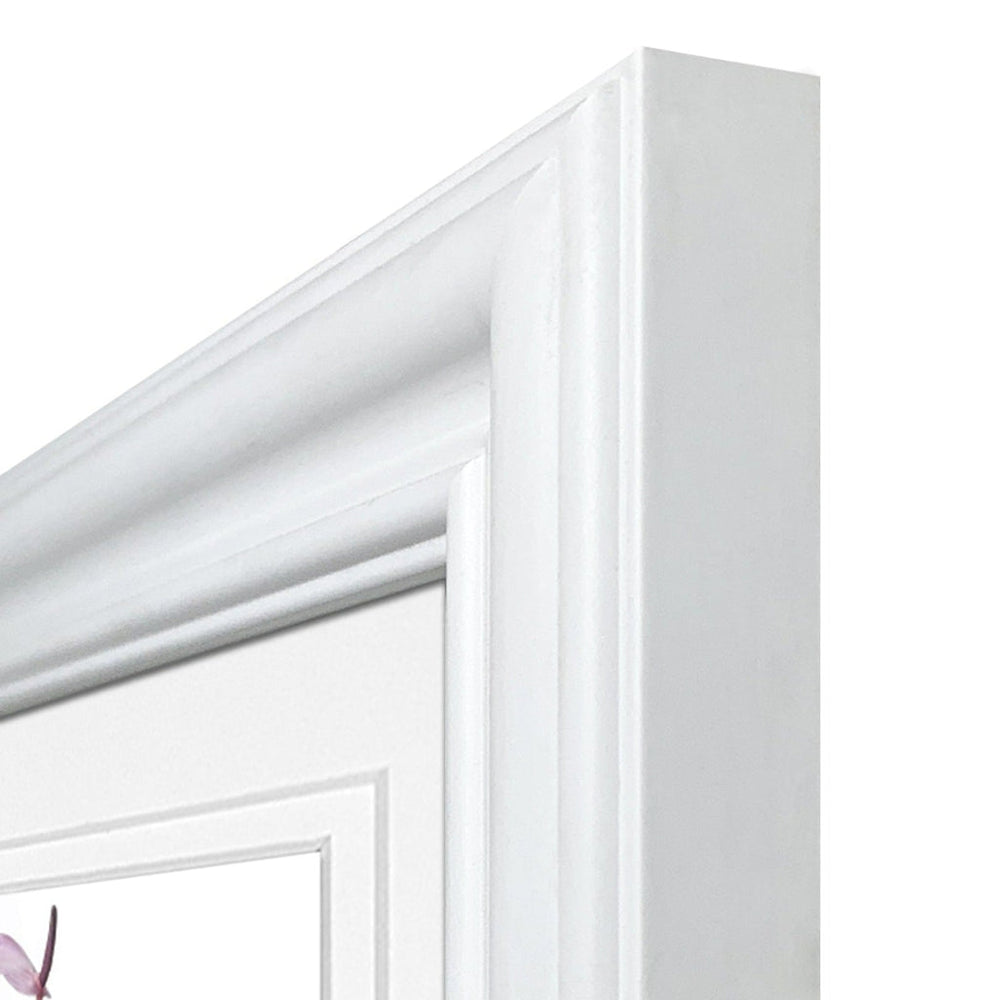
Step 4: Add Corner Protection
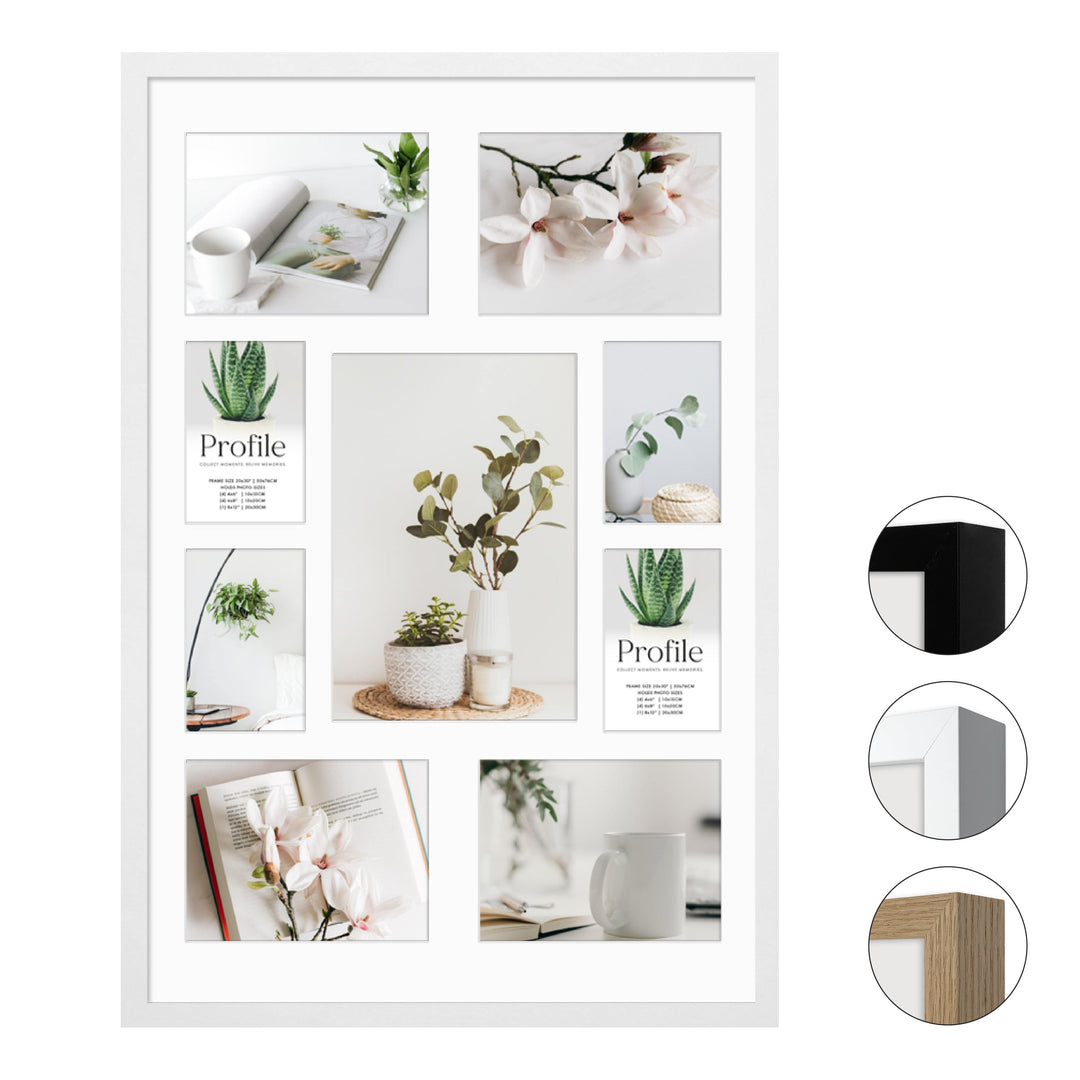
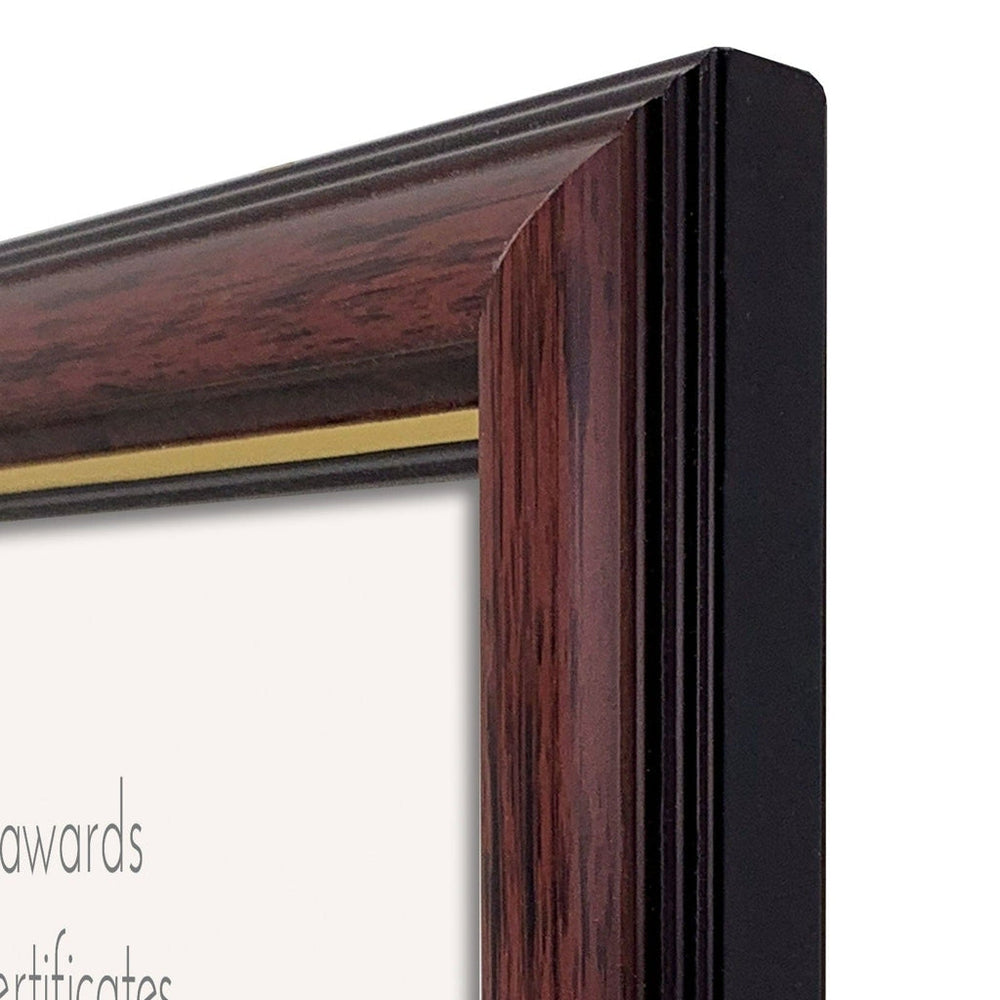
Cardboard corner protectors can be excellent for cushioning the most vulnerable parts of the frame. You can buy frame corner protectors from Profile Australia, or create your own using folded pieces of cardboard.

Step 5: Add a Layer of Bubble Wrap
Once paper-wrapped and corner protected, wrap the entire frame with bubble wrap. Use two layers for larger or more valuable frames. Tape securely but avoid taping directly to the frame itself.

Step 6: Sandwich Between Cardboard
Cut two sheets of thick cardboard or use a corrugated board to sandwich the wrapped frame on both sides. Tape the entire bundle securely. This creates a flat, rigid layer that protects against bending and knocks.
Step 7: Use a Picture Box or Carton
If available, slide the protected frame into a flat picture box or a mirror carton. Choose a size that leaves minimal movement. Fill any extra space with crumpled paper to reduce shifting during transit.

Step 8: Label Clearly and Upright
Write "Fragile" and "This Side Up" on both sides of the package. If you’re moving multiple frames, always pack them upright like books, not flat, to reduce pressure on the glazing surface.

Special Considerations for Large Frames
Some larger frames (A1 size and above) use acrylic glazing instead of real glass. While it’s less likely to shatter, it still scratches easily. Always use soft microfiber cloths and avoid pressure on the centre. Consider wrapping oversized frames individually and keeping them in a separate section of the moving vehicle to avoid bowing or bending.
Tip: How to Pack Multiple Frames Together
If packing several frames of the same or similar size together, never pack them in an alternating format of face-to-back. Always pack frames face-to-face, back-to-back. This avoids damage caused by metal hanging hardware pressing into the frame in front of it.
Place a piece of corrugated cardboard, foam sheeting, or thick fabric between each frame to add cushioning and prevent surface damage. Always ensure the glass fronts face inward for extra protection against outside pressure.
Tip: Handle with Care
When moving frames, always use two hands. Hold the frame by the left and right side rails, not from the top rail. Carrying a frame from the top rail alone can put stress on the joints or cause accidental drops. Supporting both sides evenly helps prevent twisting or cracking, especially in larger or heavier frames.

What Not to Do
- Do not wrap directly in bubble wrap without paper first - it can leave marks on the surface.
- Do not lay frames flat at the bottom of a moving box - stack them upright instead.
- Do not use cling wrap, newspaper, or plastic bags - they can trap moisture or transfer ink.
Bonus Tip: Take a Photo Before Packing
It’s a good idea to photograph each framed item before you wrap it. This gives you a visual record in case of damage during the move and helps you remember the layout when it’s time to hang them again.
Wrapping Up
Taking a few extra minutes to pack your framed pictures properly can make all the difference. Whether you’re moving home, storing your artwork, or sending a gift to a loved one, careful packing ensures it arrives in perfect condition.
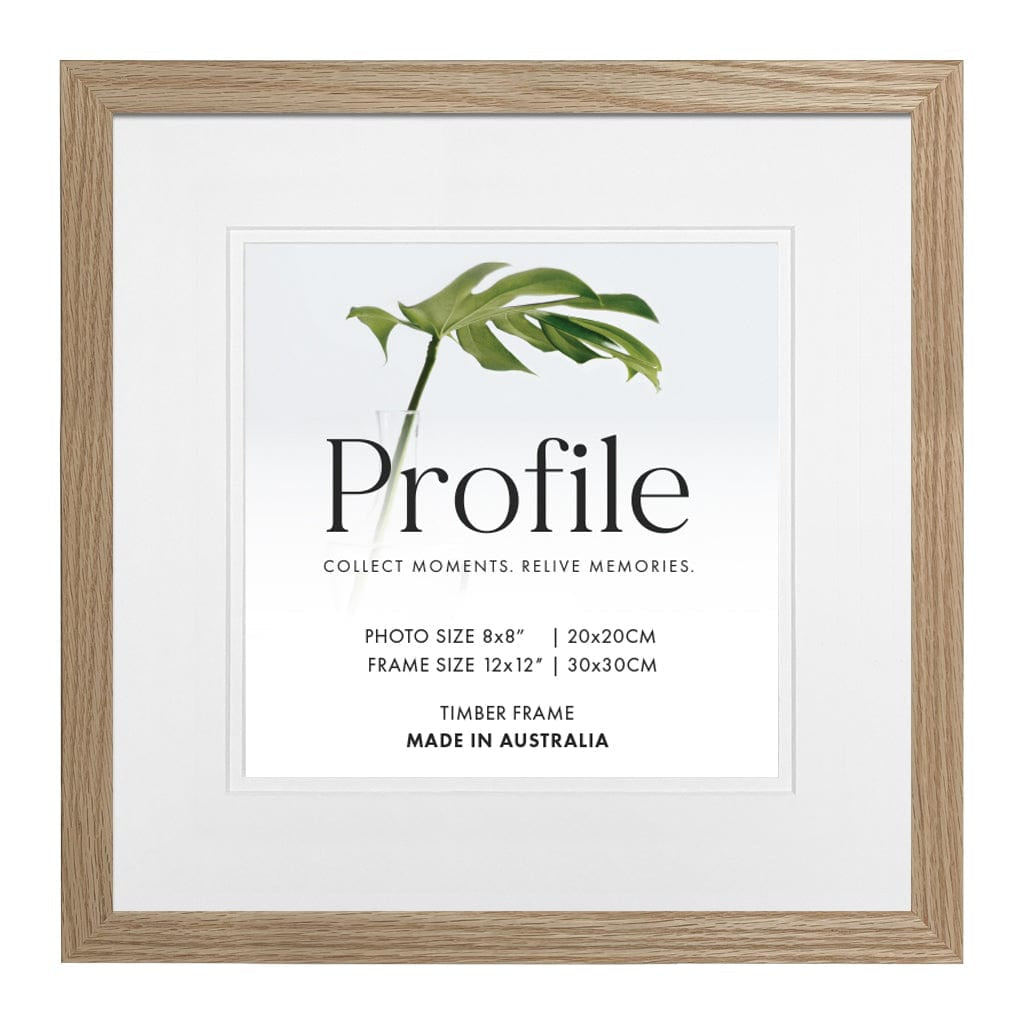
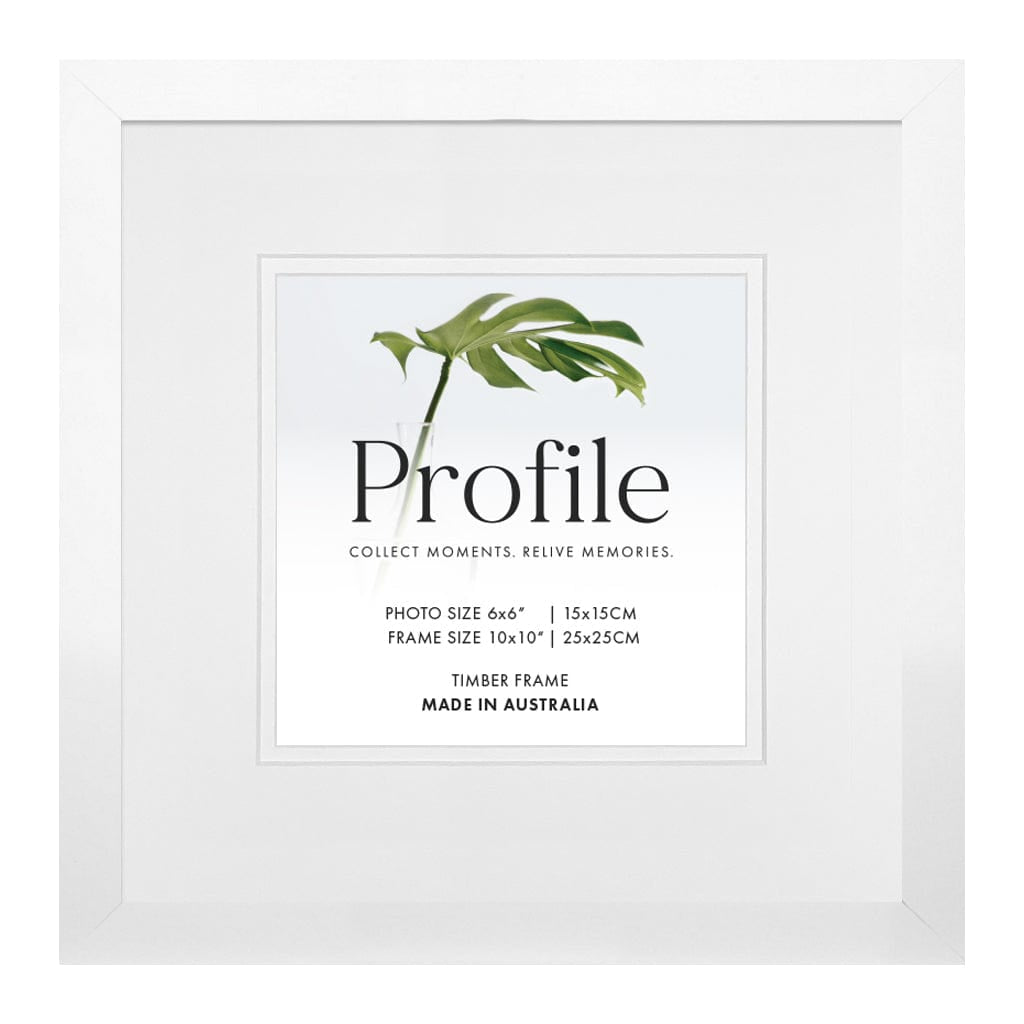
Need a replacement frame or custom-cut glass after the move? Browse our full range of picture frames online, or check out our cut-to-size glass options.