Table of Contents
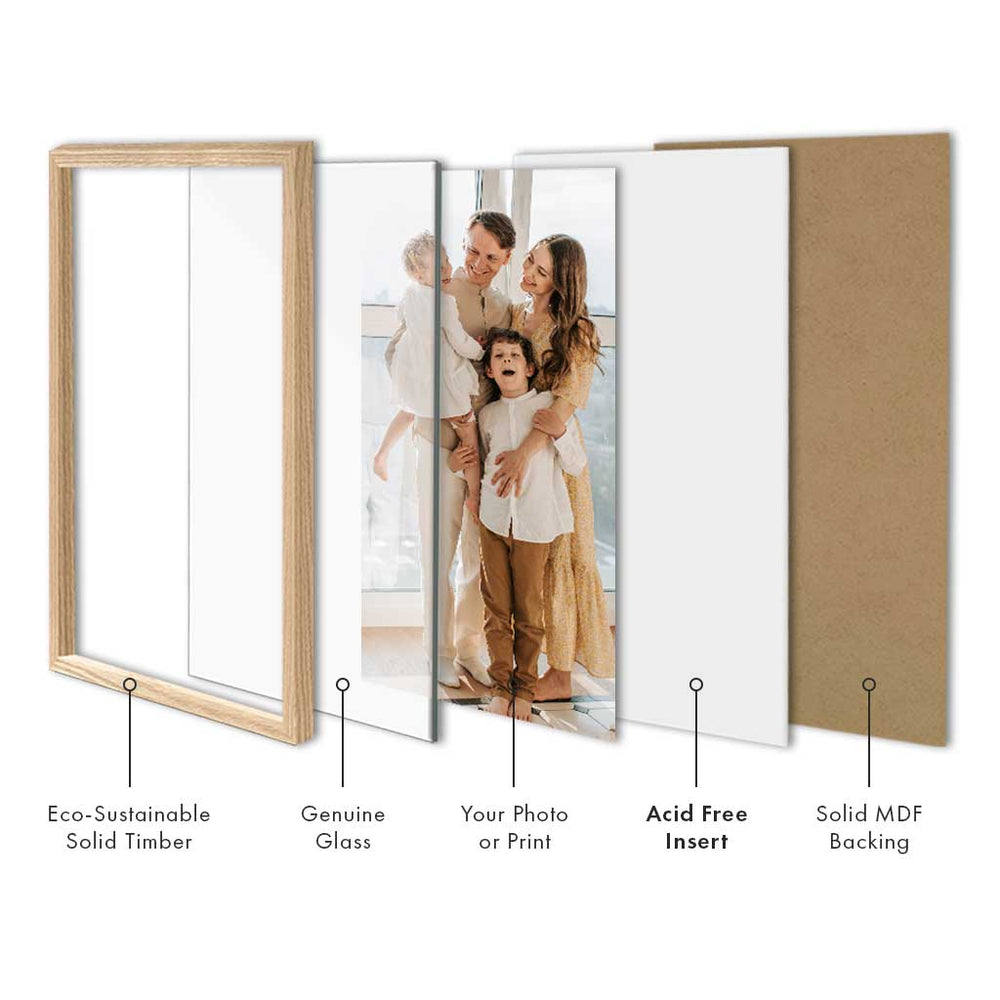
Picture frames have long been cherished for their ability to preserve memories and add a touch of elegance to any space. But what about behind the frame?
If you're tired of seeing unsightly gaps or worrying about dust ruining your precious photographs, then it's time to discover the wonders of picture frame tape.
Professional picture framers tape can revolutionise your framing game by providing a seamless seal that keeps your artwork safe from environmental hazards while also adding a professional finish.
Join us as we delve into the world of framing tape and reveal how this mighty adhesive can elevate your picture frames to new heights.

The benefits of using picture frame sealing tape
Applying self-adhesive frame sealing tape (also called picture framing tape or frame backing tape) to the back of a picture frame can provide a number of benefits:
- Firstly, frame sealing tape can help seal the picture frame package to help provide added protection against any major changes in humidity and moisture over time.
- Secondly, sealing the exposed gap around the back of a picture frame will help prevent any buildup of dust and even insects from possibly getting inside the picture frame.
- Finally, sealing the back of a picture frame provides a neat and professional overall finish.
Choosing the right framing tape
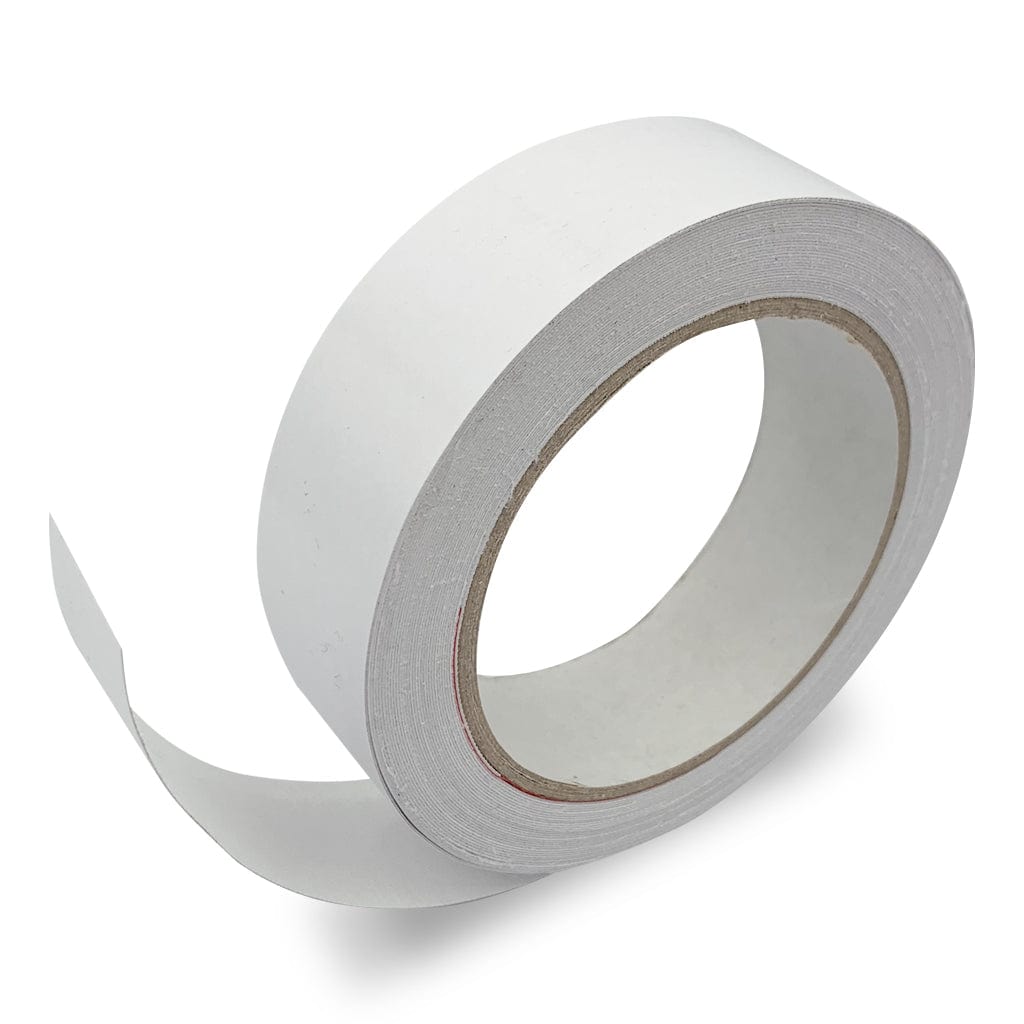
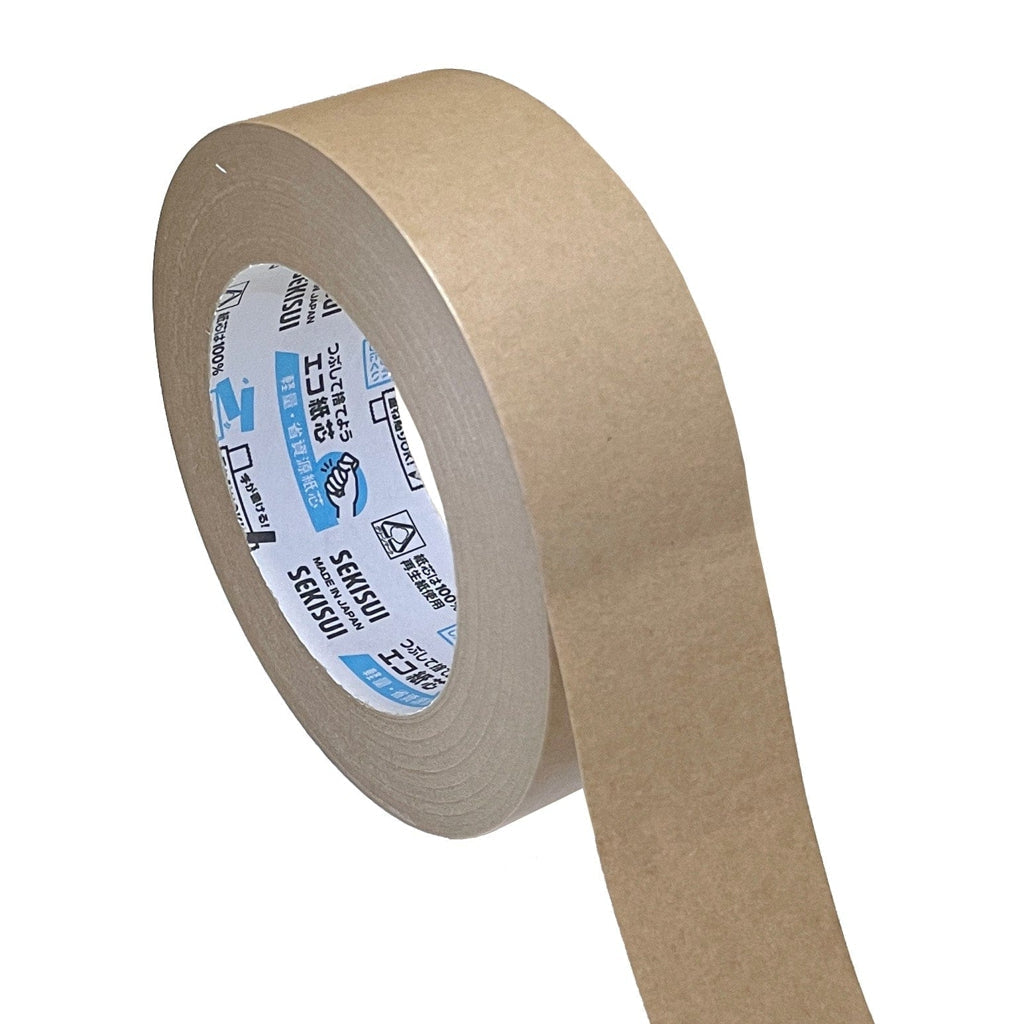
When it comes to choosing the right framing tape, you need to use a quality, long-lasting tape that is durable with a strong adhesive that will not deteriorate rapidly over time.
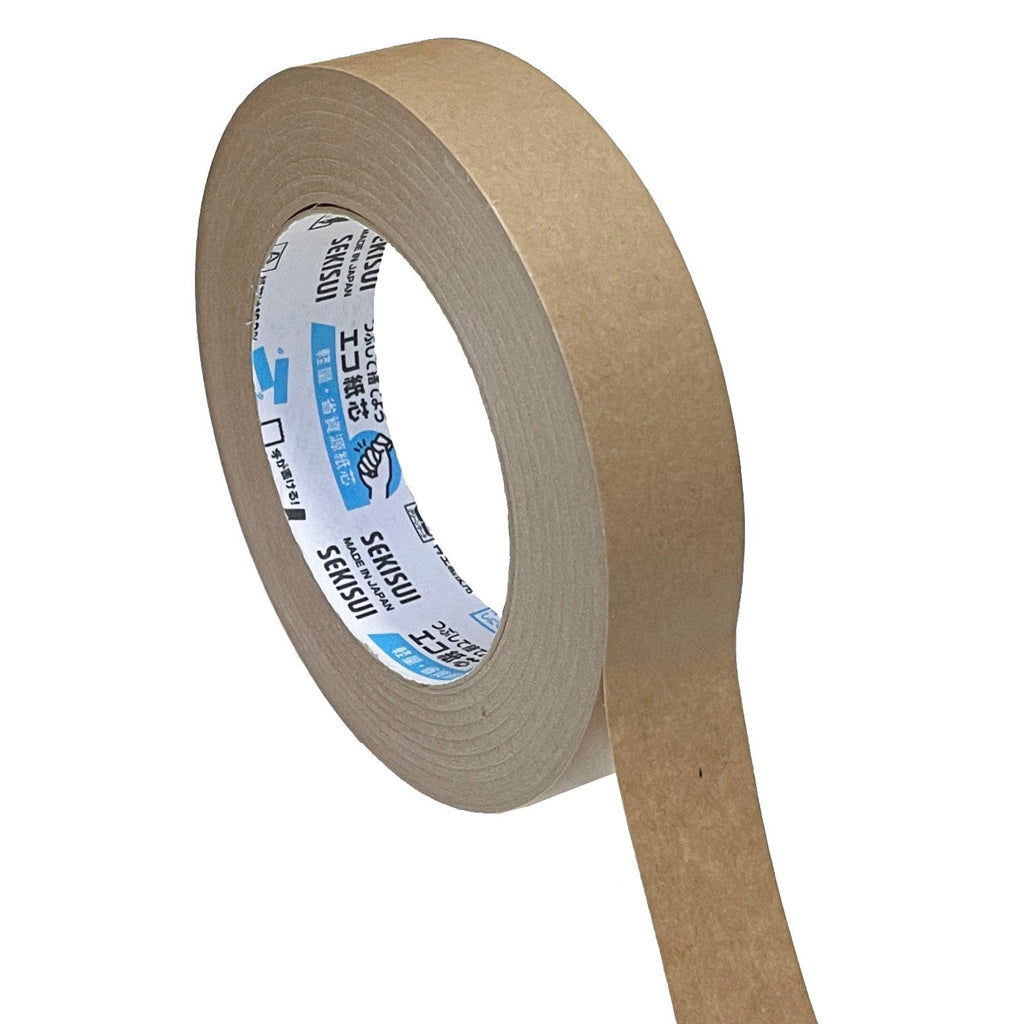
Keep in mind that picture frame could be hanging on a wall for years, if not decades, so never use a short-term tape such as masking tape. The adhesive on masking tape will let go just in a matter of months.
Also, don’t use cello tape such as normal box packing tape. Likewise, this is not designed for long term use and will gradually just breakdown and let go.
A good quality tape for sealing a picture frame will be thick than most tapes, with a strong, long-lasting adhesive which will also be resilient against any major changes in temperature and heat.
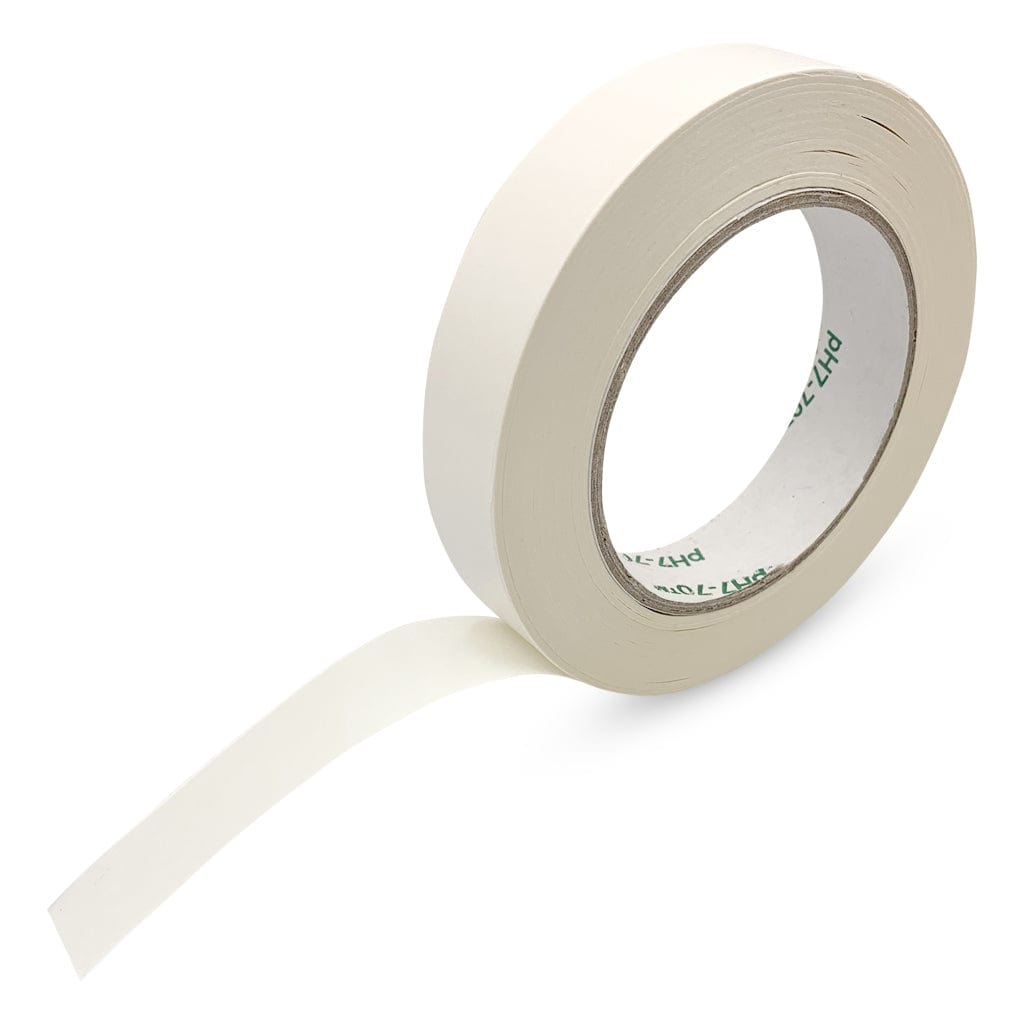
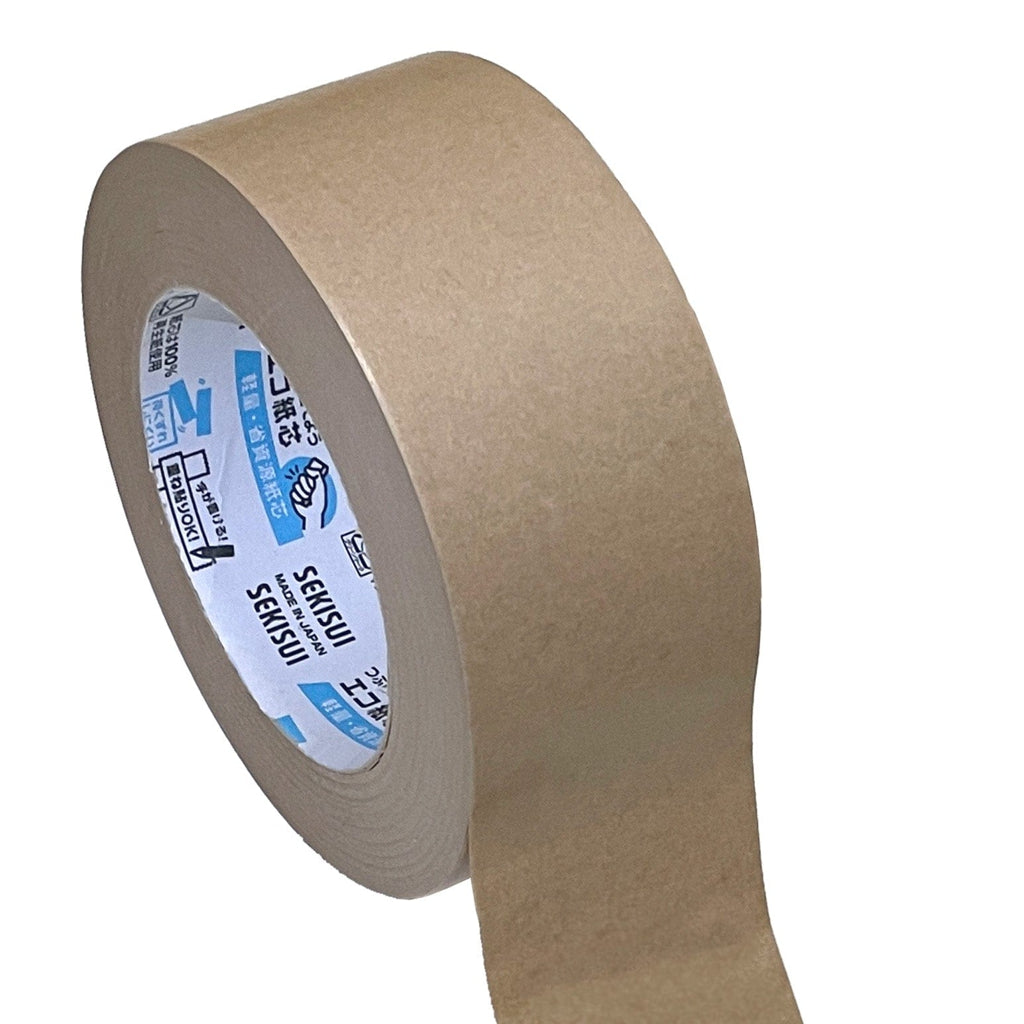
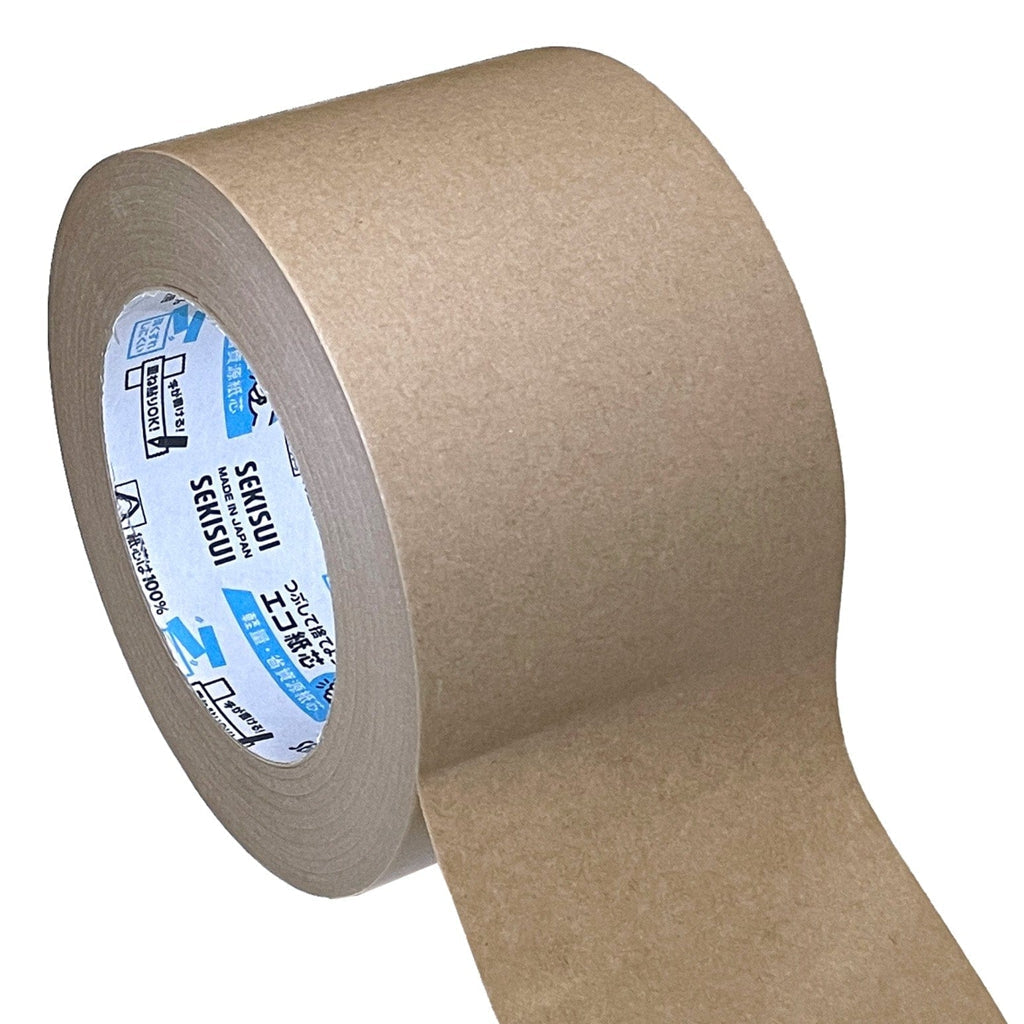
Profile professional frame sealing tape can comes in a variety of convenient roll widths for different shapes and sizes of picture frames:
- Small Frame Sealing Tape 25mm x 50m Roll
- Medium Frame Sealing Tape 38mm x 50m Roll
- Large Frame Sealing Tape 50mm x 50m Roll
- Extra Large Frame Sealing Tape 75mm x 50m Roll

Steps for applying framing tape to seal a picture frame
We have created both a step-by-step guide and also a demonstration video to help you.
You can either refer to the handy video link below or continue below to read through our visual step-by-step guide.
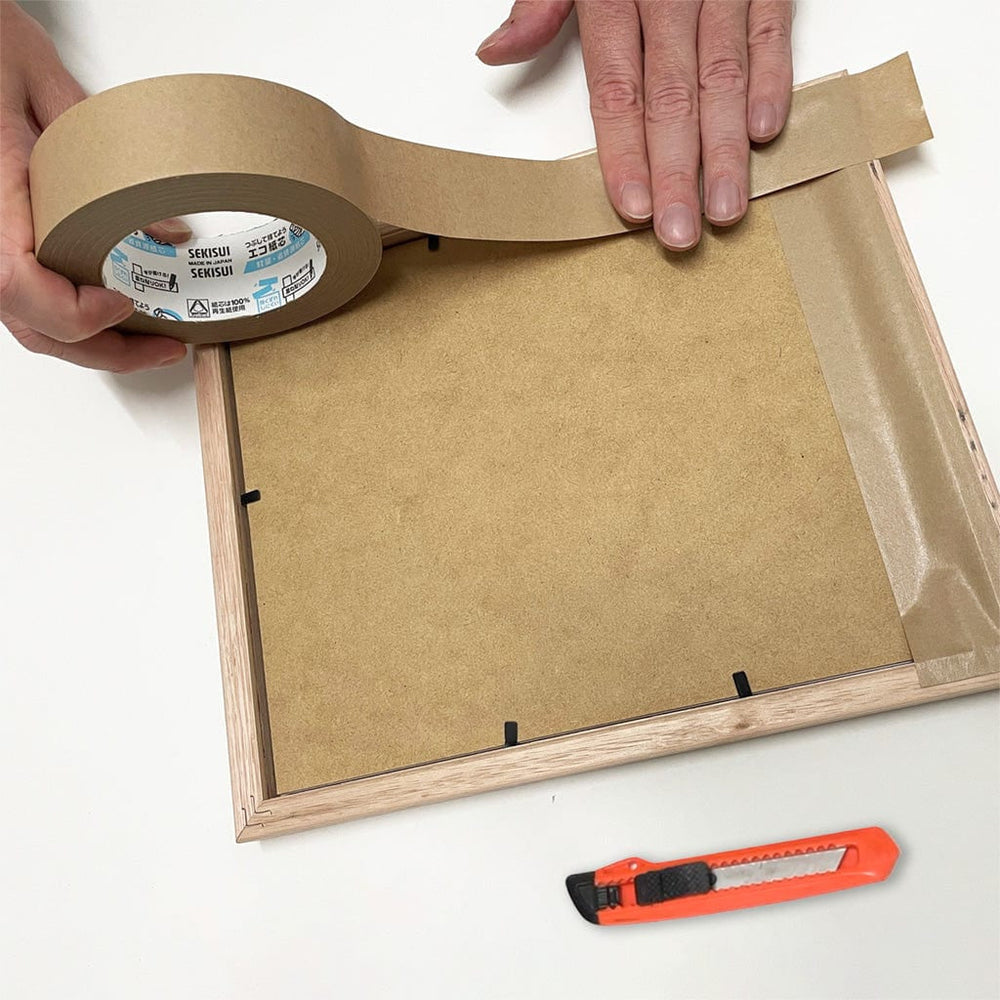
Step 1 - Applying the frame backing tape
With the picture frame turned over to show the back, apply lengths of frame backing tape along each side of the frame, long enough to overlap each corner.

You can do this in ‘pinwheel’ technique, where you apply one side, rotate 90 degrees, apply the next side and repeat.
To help avoid any wrinkles or creases when adhering the frame sealing tape, lightly smooth each length of the frame sealing tape from the center, outwards towards the edges.

A good quality, self-adhesive frame sealing tape should have some be slightly flexible with a slight ability to stretch and shape itself into the contours and gaps of the frame.
To ensure a good seal, take time to firmly burnish and press the frame sealing tape along every length. The frame sealing tape must adhere and make firm contact with all the contours of the frame back. This ensures the tape cannot be easily torn the picture frame remains sealed.
For picture frames with deeper rebates and off-set backings, you can cut, crease and fold the framing tape to suit the shape required. A good quality frame sealing tape will also be able to stick to itself, allowing you to apply extra overlapping layers if required too.
Step 2 - Trimming the picture frame sealing tape
When you’ve finished applying the framing sealing tape, you can neatly trim away the excess overlapping frame sealing tape with a craft knife. Take care when trimming the edges of the framing tape, to ensure the picture frame isn't damaged.

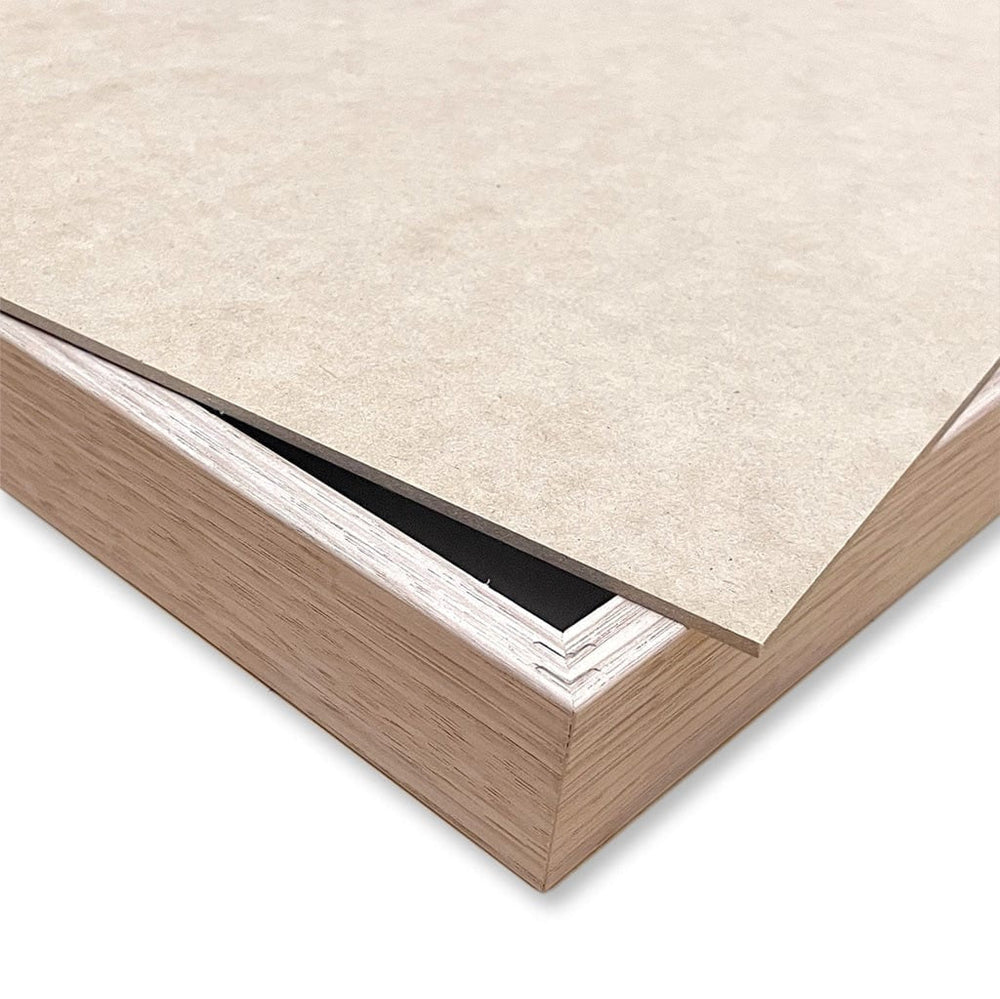
After taping and trimming the tape edges on all four sides of your picture frame, it should look like this:

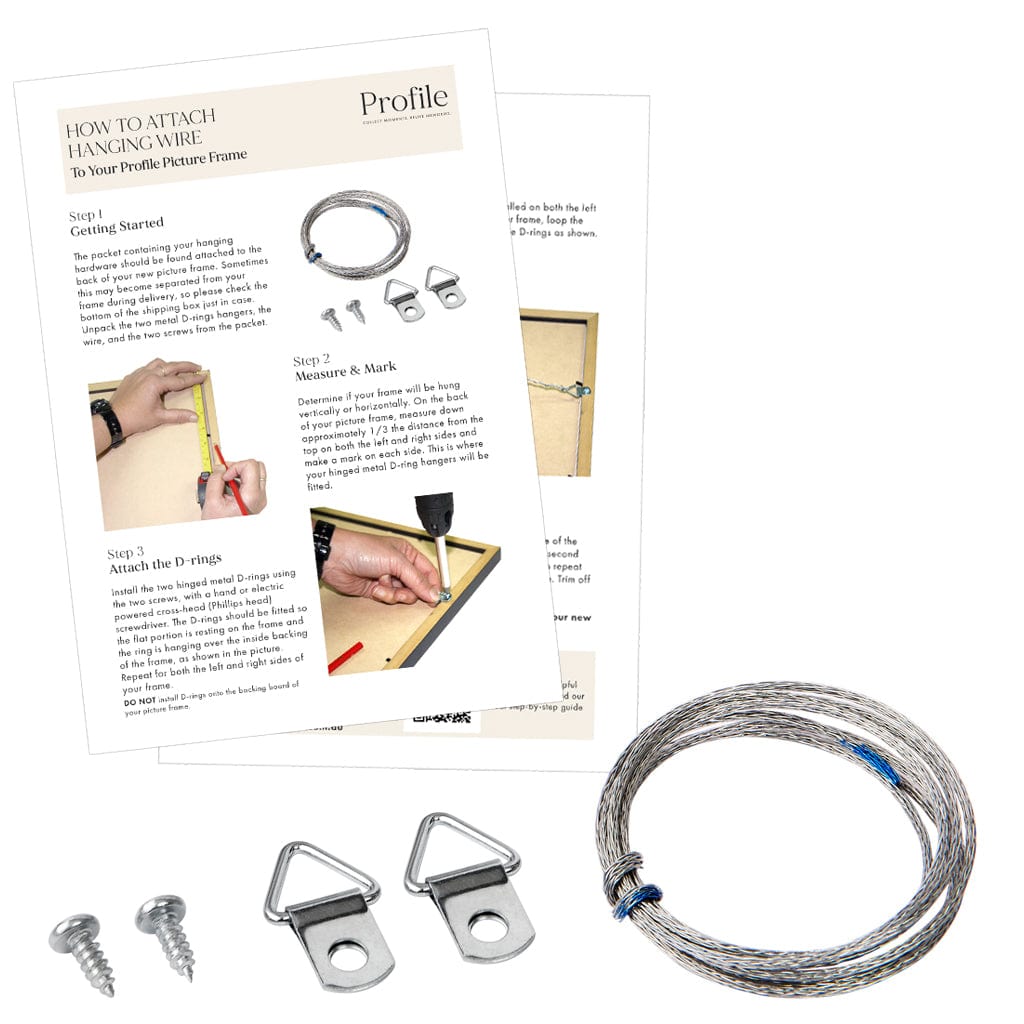
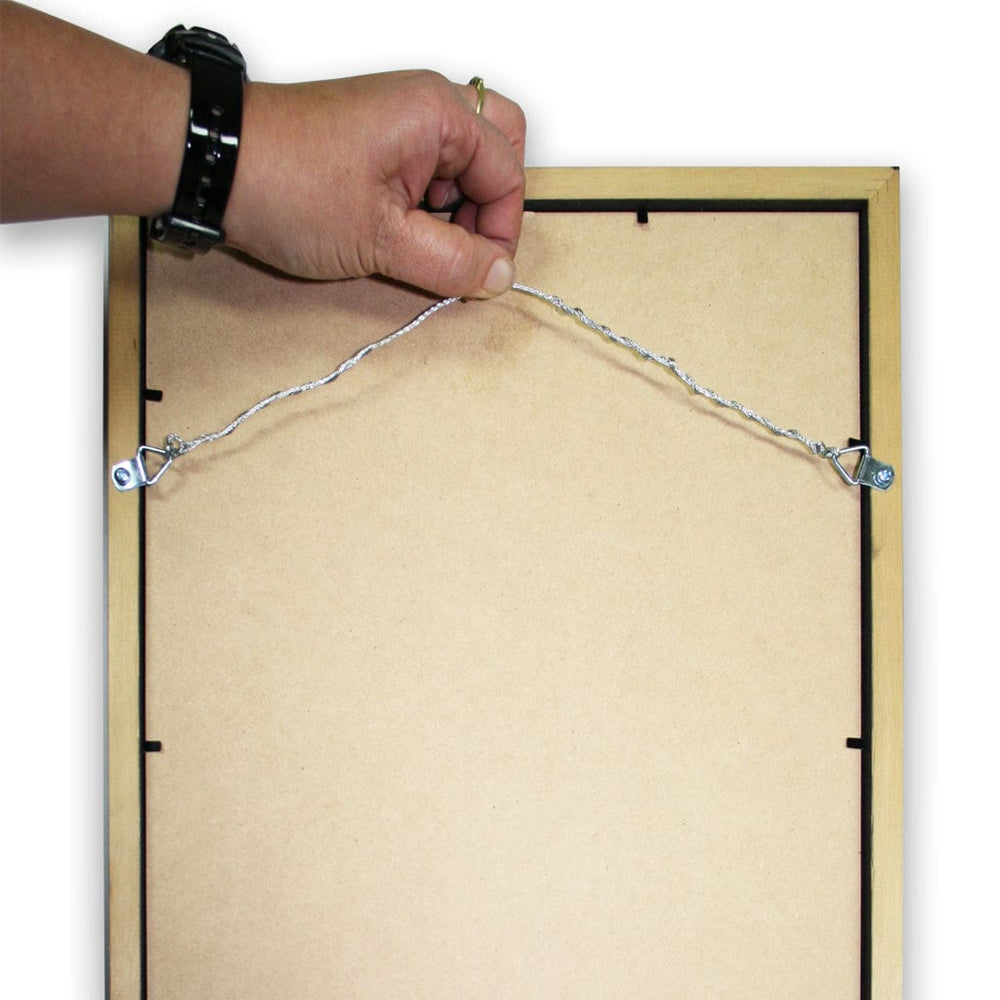
Now that your picture frame is professionally sealed and protected, the next step is to apply the hanging wire and fittings to the back of the frame.
Check out our helpful blog below for some helpful steps on how to do this:
Choosing Australia's Best Picture Framing Tape Online
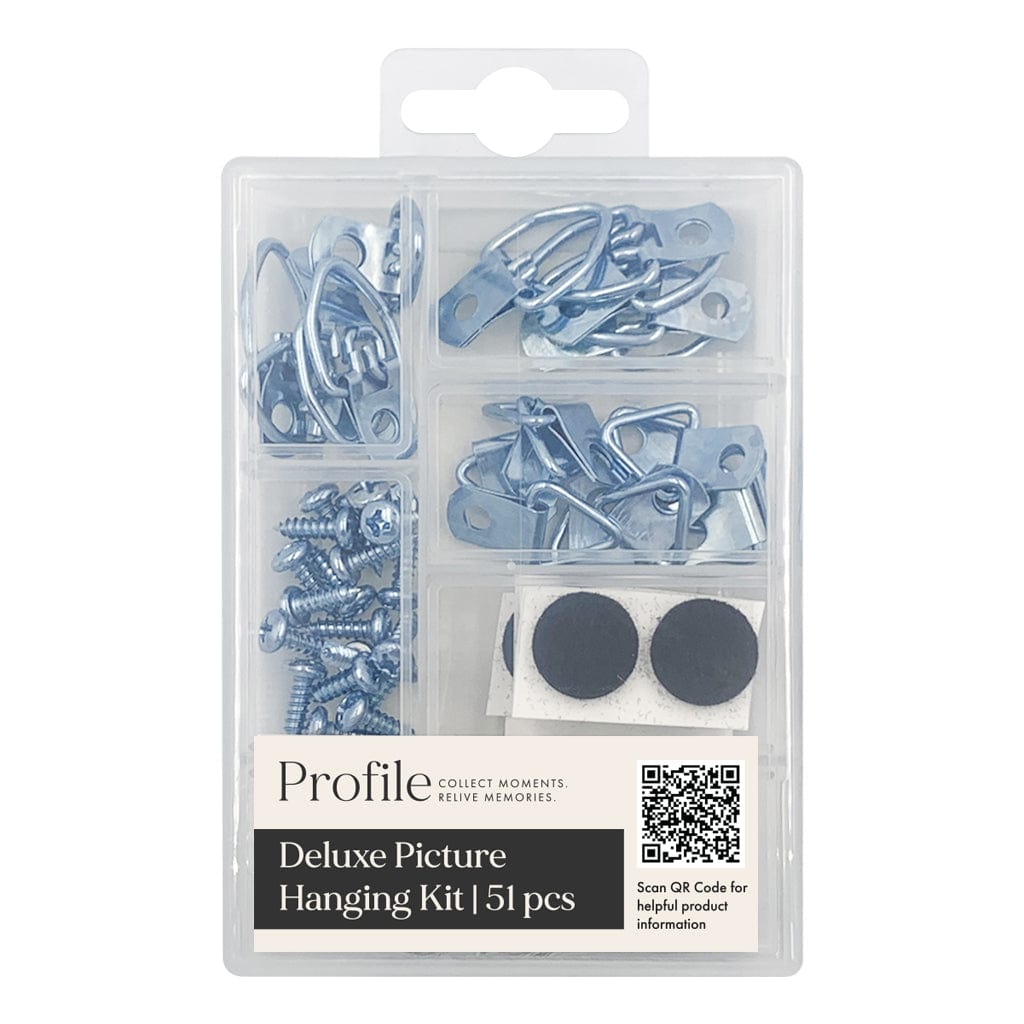
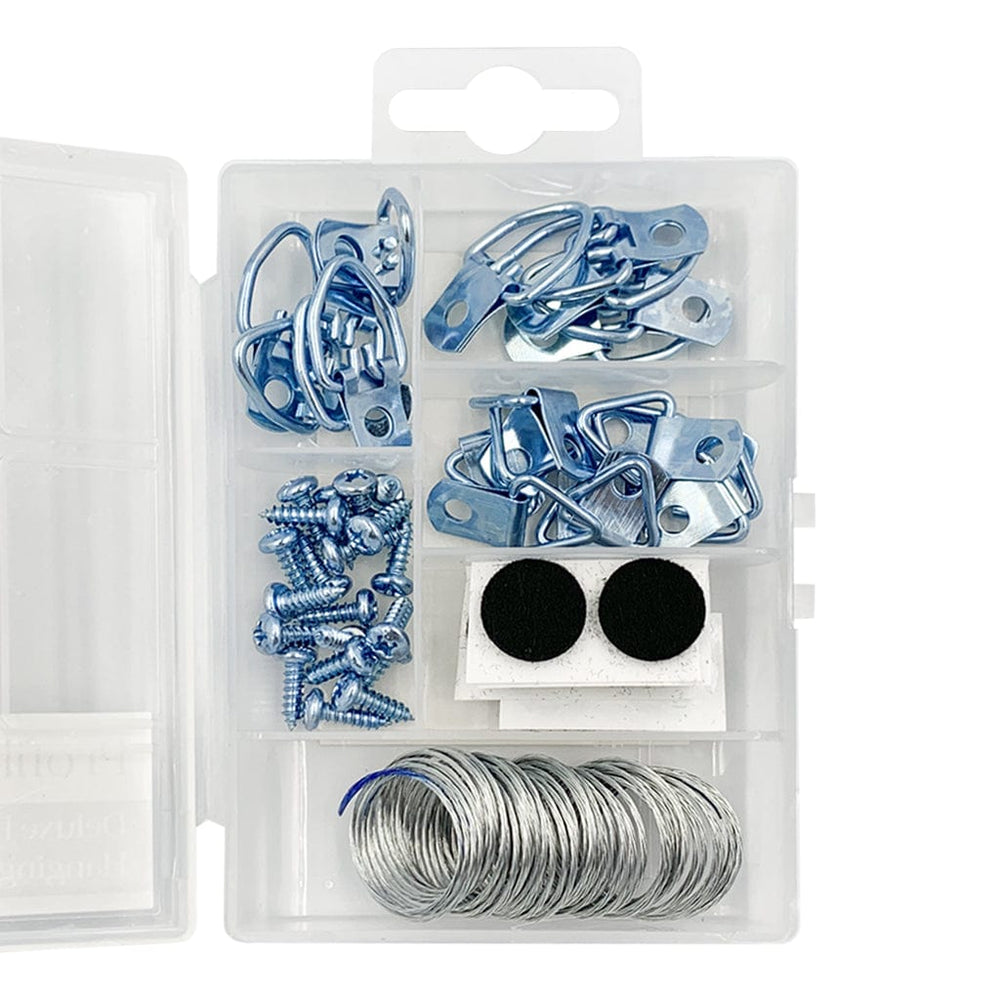
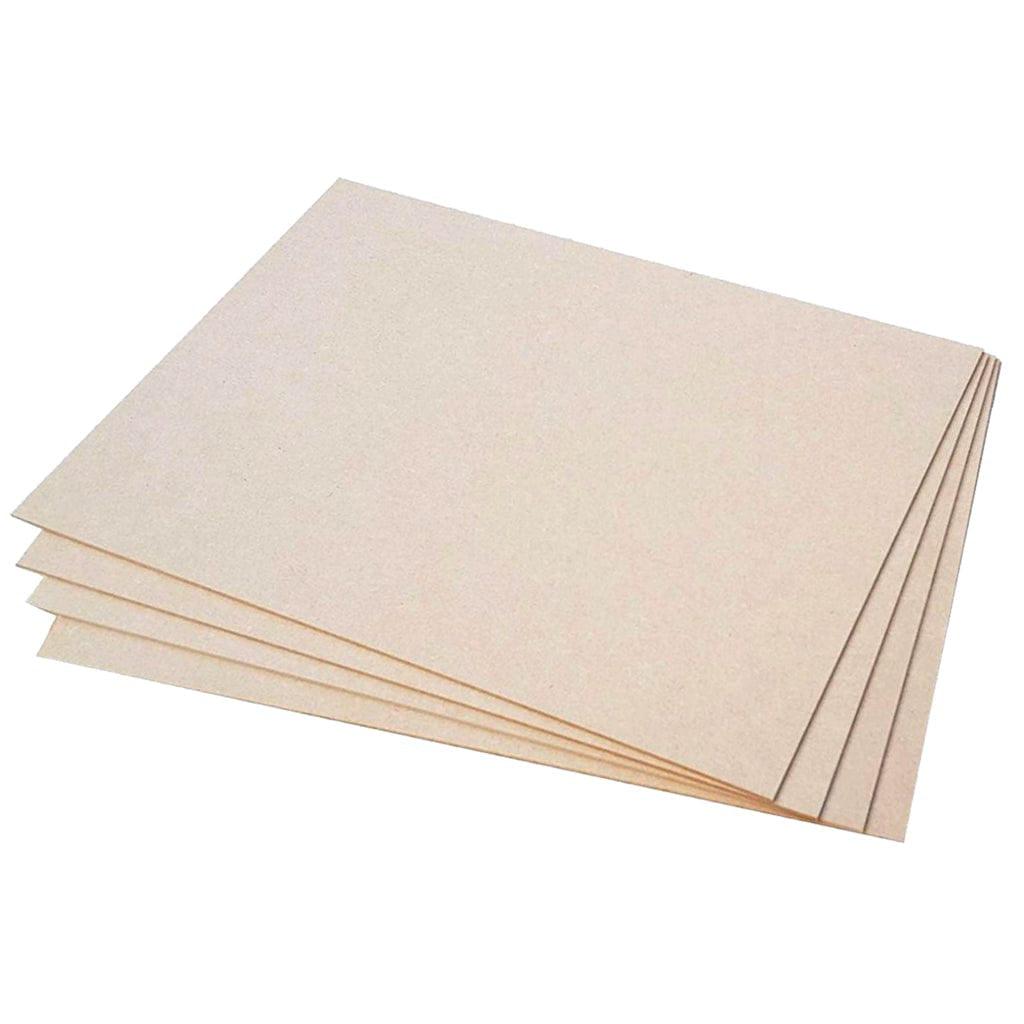
Explore Profile’s range of professional grade Frame Sealing Tapes and other Framing Accessories such as: Cut-to-Size Foamboards, Cut-to-Size Matboards, Cut-to-Size MDF sheets, Photo Frame Easel Standbacks, Wire Hanging Kits, Double-Sided Tapes and more.
Want to read more? You may also like:
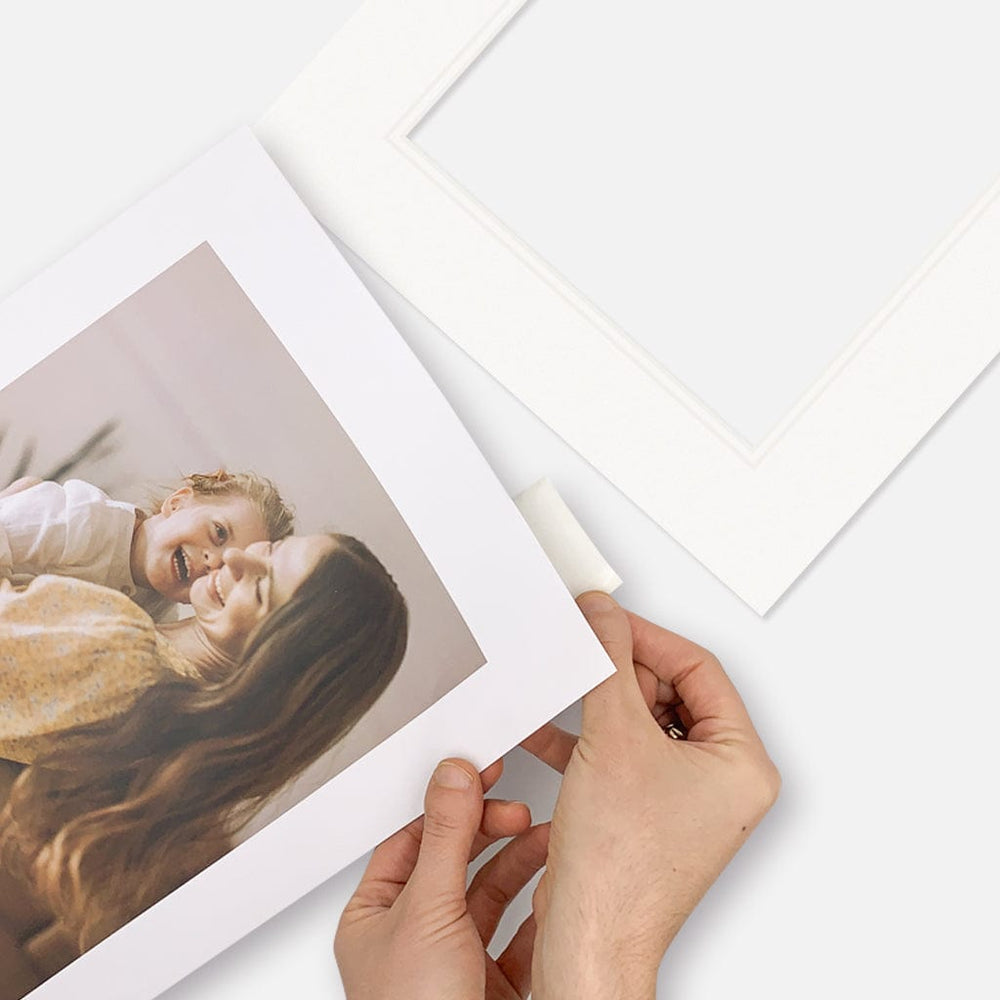
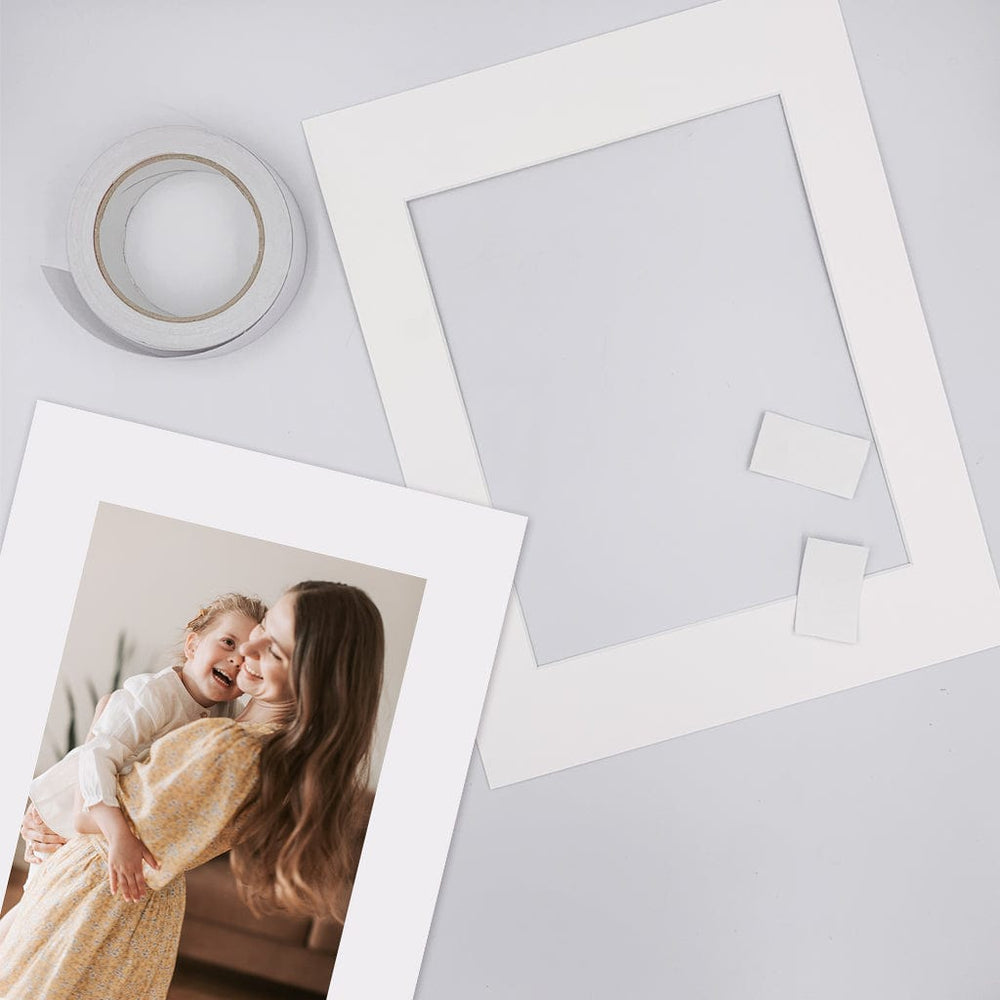
- How to Insert a Photo Into a Unmatted Photo Frame
- How to Hang a Photo Frame or Picture Frame on Your Wall
This article was written by Jared Davis. Jared is one of only a few qualified Master Certified Picture Framers in Australia with over 30 years of custom framing experience.
Jared is published author, writer and an industry-recognised educator who teaches classes and workshops to professional picture framers all around the world.