Table of Contents
There’s something exciting about unrolling a new wall art print for the first time - until you notice it won’t sit flat. Don’t worry, this slight curl is completely normal. Prints are rolled for safe transport and to protect the surface from creases or marks during shipping.
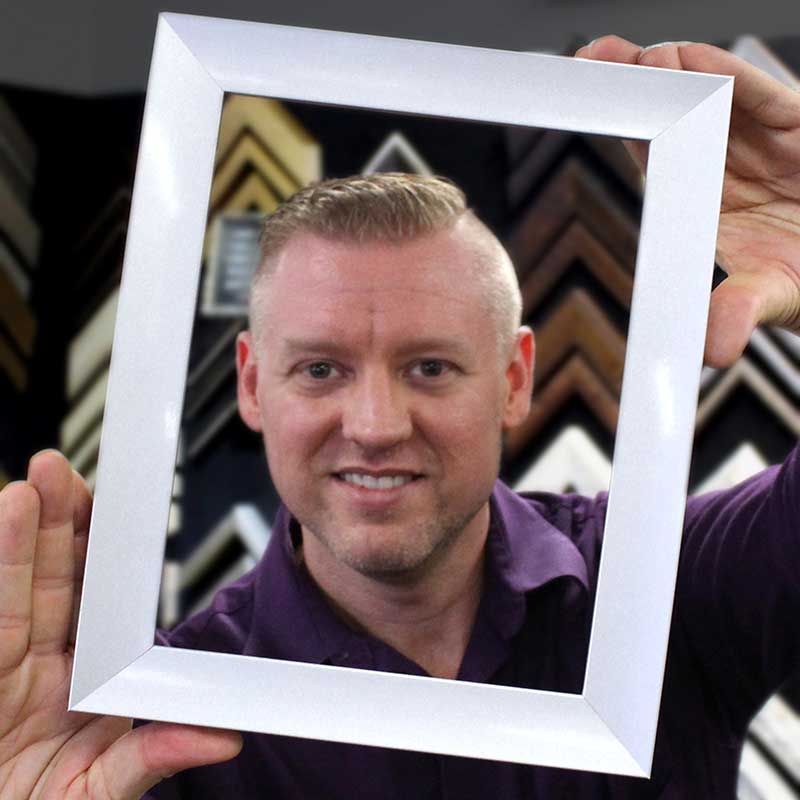
In this guide, you’ll learn professional, safe methods to flatten a rolled print or poster – with or without heat – and how to prepare it perfectly for framing. Written by Jared Davis, our in-house, trade qualified framer and Master Certified Picture Framer, these techniques will help you preserve the quality and appearance of your artwork for years to come.
Why Prints Arrive Rolled – and Why It Matters
Most art prints and posters are shipped rolled because it’s the safest and most practical way to protect them from bends or creases. The natural “curl” occurs when the paper fibres develop a memory of that rolled shape.
Factors such as humidity, paper weight, and ink density can all influence how tightly a print curls. Flattening a rolled print is essential before framing – otherwise, the artwork may lift, bow, or press unevenly against the glass, causing long-term damage or air pockets inside the frame.

Method 1 – Weighted Flattening (Safe and Slow)
This is the most reliable and risk-free way to flatten a rolled print or poster. Follow these simple steps if you want to flatten a poster without an iron:
- Lay the print face-down on a clean, smooth surface.
- Place a sheet of clean paper or tissue over the back to protect the surface.
- Evenly distribute flat, heavy books or boards across the entire print.
- Leave it under weight for 24–48 hours to allow the paper fibres to relax naturally.
This weighted method is ideal if you’re flattening a large or fine-art print, or when you want to flatten a rolled poster for framing without heat.
For extra protection, use a backing board beneath the print to prevent texture marks from the table surface. It may take time, but patience ensures the artwork flattens safely without damage.

Method 2 – Reverse-Rolling Technique (How to Flatten a Rolled Poster Fast)
If you need faster results, controlled reverse-rolling can help counteract the curl. This is one of the quickest ways to flatten a rolled print safely.
Gently unroll your print and remove any packaging, then roll it in the opposite direction around a larger, clean tube. Secure it lightly with soft tissue or an elastic band and leave it for a few hours.
Avoid reverse-rolling the print by hand, as this increases the risk of micro-creasing or kinking. Also avoid rolling too tightly – excessive pressure can cause small cracks in the ink layer.
This method works well for posters or medium-weight prints and can be followed by the weighted method for a perfectly flat finish.

Method 3 – How to Flatten a Poster with an Iron (Handle with Care)
Many people search for quick ways to flatten a poster using an iron, but this approach should be handled carefully. It can deliver fast results but also carries the highest risk of damage. If you decide to try it:
- Set your iron to the lowest heat and turn off the steam.
- Lay a clean cotton cloth or towel over the back of the print.
- Press gently in small, circular movements – never hold the iron in one spot.
- Periodically stop and check for any signs of heat damage or distortion on the print.
Avoid using this method on glossy or photographic papers, as heat may cause rippling or ink transfer.
As a professional framer, I recommend only using heat on durable paper types and testing on a corner first. When in doubt, patience and weight remain the safer choice.

Quick Fixes vs. Best Practice – Which Method to Choose?
Each method has its pros and cons, depending on how much time you have and how valuable the print is:
- Weighted Flattening: Safest and most reliable, but slow.
- Reverse-Rolling: Faster, suitable for most posters, moderate risk.
- Iron or Steam: Quickest but riskiest – heat can permanently damage delicate prints.
If you want to flatten a poster fast, reverse-rolling is usually the best balance between speed and safety. In short, gentleness over speed. Giving your print time to relax naturally ensures the best framing result.
Preparing a Flattened Print for Framing
Handling Your Print
Once your print is fully relaxed and flat, you’re ready to prepare it for framing. Handle the artwork carefully by the edges or use cotton gloves to avoid transferring oils from your fingers. Before placing the print into a frame, ensure that both the glass and backing are completely clean and dust-free.
Read our related blog: Expert Tips on How to Frame a Poster for more detailed guidance.

Need a picture frame for your print - Explore our wide range of Poster Frames.
Using Mat Boards and Inserts
If you’re using a mat board, it should be acid-free to prevent discolouration over time.
For extra protection, you can also use spacers or a double mat to safely prevent your print or poster from touching the glass. These small details help preserve the surface of your art and give it a professional finish.
Learn more about the benefit of using matboards and choosing the right board - What is a Mat Board?

Explore our Mat Board & Photo Borders Collection.
You can also use an acid-free mat board insert, like our White Acid-Free Frame Insert, to provide an extra layer of protection between your print and the backing board. This insert helps to maintain a barrier against any potential acid migration from non-archival materials.
Permanent Mounting Options
If you’d like to permanently mount your poster or print to prevent cockling or buckling inside the frame, a self-adhesive foam board can be an ideal solution.
Our 5mm Cut-to-Size White Self-Adhesive Foam Board allows you to mount your artwork securely and evenly. This method ensures the print stays flat over time, giving it a professional finish.
For a step-by-step guide, see our related article on How to Mount a Print onto Self-Adhesive Foam Board.

How to Remove Deep Creases or Folds in a Print or Poster
If your print or poster has sharp creases or white fold lines, you may wonder if there’s a way to fix them. Unfortunately, there’s no safe at-home method to remove deep folds or restore damaged paper fibres once they’ve broken. These marks are permanent because the paper fibres have been stretched or fractured.
However, you can lessen their visual impact by gently flattening the print using the methods described above. Never apply direct heat, moisture, or pressure to the crease itself, as this often makes the damage worse.
For valuable or sentimental pieces, consult a paper conservator or professional framer who can assess the best approach for stabilising the artwork.
Common Mistakes to Avoid When Flattening a Poster
While flattening a rolled poster or art print is simple, a few common missteps can cause permanent damage:
- Avoid using steam or hairdryers directly on the artwork – the moisture and heat can distort the paper.
- Don’t roll the print too tightly when reverse-rolling, as this may leave creases.
- Distribute weights evenly to prevent dents.
- Always use a clean surface free from dust or grit.
- Don’t skip the flattening process altogether – framing a print that’s still curled can lead to rippling or “cockling” once sealed behind glass, making it difficult to correct later.
Helpful Tips for Storing Posters and Prints
Proper storage is just as important as flattening when it comes to preserving the condition of your artwork. Here are some expert recommendations for keeping your posters and prints safe over the long term:
- Keep humidity stable: In humid conditions, paper fibres absorb moisture and expand, making them more prone to rippling or cockling. Conversely, overly dry environments can cause brittleness and tight curling.
- Maintain a moderate climate: Aim for a stable indoor environment between 40–60% relative humidity, and avoid storing prints near heaters, windows, or damp spaces.
- Use archival materials: Always store prints in acid-free sleeves (such as foamboard or blank, un-cut matboards) or between sheets of archival tissue. This prevents yellowing and protects the surface from dust and abrasion.
- Avoid direct sunlight: UV exposure can cause paper to fade or warp over time. Keep prints in a cool, shaded space when not on display.
- Flat or rolled storage: Flat storage is ideal for long-term preservation, but if you must roll a print, use a large-diameter tube and acid-free tissue to prevent tight curling.
Taking these small precautions will help maintain the integrity of your posters and prints, keeping them flat, clean, and ready for framing whenever you need them.

When to Seek Professional Help
If your artwork is valuable, vintage, or particularly fragile, it’s important to know when to stop attempting DIY flattening. Watch for these signs that it’s time to seek professional help:
- Cracking or flaking ink on the artwork’s surface.
- Water stains or moisture marks appearing on the paper.
- Delicate paper fibres starting to separate or tear.
- Severe curling or buckling that doesn’t improve after gentle flattening attempts.
If you notice any of these issues, contact a professional framer or a paper conservator. They have the expertise and tools to flatten or repair artworks safely without risking further damage. Taking this precaution helps prevent costly mistakes and ensures your print retains its value and integrity.
Professional Tips from a Picture Framer
These insights come directly from years of hands-on experience working in professional framing workshops:
- Always test any flattening method on a corner or test edge before applying it to the entire print.
- Work on a clean, rigid surface such as a table, a mounting board or even a frame backing.
- Avoid using adhesives or tapes directly on the artwork, wherever possible.
- For valuable or limited-edition prints, always seek professional assistance from a certified picture framer or paper conservator.
- If the print is oversized, use two people when handling to avoid bending or denting the paper.
Every framed wall art print from Profile Australia is carefully flattened, professionally dry-mounted, and assembled using acid-free materials. This ensures your artwork not only looks its best but remains protected for years to come.
Related Reading – More Print and Framing Advice
- Expert Tips on How to Frame a Poster
- How to Clean and Care for Your Picture Frame
- What Is a Giclée Print?
- What is a Mat Board
Keep Your Prints Flat, Framed, and Timeless
Flattening a rolled print or poster the right way ensures a professional finish and prevents long-term damage once framed. Whether you want to flatten a rolled poster fast or carefully flatten a delicate print for framing, patience is the key to success.
Taking the time to prepare your artwork properly will give you a smoother, cleaner result and help your wall art stand the test of time.
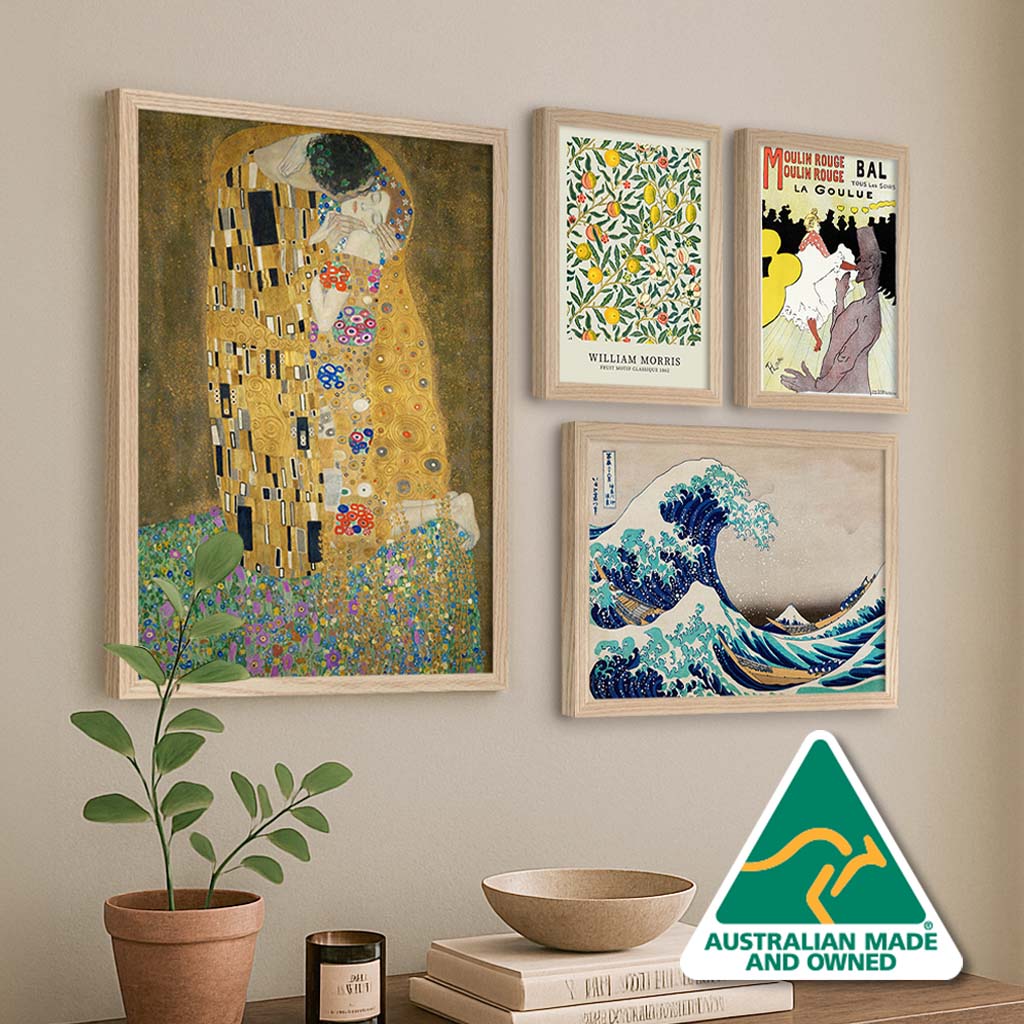
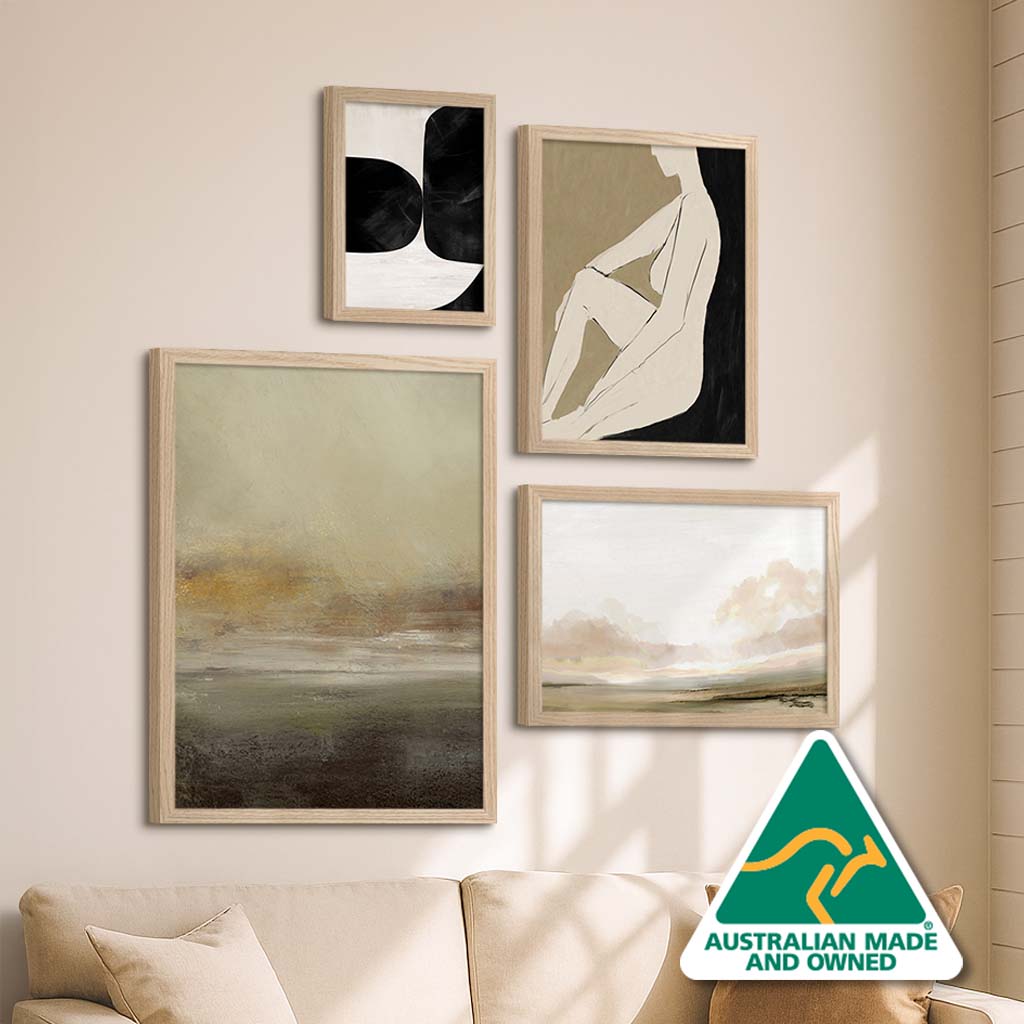
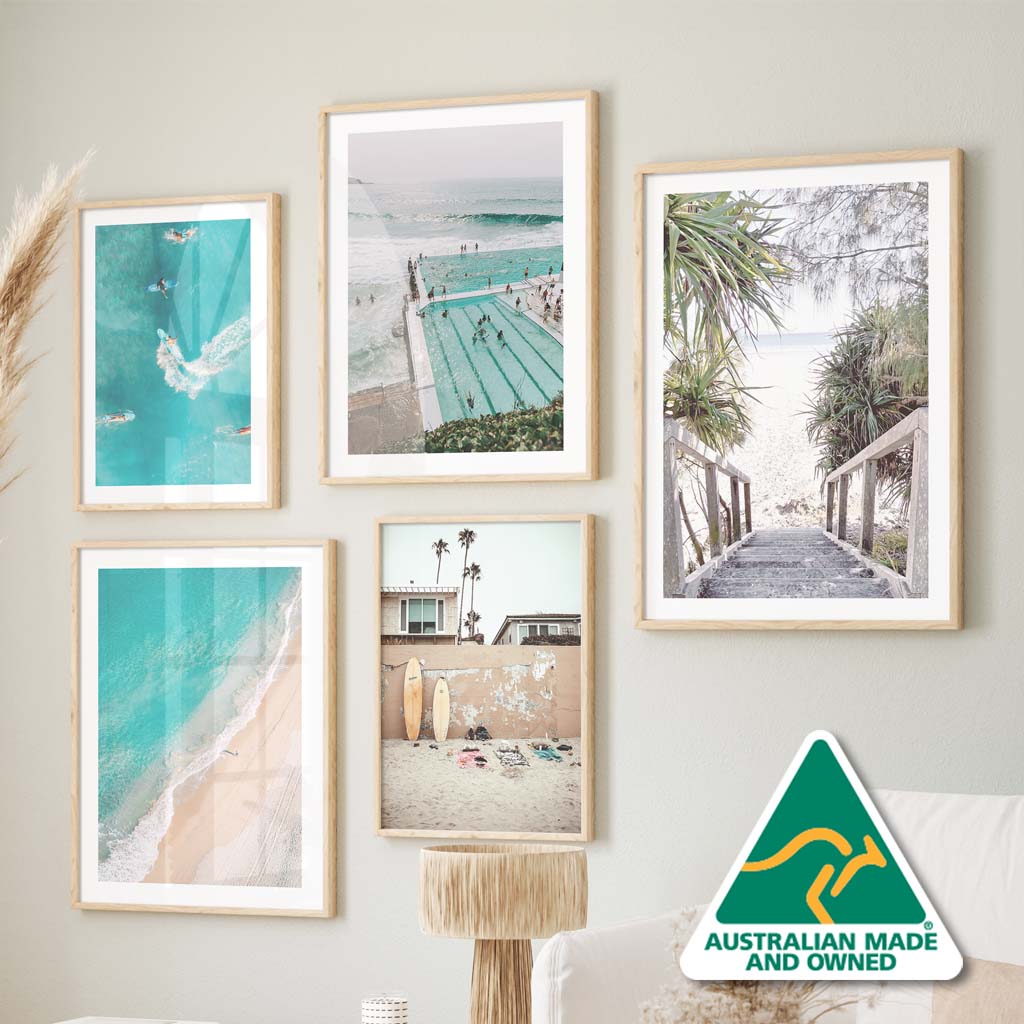
Ready to frame something new? Explore our Australian-Made Wall Art Prints – each designed to bring warmth, style, and lasting quality to your home.